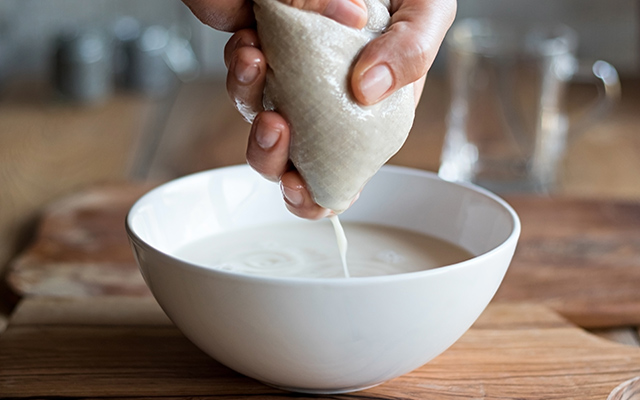
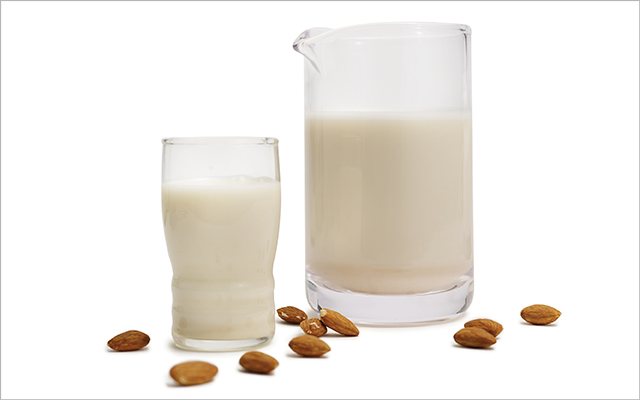
Making your own nut milk at home is a simple task that can be good for your health, too. But if you’ve been throwing out the nut pulp that’s left over after straining the milk, you’re missing out on a fair amount of protein and fiber. Also, nut meals and flours — which are basically dried versions of nut pulp — are relatively pricey at most grocery stores, so this is a great way to get more value out of your DIY nut-milk project.
While the pulp tastes somewhat bland on its own, it’s a versatile ingredient with all manner of applications in your kitchen. Here are some of our favorite tips and recipes.
Make nut meal. To make nut meal, spread wet nut pulp on a parchment-lined baking sheet and bake at 200 degrees F for about two hours, stirring every 30 minutes, until the meal is dried but not toasted. Cool completely, then add to a blender or food processor and blend until the meal is ground to a fine powder, about 10 seconds. Store in a jar at room temperature for up to a month.
Use the nut meal in any recipe that calls for almond meal or almond flour. Consider adding an extra tablespoon of oil, ghee, or butter when you bake with the nut meal, to compensate for the small amount of fat that the nuts lose when they’re used to make milk.
Use it as is. Wet nut pulp works well in many nonbaking recipes that contain nuts or oats. Try blending a scoop of it into your smoothie, stir some into a bowl of oatmeal, or add it to homemade energy bites. You can also seek out recipes that call for nut pulp. Try our Almond Pulp Cocoa Granola or our Herby Pumpkin Seed Pulp Crackers below.
Freeze it. If you’re not ready to use your wet nut pulp within a week of making your nut milk, consider popping it into the freezer until you’re ready for a baking project. Nut pulp will keep in the freezer in an airtight bag or container for up to six months.
Almond Pulp Cocoa Granola
Makes four servings
Prep time: 10 minutes
Cook time: four to five hours
INGREDIENTS
- 1 cup almond pulp (or other nut pulp)
- 3/4 cup plain coconut yogurt
- 4 tbs. cocoa powder
- 1 to 3 tbs. brown-rice syrup, maple syrup, or honey
- 1 tsp. vanilla extract
- 1/2 cup coconut flakes
- 1/2 cup walnuts or pecans
DIRECTIONS
Preheat oven to 185 degrees F and line a baking sheet with parchment paper. Place almond pulp in a medium bowl and use your hands to break up any large chunks.
In a separate bowl, combine yogurt, cocoa powder, 1 tablespoon sweetener, and vanilla. Add more sweetener to taste if desired. Whisk until smooth.
Pour the wet ingredients into the almond pulp and stir to combine. The mixture will be thick. Use a spatula to stir in the coconut flakes and nuts.
Spread the mixture onto the parchment-lined baking sheet and use your hands to break it into roughly bite-sized pieces. Bake for four to five hours, until crunchy and lightly browned, stirring halfway through.
Cool granola completely, then transfer to a jar and store at room temperature for up to five days.
Dehydrator option: Spread the mixture onto a Teflex tray and use your hands to break it into roughly bite-sized pieces. Dehydrate for six to eight hours, until crunchy, then follow storage instructions above.
Herby Pumpkin Seed Pulp Crackers
Makes four servings
Prep time: 15 minutes
Cook time: 40 minutes
INGREDIENTS
- 1 cup pumpkin seed pulp (or other nut pulp)
- 2 ½ tbs. extra-virgin olive oil
- 1 large egg (or a flaxseed or chia-seed egg)
- 1/2 tsp. sea salt
- 1/4 tsp. garlic powder
- 2 ½ tsp. herbs de Provence (or any dried herbs, such as basil, thyme, rosemary, or parsley)
DIRECTIONS
Preheat the oven to 350 degrees F and line a large baking sheet with parchment paper.
Place the pumpkin seed pulp and extra-virgin olive oil in a large bowl and stir to combine. Add egg, salt, garlic powder, and herbs, and stir until the mixture forms a dough. It should look somewhat dry but will hold together if pinched between two fingers. If the dough is too dry, add more oil, ½ a teaspoon at a time, until it comes together.
Transfer mixture to the parchment-lined baking sheet. Place a second piece of parchment on top and use a rolling pin or pastry roller to roll the dough out until it’s about ¼ inch thick. Roll the dough thinner for a crispier cracker.
Score the dough into crackers with a pizza cutter or a large knife. Use a fork to poke a few rows of holes in the center of each cracker to ensure even baking. Bake for 40 minutes, flipping halfway through. It’s OK if the crackers break apart when you flip them; if they’re still stuck together, use your hands to break them apart when you pull them from the oven. Cool completely and store at room temperature for up to a week.


This Post Has 0 Comments