

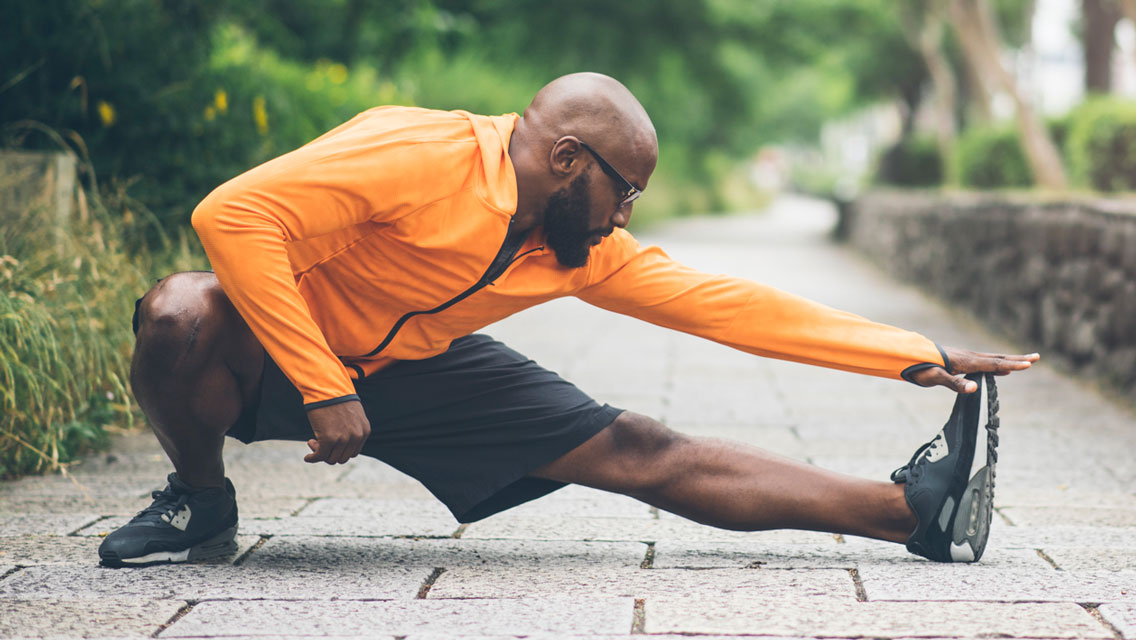
Admit it: Most of us wouldn’t mind having a stronger, better-toned, better-muscled body. And we know we could probably get it-if we were willing to do some consistent strength training. Most of us also understand that, in addition to creating fabulous muscle tone, regular strength training can build muscle strength and bone density, and even improve our metabolism.
Still, hitting the weights can be inconvenient when we’re traveling or strapped for time. And, for some, it can be downright intimidating: You don’t want to hurt yourself lifting the wrong way or waste time doing lifts that fail to deliver-or maybe you just aren’t interested in weights, period.
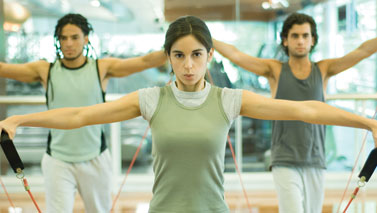
Thankfully, there’s an easy way to achieve your strength-training goals-no dumbbells, barbell or machines required. All it really takes is a length of rubber.
Thankfully, there’s an easy way to achieve your strength-training goals-no dumbbells, barbell or machines required. All it really takes is a length of rubber.
Once considered best for rehabilitating injuries, resistance bands and rubber tubing are making their way into mainstream workouts. And for good reason: “Resistance bands can be used to train almost any part of the body simply by adjusting the anchor site,” says Michael Whitehurst, MS, CSCS, an exercise physiologist and master trainer in Durham, N.C.
Bands are compact and extremely lightweight, which means you can toss them in your briefcase or suitcase and work out just about anywhere. And unlike free weights and weight machines, resistance bands tend to be intuitive, safe and very easy to use.
Juan Carlos “JC” Santana, MS, CSCS, owner and director of the Institute of Human Performance in Boca Raton, Fla., has been using them in his training for 30 years. “If the band is dropped, it doesn’t hurt anybody,” he notes. “If you happen to choose a band with too much resistance, you won’t get hurt either-you’ll find it too tough to pull.”
This distinction makes bands ideal for people new to resistance training, as well as for older adults who prefer a more low-impact regimen than that offered by heavy gym equipment. “The same bands I personally use for building power and fine muscle control, I can use with my mom for gentler strength training,” Santana says.
Beyond providing safety and convenience, bands offer the same bone-strengthening benefits of other resistance exercises. Resistance training is better for bone health than aerobic exercise alone-especially for adults 50 and older, since it can help offset the effects of osteoporosis and improve overall balance and muscle mass. For many, band exercises provide just the right means to this end.
Band Class
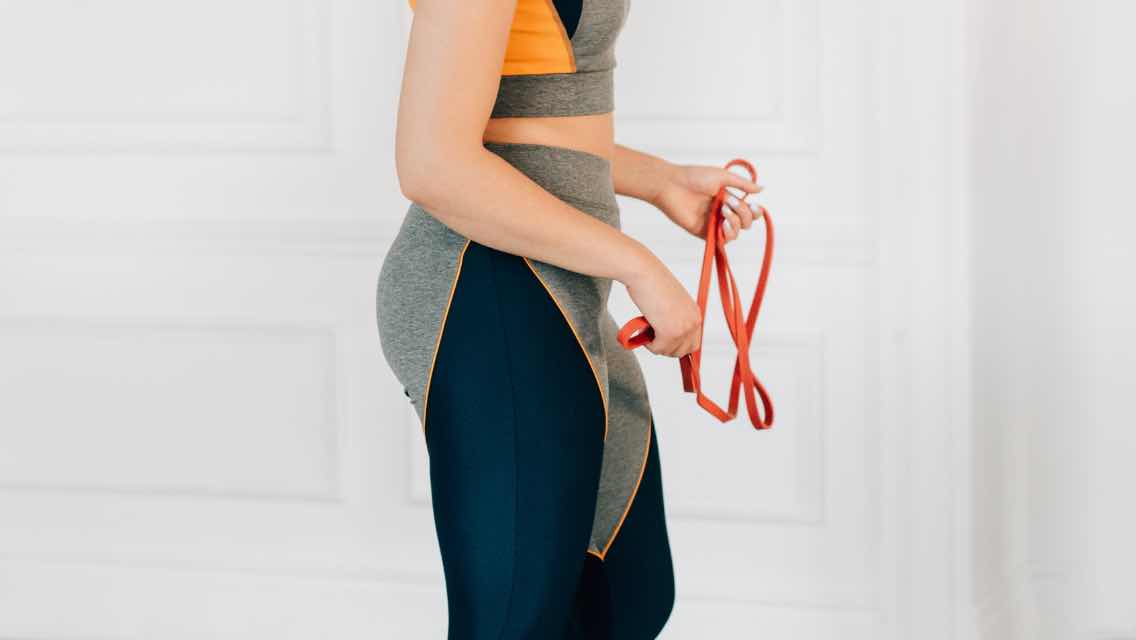
Resistance bands are long, scarflike pieces of elastic; they’re highly pliable and durable and can be anchored beneath your feet or tied to a doorknob or other fixed object. They do not include handles, so you typically have to wrap them around your hands and grip tightly as you pull.
Rubber tubes, on the other hand, are more ropelike and less pliable. Many come with built-in handles for easier gripping and anchoring. “Tubes are deemed more user-friendly by some because of the handles,” observes Amy Bento, a NASM-certified group trainer based in Darien, Conn., and star of the DVD, 10 Minute Solution: Tone Trouble Zones!. “Yet bands can be easier to work with for certain exercises because they’re wider and can grip in places a tube may slip, such as the bottom of your shoe. But it’s really a matter of personal preference.”
Whether you choose bands, tubes or some combination of the two, experts agree it’s vital to have at least two different tensions on hand to challenge both large and small muscle groups. And always start light. “A common mistake people make is to choose bands that are too heavy, but I’d rather you perform 20 to 50 reps of the proper movement than add too much resistance too fast,” advises Santana.
A common mistake people make is to choose bands that are too heavy, but I’d rather you perform 20 to 50 reps of the proper movement than add too much resistance too fast.
You should feel some resistance as you engage the bands, but not so much that the exercise quickly becomes too difficult or painful. Many bands are sold in kits that include various tensions, so you can experiment and find what’s most comfortable for you (see Resources, below). You can also fine-tune the tension by allowing the bands to be more or less taut. “As the bands are stretched during an exercise, the resistance increases and muscles must work harder to overcome that resistance,” notes Whitehurst.
Santana lays out a few other guidelines: For one, never tie a band too tightly around any body part, because as you pull, it will act as a tourniquet, cutting off your circulation. The key to staying safe is focusing on proper form and listening to your body. If a certain anchor point or band angle feels uncomfortable, stop and reposition the band, or switch to an easier one.
Band Together
Although conventional wisdom says resistance bands are less effective than using weights when cross-training for sports like running, cycling and tennis, bands can actually be more effective than weight machines for some activities. That’s because weight machines require you to sit in one position and move in a fixed, linear plane of motion, whereas bands are multidirectional, allowing you to move diagonally and in an arched pattern, which mimics the moves you make as you run, throw a ball or return a tennis serve.
Even if you’re not a sports enthusiast, the band’s multidirectional movement can boost your strength for everyday activities such as walking, doing yard work, or playing catch with your child or grandchild.
Even if you’re not a sports enthusiast, the band’s multidirectional movement can boost your strength for everyday activities such as walking, doing yard work, or playing catch with your child or grandchild.
“The most important thing to remember is that everyone can benefit from using bands or tubing,” says Bento. No matter what your goals-toned muscles, stronger joints, improved bone strength or better athletic performance-you can tailor a resistance-band program to fit your needs and abilities.
Tips & Tricks
Use these insider tips to get the most out of your resistance-band workout:
- Bands are color-coded according to their resistance levels. It varies by brand, but in general, darker colors (black, blue) tend to be harder, and lighter colors (pink, yellow) are easier.
- Using too difficult a tube or band can compromise your form. There’s no shame in starting lighter, and it will help you prevent injuries.
- When tying bands to a fixed anchor such as a doorknob, double-check that the knot is tight so the band won’t slip off during the exercise.
- If you plan to do band exercises often, invest in high-quality equipment (see Resources, below). “Cheap bands will cost you in the long run,” notes Juan Carlos “JC” Santana, MS, CSCS, owner and director of the Institute of Human Performance in Boca Raton, Fla. “Either they’ll break too easily, or they’ll lose their resistance over time.”
- If you don’t have a good place to tie a tube or band at home, you can purchase accessories, such as door attachments, for pocket change.
- Looking for more challenge? Ask a trainer for tips on incorporating bands into compound exercises, such as squats, lunges and torso rotations.
Getting Started: 3 Exercises to Try
Ready to give bands a shot? Begin with these two classic band exercises, commonly performed as part of group-fitness classes and circuit-training routines.
Upper Body: Standing Upright Row
Step 1: Standing, place the middle of the band or tube under both feet and grasp each end of the band with your palms facing backward. Your feet should be close together but not touching.
Step 2: Pull the ends of the band upward toward your chin, lifting your elbows as you pull. (Do not let your elbows go above shoulder height.) Slowly return to the starting position. Keep your neck relaxed as you pull upward. Repeat eight to 10 times for three to five sets.
Lower Body: Side Steps
Step 1: Tie a resistance band around your ankles so that your legs are connected and there is about 4 or 5 inches of band when you stand with your feet hip-width apart. Place your hands on your hips, stand up straight, and keep your shoulders and neck relaxed.
Step 2: Take 10 small steps to the right, keeping your knees bent and engaging your thigh muscles and glutes. Repeat going the other way. Do three to five sets each direction.
The Standing Row
Step 1: Anchor the band by tying it at the center point to a doorknob or column/banister at chest height. If you have a tube with handles, anchor it at the middle so that you can use both handles.
Step 2: Stand facing the resistance band, one foot slightly forward, knees slightly bent and arms reaching forward, gripping the ends of the band.
Step 3: Draw both elbows back close to your body, squeezing your shoulder blades together as you pull. Be sure to keep your neck and shoulders relaxed. If they tense up as you pull, try using a lighter band. Slowly return to the starting position and repeat 10 times. Do three to five sets.
This article originally appeared as “Band Practice”.

Comments (0)