

What you’ll need:
- A tall pot
- A trivet or folded towel
- Half-pint Mason, Ball, or Kerr jars
- New, unused lids and bands
- Canning-jar lifter tongs or other heavy tongs
- Rubber spatula
Step 1

Choose a pot that’s tall enough to allow the jars to sit inside of it, submerged in water by at least 1 inch. Fill your tall pot with water and place a trivet or folded towel in the bottom to keep the jars from touching the pot. Cover the pot and bring to a simmer.
Step 2

Wash jars, lids, and bands in hot, soapy water. They’ll get sterilized during their processing time, so you just need to wash them beforehand to remove any dust or debris. Place empty, unlidded jars in your pot of water to preheat. Place lids and bands in a shallow pan of simmering water to keep warm.
Step 3

Use a jar lifter or tongs to remove your empty, preheated jars. If you’re using tongs, support the bottom of each jar with a folded towel as you pull it out of the hot water. Place the jars on a folded towel on the countertop and fill with prepared food, leaving at least a 1/2 inch of headspace.
Step 4

Use a clean, damp towel to wipe the rims of the jars, then center the lids on top of the jars and press to adhere. Screw the metal bands onto the jars as tight as you can using just your fingertips. During processing, air will be forced out of the jar to create a vacuum seal — if the band is too tight, air won’t be able to escape and the jars may not seal properly.
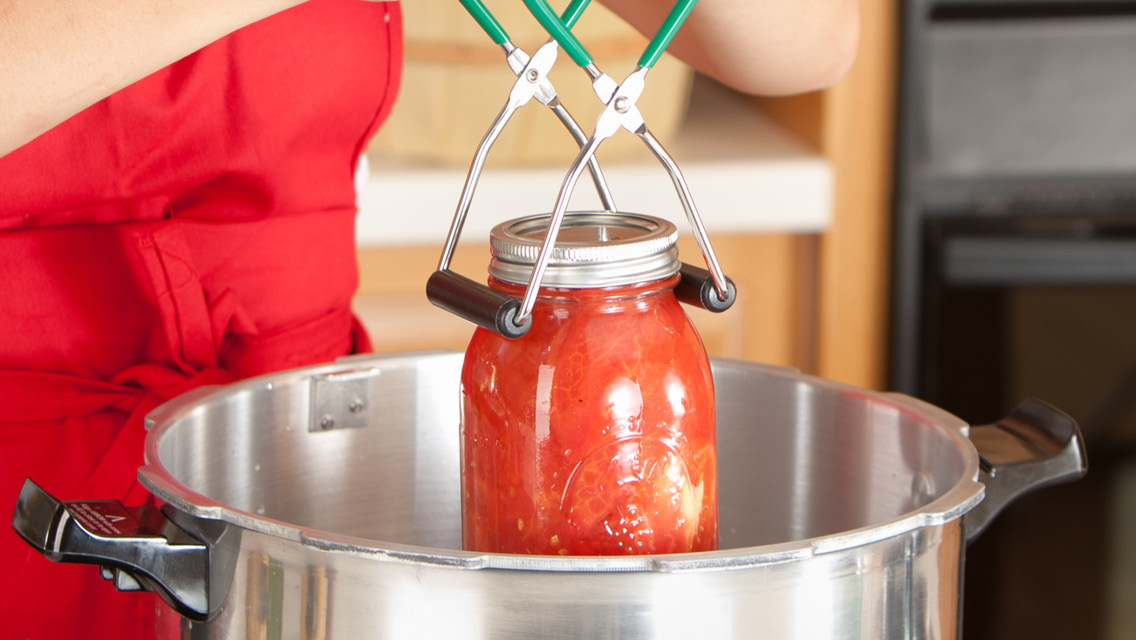
Step 5

Use your jar lifters or tongs to transfer your filled jars back into your pot of water, ensuring they’re covered by at least 1 inch of water. Cover the pot and bring water to a full boil, then process for the amount of time indicated in your recipe. When the time is up, turn off the burner and let the jars stand in the hot water for five minutes before transferring back to the towel on the counter.
Step 6

Let the jars stand, undisturbed, for 24 hours, until they’ve cooled to room temperature. Then check the seals: If you press the center of the lid with your finger, it should not move. If it springs back, refrigerate the jar and use the contents within a few days. Label your sealed jars clearly and store in a cool, dark place for up to a year.
This was excerpted from “Yes, You Can” which was published in the September 2021 issue of Experience Life magazine.

Comments (0)