

In an ideal world, we’d all have a bodywork specialist on call to knead our sore, tight, overworked muscles and fascia (our body’s web of connective tissue). Thankfully, there’s an alternative that’s easier on your wallet and your schedule: Using your own body weight and a cylindrical piece of foam, you can perform self-myofascial release, ironing out tight spots in your fascia and improving circulation and neurological responses in your soft tissues. Foam rollers are inexpensive and portable, and you can target specific body parts based on your unique needs.
“Foam rollers offer many of the same benefits as massage,” notes Eric Cressey, MA, CSCS, a Boston-based strength and conditioning coach. “It’s not going to go quite as deep, but it’s very good for day-to-day release.”
What Does Foam Rolling Do?
The magic of foam rollers lies in their ability to offer dynamic stretching and stimulation of the myofascial tissue.
Consider your iliotibial (I.T.) band, probably the best-known piece of fascia in the body, which runs along the outside of the thigh and connects the pelvis to the knee. In many active adults, the I.T. band can become adhered to the quads. As a result, it can restrict movement and cause hip and knee pain. Sustained pressure from the foam roller, however, loosens up the fascia and improves the overall function of the kinetic chain — the muscles, tendons, fascia, nervous system and joints that work together to allow the body to move.
Cressey says he’s seen knee problems resolve completely once his clients begin foam-roller work. Likewise, myofascial release works to relieve shin splints and tight hamstrings, as well as sore backs and rounded shoulders that come from sitting improperly at a computer. (For more information about myofascial release, see “Deep Release”.)
John Noonan experienced these benefits firsthand. A recreational swimmer, runner and cyclist living near Philadelphia, Noonan, 31, wondered why conventional stretching did little to relieve his tight hamstrings and shoulders. Then, a personal trainer at his company’s gym gave him a foam roller and taught him about self-myofascial release. After just two weeks of using it, Noonan could feel the difference. “The foam roller is great for relieving tension in my back and legs,” he says. “I can feel it working out the knots in my tightest spots.” As a result, his running stride lengthened and his swimming stroke became more fluid.
Noonan’s testimony is not surprising. According to researchers at the University of Calgary in Alberta, Canada, one in five adults experiences chronic muscular tightness and soft-tissue pain that aren’t relieved by stretching alone, because traditional stretching movement does little to work the fascia. Dynamic stretching with a foam roller, on the other hand, increases movement and blood flow, and allows muscles to relax, warm up, and gain better efficiencies during a stretch.
Plus, self-myofascial release is a great precursor to flexibility training. “It helps you get more bang for your buck,” says Cressey. “If you picture your soft tissue as a rubber band with knots in it, the foam roller works out the knots so that the band can stretch farther.”
Ready to get rolling? Check out the following tips. If you’re unsure of technique, see a personal trainer for a few basic lessons.
Start Slow
- Add some self-myofascial release at the end of your workout, when your muscles are warm.
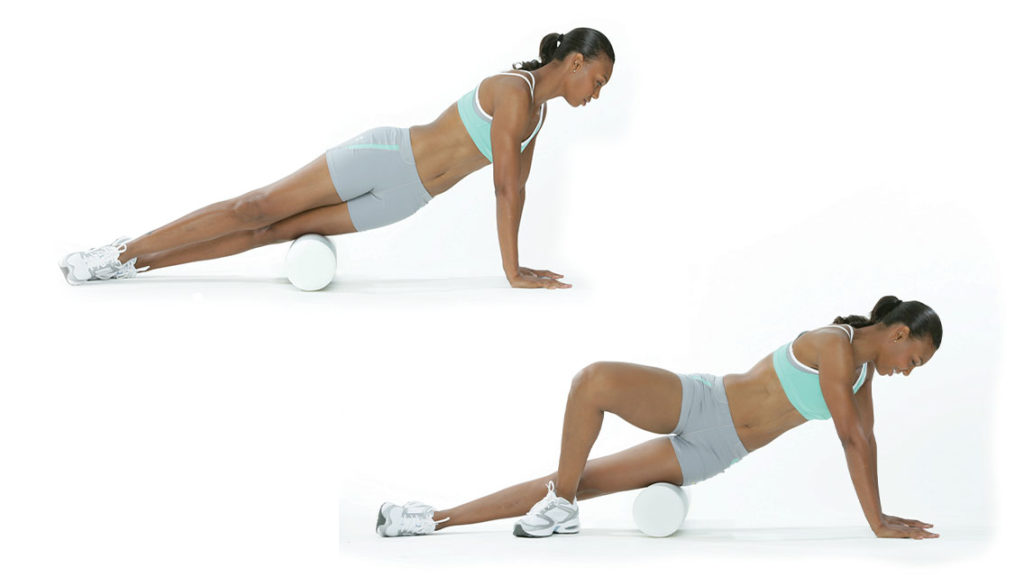
- Begin by using a soft foam roller or a half roller (which has one flat side and is more stable for beginners). Choose a part of your body that’s tight (your quads are a great place to start) and position the roller between the selected area and the floor.
- Move back and forth across the roller, almost as if you’re flattening a piece of dough with a rolling pin. (With the half roller, you’ll have to shift your body against it to work out tight areas.)
- Moving slowly, follow the natural contours of your muscles as you roll, beginning with the point closest to the center of your body and rolling outward.
- When you reach an especially tight or knotted spot — called a “trigger point” or “hot spot” — hold the position until you feel the area loosen up. (For two example stretches, see “Getting Started: Two Ways to Roll,” below.)
Grin and Bear It
“A little pain is normal,” notes Melyssa St. Michael, CPT, CSC, managing director of Mind Your Own Fitness in Bentonville, Ark. “You’re dealing with myofascia that has been restricted for some time, so you’re going to stimulate nerve endings.”
Cressey concurs. “My clients often tell me, ‘It hurts so good.’ It should feel like a deep sports massage.”
Both St. Michael and Cressey suggest keeping your first few foam-roller sessions brief — no more than 15 minutes. “If you measure pain on a scale of one to 10, I’d advise that, for your first three to five sessions, you stay around five or six,” says St. Michael. Since you’re increasing blood flow, kneading the soft tissue and stimulating the nerves, it’s normal to experience some soreness and inflammation at first.
“You’re breaking down the adhesions and pushing fluid through, so you’ll almost feel a little bruised,” she explains. To combat this, make sure you take at least a day off between sessions to heal. Drink plenty of water, slather on some topical arnica gel (available at most natural markets), and if the soreness is intense, you might consider taking an anti-inflammatory medication (if your doctor approves). After a few weeks, your recovery time will decrease, and you’ll be able to tolerate longer, more frequent sessions.
Know Your Limits
A little rolling goes a long way, says Cressey, so avoid overdoing it. “Look for achiness in or around your joints, or if the muscle feels hot to the touch, you may need some extra time to heal,” he says. He also advises his clients to stay away from rolling sensitive areas such as the lower back. “There really isn’t enough muscle mass there to protect you from rolling directly on your spine,” he explains. “Instead, focus on lats, pecs, the thoracic area and the rest of the lower body.”
In general, stay on soft tissue and avoid rolling directly on bone. And, if your tightness is the result of an injury, see a doctor before attempting self-myofascial release, say both experts.
But if you’re simply trying to improve your weekend tennis game, gain more flexibility to keep up with your kids or kick that chronic knee pain, a few sessions per week could be just the thing to get you playing — or playing around — pain-free.
How to Use a Foam Roller
Start with these beginner moves suggested by Boston-based strength and conditioning coach Eric Cressey, MS, CSCS.
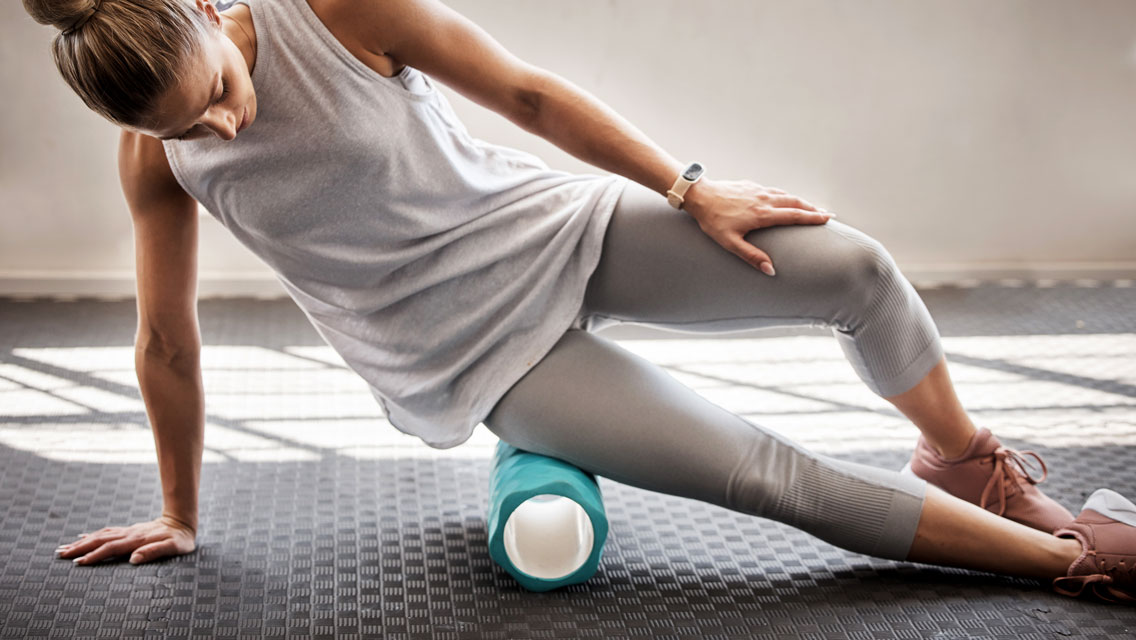
Lower Body: The I.T. Band
Step 1: Start by lying on your side with the roller positioned perpendicular to your bottom leg, just below your pelvis. Your top leg can be stacked on top of your lower leg, or positioned in front of you, for balance.
Step 2: Using your hands for support, roll from the top of your outer thigh down close to your knee, letting your front leg straighten as you go. Pause over any spots where the tissue feels especially tight or knotted, and hold for 10 seconds. Repeat the motion, rolling from your knee back up to your thigh. Repeat on your other leg.
Payoff: By working the I.T. band, you can relieve hip and knee pain and increase your range of motion as you walk and run.
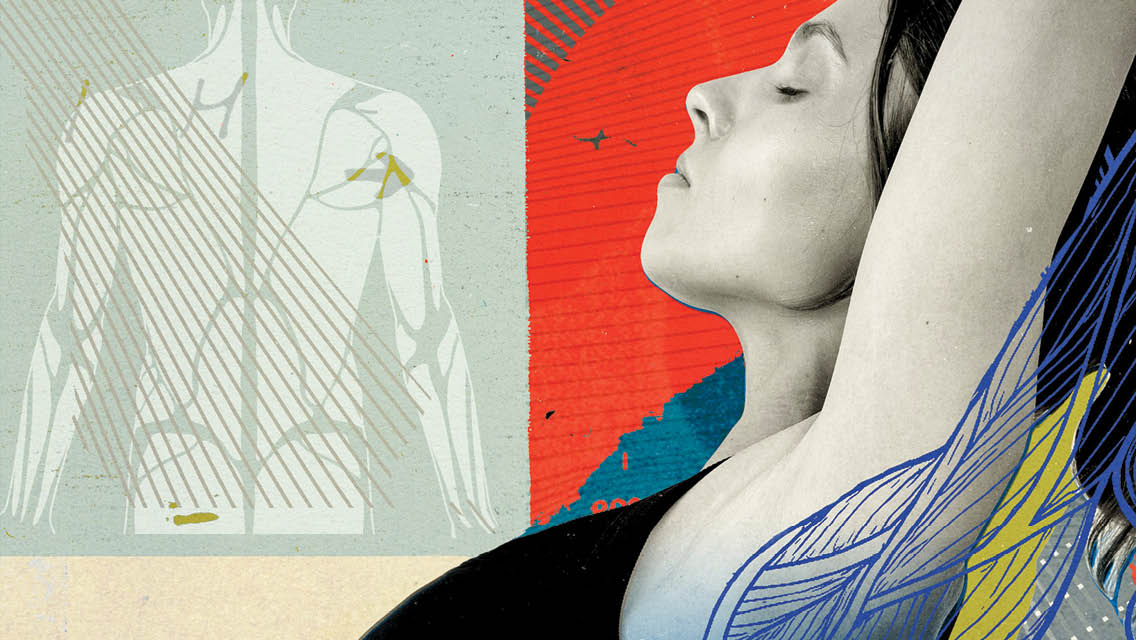
Upper Body: Thoracic Extensors, Trapezius and Rhomboids

Step 1: Lie on your back with your arms behind your head and the roller positioned in the middle of your back, just below your shoulder blades and perpendicular to your spine. Your knees should be bent, with your glutes and feet flat on the floor.
Step 2: Use your feet to control your balance and the amount of body weight you place on the roller. Begin by rolling toward your head. Pause over any sore spots, and repeat the motion downward. Don’t roll lower than your mid-back.
Step 3: If your shoulders are tight, you can angle the roller slightly outward and repeat the motion, beginning at the center of your back and rolling toward your armpit.
Payoff: Releasing tension in the upper back and shoulders can improve your posture, relieve tension headaches, and increase range of motion as you serve a tennis ball or reach for something on a high shelf.


Comments (0)