

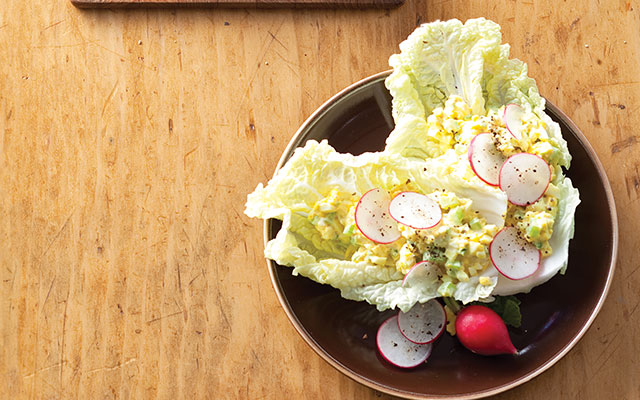
Boiled eggs may be the perfect candidate for meal prep: quick, portable, and protein-packed. They keep for up to a week in the fridge and are great as a standalone snack or for rounding out lunchtime faves like grain salads or roasted veggies.
And yet a hard-to-peel egg can ruin your day. There’s a lot of lore around what makes for the perfect boiled egg, whether it’s adding baking soda to the water or poking a hole in the shell before you boil it. We set out to cut through the noise and offer our preferred technique for reliably delicious eggs, every time.
DO use older eggs (if you have them).
Cooking hard-boiled eggs is a great way to use up not-so-fresh eggs. Older eggs have more-alkaline whites that won’t bind to the shell membrane as much, which makes for easier peeling.
If you have fresh eggs from your backyard chickens or a local farm, wait at least a few days before hard boiling to allow the pH of the whites to increase. Your grocery-store eggs will have aged sufficiently by the time they come home with you, so you don’t have to wait for your supermarket eggs to be ready for hard boiling.
Keep in mind that older eggs have both thinner whites and a larger air cell, which can lead to eggs with off-center yolks and a flat top at one end. But don’t worry — they’ll still taste great.
DO use room-temperature eggs.
Adding cold eggs directly to boiling water will decrease the water temperature, which will affect your cook time. That’s why we bring our eggs to room temperature before cooking. Cold eggs placed into hot water are also more likely to crack from thermal shock.
DON’T poke a hole in the shell before boiling.
Studies have indicated that this doesn’t make eggs any easier to peel, and it’s likely to lead to more cracked shells. It may also create occasional “craters” in your egg-white, from boiling water bursting into the shell.
DON’T add vinegar, baking soda, or salt to the water — maybe.
If your goal is an easy-to-peel egg, you can skip these additions, which don’t seem to have an impact on peelability.
If you’re worried about your eggs cracking during their cook time, though, these additions may help. Vinegar or salt will decrease the temperature of coagulation, and baking soda can induce gelling — so if your eggs crack while boiling, this could allow for the egg white to coagulate quickly and seal the crack rather than seep out through it.
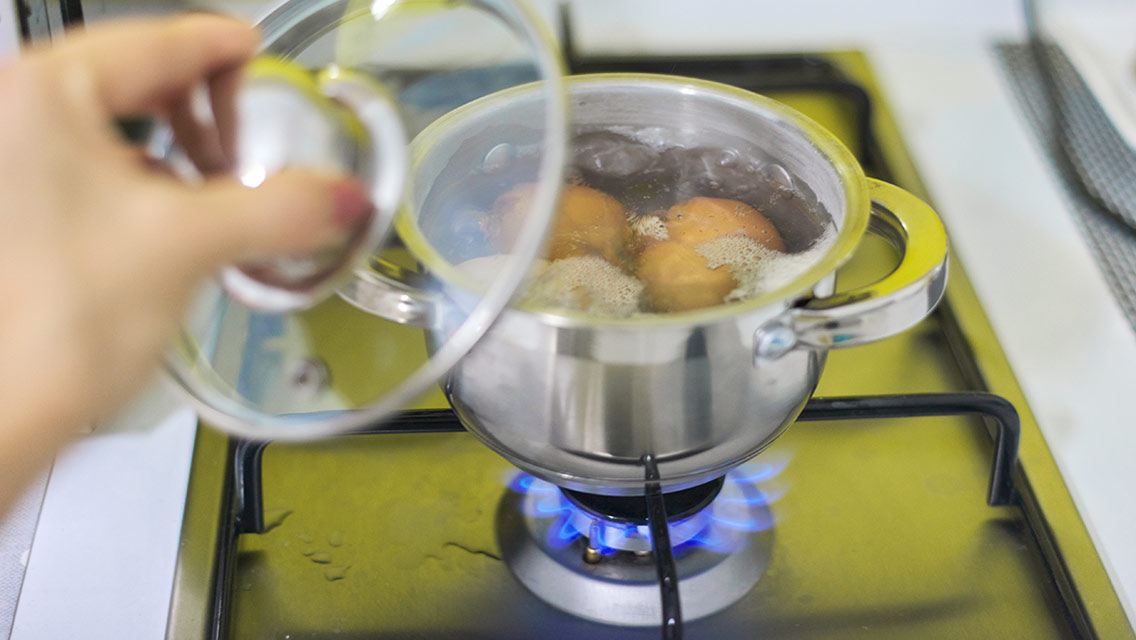
DO start the eggs in boiling water.
Bring the water to a rolling boil first, then gently add your eggs. Eggs cooked in already-boiling water will peel more easily. Food writer J. Kenji López-Alt likens this step of the process to searing a steak, where you place the meat on an already-hot surface to encourage the outer layer to cook quickly. If you start your steak in a cold skillet, it’s almost guaranteed to stick.
DON’T keep the water at a rolling boil.
Egg-white proteins coagulate between 144 and 149 degrees Fahrenheit, while yolks coagulate between 144 and 158 degrees Fahrenheit. Water boils at 212 degrees Fahrenheit, so cooking eggs at a rolling boil is going to lead to tough whites and chalky, overcooked yolks — and probably some cracked shells from all the continuous movement.
Our method involves giving the eggs a quick “sear” in the boiling water, so the whites closest to the shell coagulate quickly. Then, we’ll lower the temperature to a very low simmer to gently cook the egg through.
DON’T peel the eggs until just before eating.
Leaving cooked eggs in the shell is ideal for preventing bacterial growth, so leave the shell intact until just before eating. They’ll stay fresher this way, and the shell prevents the egg from drying out.
DO cool the eggs in an ice bath after cooking.
Your eggs will continue cooking even after they’re removed from the boiling water, but an ice bath will stop this process and prevent overcooking. Occasionally, overcooked yolks will also have a greenish tinge — the result of a reaction between the iron in the yolk and the hydrogen sulfide in the whites, both of which are released during cooking. An ice bath will draw the hydrogen sulfide from the surface of the yolk, preventing or at least limiting the green-ring formation.
If you still see a greenish layer on the outside of your yolks, don’t worry — they’re completely safe to eat!
DO use the right equipment for the job.
This recipe calls for a large, deep pot with a lid. A deeper pot makes it easier to place the eggs in the boiling water gently without having them crash to the bottom and crack. A large pot of water brought to a rolling boil also won’t be as easily shocked with the addition of room-temperature eggs and will remain boiling — this, along with the lid, allows for better control of the water temperature. A slotted spoon can also be useful for gently lowering the eggs into the pot of boiling water.
DO peel your eggs under running water.
This ensures that every piece of shell will get removed from the white. Use a drain catcher or strainer to catch the bits of shell for easy cleanup.
DON’T sweat it if your egg doesn’t peel cleanly.
At the end of the day, losing a little bit of the white — although frustrating — is no big deal! It won’t make or break your nutrition goals, and the yolk and remaining white will certainly still make for a satisfying snack.
Boiled Eggs
Ingredients
- 10–12 large ice cubes
- 6 large eggs, room temperature
- 3 quarts water, plus more for the ice bath
Directions
- Bring a large pot of water to a rolling boil. Once boiling, use a slotted spoon to carefully lower the eggs into the boiling water.
- Allow the eggs to boil for 30 seconds, then reduce the heat to a low simmer, cover, and cook to desired doneness: 6 minutes for a runny yolk, 8 minutes for a jammy yolk, and 13 minutes for a hard yolk.
- While the eggs are cooking, prepare an ice bath. Fill a large bowl or a clean sink with enough cold water and ice to fully submerge all of your eggs.
- Remove the eggs from the water with a slotted spoon and submerge them in the ice bath for at least 15 minutes to cool completely. Refrigerate and store in the shell.
- Enjoy within a week and peel just before eating by gently cracking the shell on a solid surface until the egg has a small web of cracks around the entire surface. Peel under running water, starting at the large base of the egg.


Comments (1)
Wow! What a lot of fuss and bother!
When I want to use an egg right after I boil it –especially, but not necessarily, if it is fresh from one of our hens — I simply crack it to get a small opening, and hold it under a thin stream of very cold, running water so that the water gets between the shell and the inside of the egg. The shell ceases to adhere and comes off quickly and easily, often in large pieces. Then you can do something else!