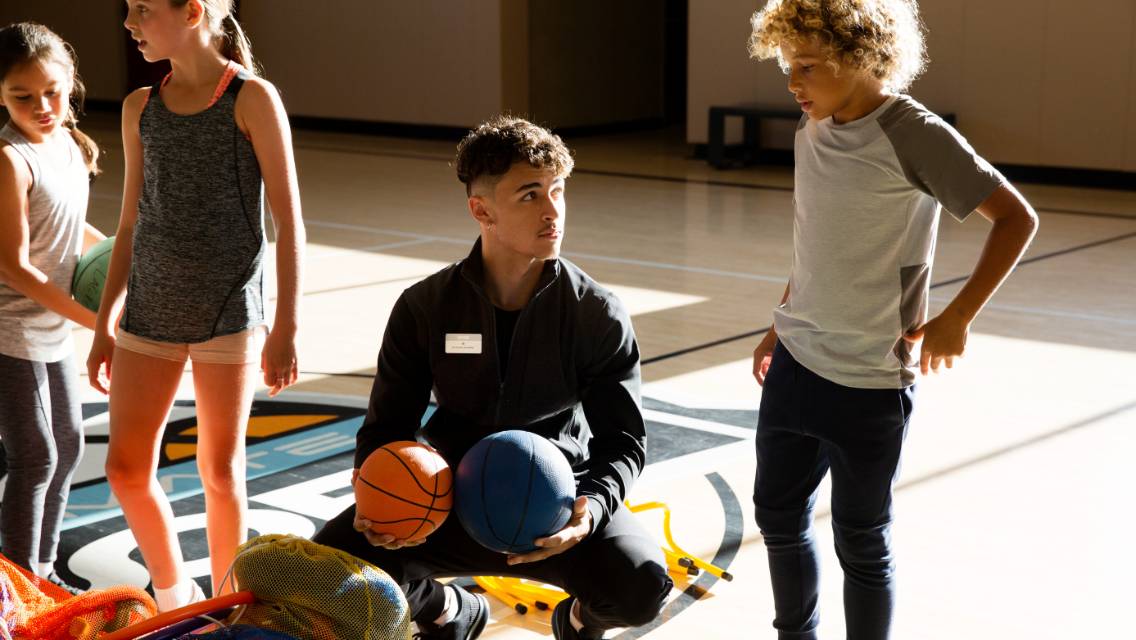
Learning how to safely and properly strength train from a young age can set your child up for success with this fitness modality for the long-term. It also makes exercise feel special: For our teen Life Time members, it’s an exciting milestone to be able to use the workout floor once they hit that age 12 (age 11 with parent/guardian supervision).
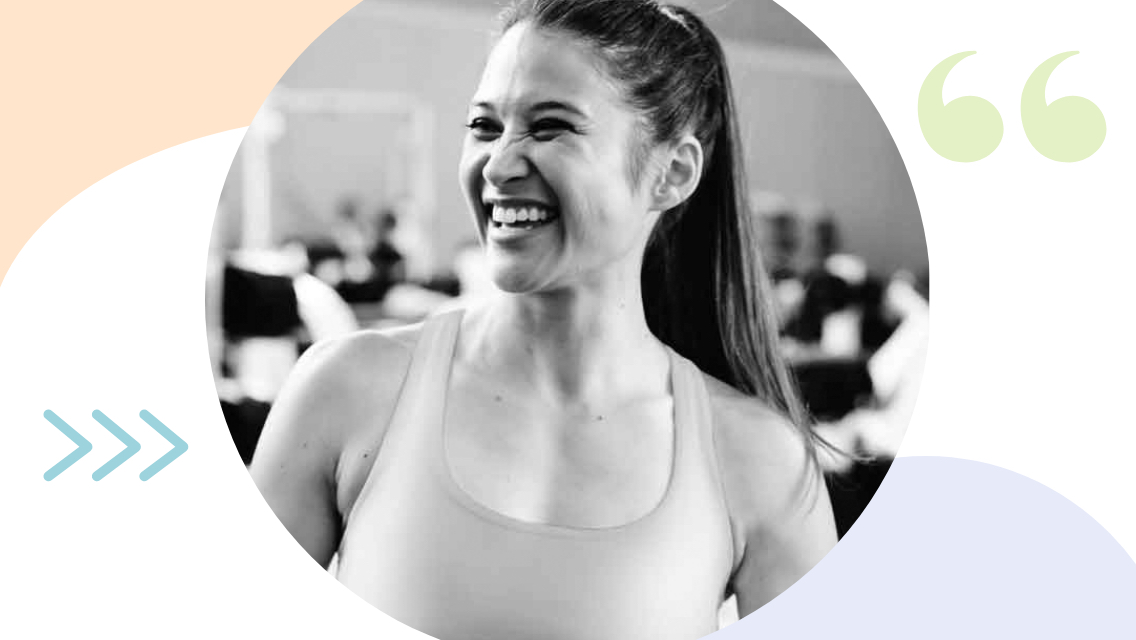
Someone who knows all about role-modeling positive fitness habits is Becca Rigg, a personal trainer, studio performer, and Alpha coach at Life Time in New Hope, Minn. She has five kids: Teya (16), Brinley (14), Camden (11), Nori (8), and Kenai (5). Her teens value movement, exercise, and building strength, and consistently participate in strength workouts two to three times per week.
“Strength training is so important for my kids for two reasons,” explains Rigg. “First, they build confidence and self-esteem. I love the message teenagers receive when exercising in this way: They learn that even though what they’re doing may be hard, they’re getting stronger. They find it rewarding to see results, too.
“Second, it’s so beneficial for their bodies — it’s great for bone and metabolic health, as well as for their joints and ligaments. If teenagers are playing sports, strength training in particular can most likely make them better, faster, and stronger.”
Sometimes, adults who start training in their later years have a harder time sticking with their workout plan. Rigg believes this obstacle can be avoided if kids get involved early on. “A lot of the personal trainers I know who make strength training part of their lifestyle now credit working out in their teens to getting them started. It’s just second nature to them,” she says.
It’s important to be mindful of the training plan for this age group and not overdo it because their bodies are still growing and developing. Rigg recommends teenagers start with a high number of reps and a low amount of weight and master proper techniques to prevent injury. “Yes, your kids will feel sore, especially at the beginning,” Rigg says. “But you don’t want them to feel super sore. If they can’t walk the next day, then they went too hard.”
If your teen is interested in giving strength training a go, encourage them to try this full-body, functional workout — or do it with them! Rigg specifically designed it for this age group (as you can see modeled by her daughter, Brinley!). Teens can feel good about completing this workout two to three times per week.
Directions:
Complete the warm-up before moving on to perform the three strength circuits. The full workout should take roughly 60 minutes.
The Warm-Up
Alternate between one minute of walking and one minute of jogging or speed walking on the treadmill for a total of 10 minutes.
The Workout
Equipment needed:
- Treadmill
- TRX Straps
- Workout mat
- Light- to medium-weight dumbbells
- Kettlebell (optional, could also use a dumbbell)
- Box or bench
Circuit 1
| Exercise | Reps | Total Sets |
| TRX-Supported Alternating Lunges | 12 on each side | 3 |
| Half-Kneeling Single-Arm Dumbbell Shoulder Press | 10 on each side | |
| Glute Bridge | 15 |
TRX-Supported Alternating Lunges
- Stand tall holding a TRX strap in each hand. (These will provide support and balance through the movement.)
- Step backward with your left leg and slowly lower your body until your front knee is bent to at least 90 degrees and your rear knee is hovering above the floor; keep your torso upright the entire time.
- Pause briefly, then push off your left foot to return to the starting position.
- Step backward with your right leg to repeat the movement on that leg.
- Continue alternating the lunges on each side until you complete all reps.
Half-Kneeling Single-Arm Dumbbell Shoulder Press
- Select a light- to medium-weight dumbbell and grip it with your right hand using a neutral grip, palm facing in.
- Position yourself in a half-kneeling position on the floor, with your right knee on the ground, directly below your right hip, and your left knee up and bent at about a 90-degree angle.
- Bend your elbow so it’s positioned near the side of your chest and bring the dumbbell to your shoulder.
- Keep your head up, shoulders back, and spine neutral.
- Press your arm straight up, flexing your shoulder to rotate your arm so your palm is facing forward as you extend the dumbbell above your head.
- Pause briefly at the top of the motion before reversing the movement to return to the starting position.
- Repeat, completing all reps on one side before switching legs and arms to complete reps on the opposite side.
Glute Bridge
- Lie on a mat on the floor with your knees bent, feet flat on the ground, and arms at your sides, palms facing down; keep your gaze on the ceiling.
- Lift your hips off the ground until your knees, hips, and shoulders form a straight line. Squeeze your glutes and keep your abs drawn in, being careful not to overextend your back.
- Hold for a couple of seconds, continuing to squeeze your glutes, before easing back down to the ground with control.
- Repeat until you complete all the reps.
Circuit 2
| Exercise | Reps | Total Sets |
| Goblet Squat | 12 | 3 |
| TRX Body Row | 12 | |
| Plank Kettlebell Reach | 10 on each side |
Goblet Squat
- Stand with your feet hip or shoulder width apart and pointed straight out in front of you.
- Hold a light- to medium-weight dumbbell vertically at chest height, close to your body, with both palms underneath the top of the weight.
- Engage your core and squeeze your shoulder blades together.
- Sit your hips back and bend your knees to lower yourself into as low of a squat as you can while keeping your chest up and back straight (if your back starts to round, your squat is too low).
- Drive through your feet and squeeze your glutes as you return to a standing position.
- Repeat until you complete all the reps.
TRX Body Row
- Set up the suspension trainer so the handles of the TRX straps hang at chest height.
- Stand with your feet hip width apart, holding the handles with your palms facing each other.
- Lean back onto your heels until your arms are extended straight. The placement of your feet will determine how difficult the exercise is: The closer they are to the anchor point, the farther you’ll have to lean back, and the harder the movement will be. Conversely, the farther they are from the anchor point, the less you’ll have to lean back, and the easier the movement will be.
- Use your arms to pull your chest up between your hands, keeping your elbows close to your body and squeezing your shoulder blades together.
- Pause briefly, then slowly lean back until your arms are extended again.
- Repeat.
Plank Kettlebell Reach
- Assume a high-plank position with a kettlebell or dumbbell placed one to two feet in front of you.
- Reach forward with your right arm and tap the weight.
- Return your arm to the ground before tapping the weight with your left hand.
- Maintain a strong plank position while engaging your core throughout the entire movement. Keep a wide stance with your feet and try to keep your hips as stable as possible.
- Repeat, continuing to alternate between right- and left-hand taps until you complete all the reps.
Circuit 3
| Exercise | Reps | Total Sets |
| Elevated Pushup | 12 | 3 |
| Step-Up | 10 on each side | |
| Russian Twists | 10 on each side |
Elevated Pushup
- Stand facing a box or bench (a table could also work). Place your hands on the edge of the box just slightly wider than shoulder width. Your arms should be straight, but do not lock your elbows.
- Keep your body in a straight line like a plank. Focus on not letting your hips come too high in the air by engaging your core.
- Bend your elbows to slowly lower your chest to the edge of the box while inhaling. Keep your body straight and rigid throughout the movement.
- Exhale as you push your body up and away from the box until your elbows are extended (but not locked).
- Continue with slow, steady repetitions.
Step-Up
- Place your entire right foot onto a box or bench (a step or chair could also work). The rest of your body should be straight and upright.
- Press through your right heel to lift your body, bringing your left leg to a high-knee position as you are standing on top of the box.
- Lower, stepping down first with your left foot and then your right, so both feet are on the floor.
- Complete the movement again, this time with your left foot on the box and right leg in a high-knee position.
- Repeat, continuing to alternate your lead foot with each rep.
Russian Twists
- Sit on a mat and hold a light- to medium-weight dumbbell with both hands in front of you, one hand placed on each side of the dumbbell.
- Lean back about 45 degrees so your weight is balanced on your tailbone and your knees are bent with your feet raised slightly off the ground. Engage your abdominal and back muscles to maintain a straight spine. If you need more stability, you can cross your lower legs (or place your feet on the floor).
- Breathe steadily and deeply and keep your arms tucked in with your elbows at a 90-degree angle as you twist your torso to bring the dumbbell to one side of your body.
- Return to the center before twisting to the opposite side. Exhale with each twist and inhale as you return to the center. Allow your gaze to follow the movement of your hands.
- Repeat, alternating your twists from side to side.