


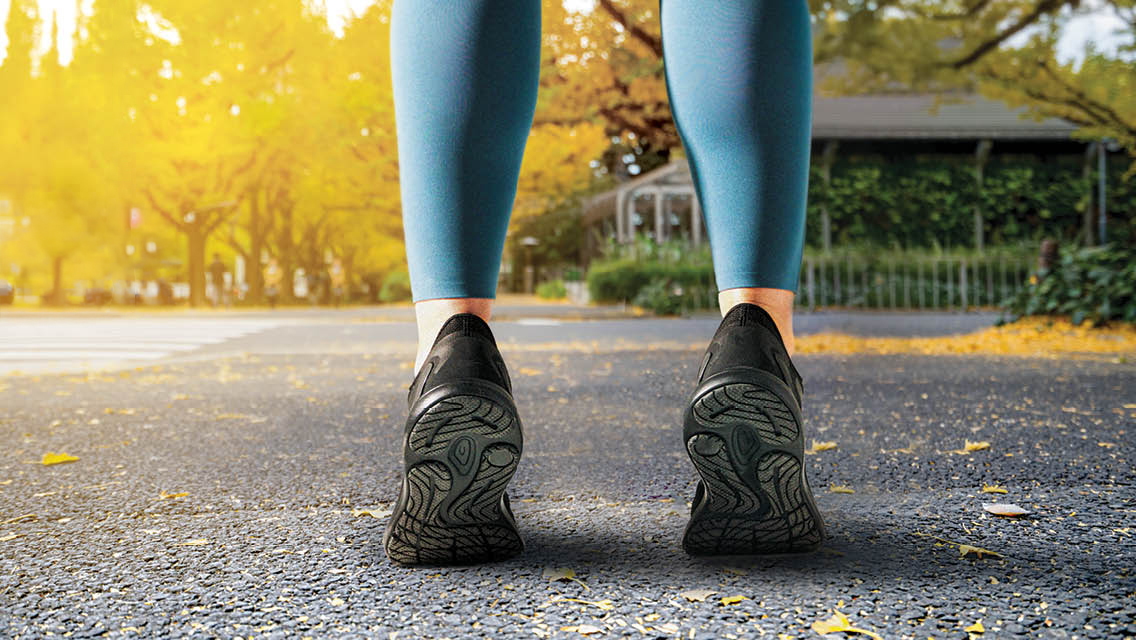
You might’ve heard that only when the knees are positioned directly over the heels are they “perfectly” aligned — and that any deviation can lead to pain and injury. But the knee is not so fragile. In fact, the knee naturally moves in various directions and can safely move back and forth over the toes.
“It’s not only OK for this to happen; it’s necessary for life and for sports,” explains kinesiologist David Mariani, BA, CSCS, a performance coach and biomechanics expert.
When it comes to joint mobility, motion is lotion. To build resilient knees for the long haul, Mariani emphasizes training joints at different angles through full ranges of motion.
“By preparing the knee for dynamic movements encountered in daily life, it reduces the risk of injury and enhances overall mobility,” he says.
While training the knees to move past the toes may initially feel uncomfortable, he adds, “we see most of our growth by leaning into discomfort.”
Moderation is crucial for avoiding overuse and injuries; listening to your body while gradually increasing exercise intensity over time (think weeks, months, and years) will help achieve the right balance and improve knee health.
The Moves
Mariani offers the following exercise progressions to begin strengthening and mobilizing your knees from the ground up. Perform these moves in order as a standalone workout or incorporate them into your routine. He notes that knee noise (like popping or cracking) is normal — especially when beginning a knee-focused program — but pain should be avoided. If anything causes pain, stop immediately and modify the movement, or check in with a professional.
1) Backward Walking
Perform for five minutes and up to 30 to 60 minutes. Start with shorter durations and slower speeds, and increase both gradually.
- Find a safe, open area free of obstacles.
- Step back with one foot, first pushing through the big toe and then lowering the heel.
- Follow with the other foot, keeping steps smooth and controlled.
- Maintain an upright position. Remain aware of your surroundings to avoid tripping.
- Breathe steadily, inhaling through your nose and exhaling through your mouth.
- Continue for five minutes and up to 30 to 60 minutes. Start with shorter durations and slower speeds, and increase both gradually.
Use a self-powered treadmill: With the treadmill turned on and speed set to 0 mph, stand on the belt facing away from the front of the machine. (If your treadmill doesn’t allow the belt to move without speed, set it to 0.5 to 1 mph.) Use the handrails for balance, as needed.
Use a weight sled: Load a sled with light weights and attach a harness or strap with handles. Focus not on speed but on maintaining smooth movement.
2) Tibialis Raise
Repeat for three sets of 15 to 20 reps.
- Stand 6 to 10 inches from a wall, facing away and with feet slightly narrower than hip width apart. Lean back so your glutes touch the wall. Hinge forward with a straight spine so your back is angled slightly away from the wall.
- Keeping your heels on the ground and legs straight, lift your toes slowly and with control. Over time, work on increasing the height of each toe lift.
- Pause briefly, then lower your toes back to the floor with control.
- Repeat for three sets of 15 to 20 reps.
Shift your feet: Move your feet farther away from the wall. (Conversely, make the move easier by bringing your feet closer to the wall.)
3) Reverse Step-Up
Perform three sets of 15 to 20 reps per side.
- Stand upright on a short, sturdy step or other base up to 8 inches high with feet hip width apart.
- Extend one leg forward, hovering your heel. Hold on to something for balance, if needed.
- Bend your planted leg as far as you feel comfortable, driving your knee past your toe. This range will gradually increase over time. The heel of your extended leg may tap the ground.
- Straighten your knee to return to the starting position. Breathe steadily, inhaling as you bend and exhaling as you straighten the knee.
- Perform three sets of 15 to 20 reps per side.
Elevate your heel: Stand with your planted heel elevated up to 15 degrees using a heel wedge or weight plate. Hold on to something for balance, if needed.
4) Knee-Over-Toes Split Squat
Perform three sets of eight to 12 reps per side.
- Stand in front of a step or other sturdy base that’s 24 to 36 inches high.
- Place one foot flat on the base so your knee forms a 90-degree angle.
- Extend the other leg behind you, resting on the ball of that foot.
- Place your hands on your hips and bend the front knee, driving the knee past the toes and bringing your hamstring toward your calf. Hold on to something for support to maintain proper form and deepen the knee bend, as needed.
- Keep your back leg and spine straight and your core engaged.
- Pause briefly, then return to the starting position with your knee at 90 degrees. Breathe steadily, inhaling as you bend and exhaling as you straighten.
Lower your front foot: As your strength and mobility improve over time, gradually lower the elevation of the front foot until you’re able to perform the exercise on flat ground. Perform three sets of eight to 12 reps per side. Make sure that you don’t sacrifice form or range to lower your foot.
Add load: Grasp dumbbells at your sides, hold a kettlebell goblet-style at chest height, or place a barbell across your shoulders to increase the difficulty. Work up to performing five sets of five reps per side with a heavy load, without sacrificing the form of an unweighted knee-over-toes split squat.
5) Heels-Elevated Squat
Repeat for three sets of 15 to 20 reps.
- Use a 30-degree slant board or weight plate to elevate your heels, keeping the balls of your feet on the ground. Stand with your feet slightly wider than hip width apart, angled outward at 10 to 20 degrees.
- Engage your core and bend your knees to lower your hips straight down. Maintain a vertical spine, with your shoulders over your hips; avoid leaning forward or shifting the hips backward.
- Lower your hips as far as possible, aiming to bring your hamstrings down to your calves.
- Pause briefly, then press through your feet to stand and return to the starting position. Again, avoid shifting your shoulders or hips.
Add load: Hold a weight goblet-style at chest height to increase the difficulty, without sacrificing the form of an unweighted heels-elevated squat.


Comments (1)
Hi! I love the videos on demonstrating the knee exercises! Very helpful. I would love to know what part of the knee is affected/benefited by each exercise and how it’s affected/benefited. Thanks!