Some days, a full workout simply isn’t in the cards — maybe your schedule is packed, your energy is low, or an unexpected obstacle deters your plans. It can be tempting to skip your workout altogether, but it doesn’t have to be an all-or-nothing decision.
“Short, efficient workouts can still deliver meaningful benefits, helping you maintain consistency and supporting your overall health and fitness goals,” says Hannah Ewert, Dynamic Personal Trainer at Life Time in Berkeley Heights, N.J. “It all has a compounding effect, just like a building is built brick by brick. Even if the workout is only 30 minutes, keeping that commitment to yourself is still drastically more meaningful than time spent just thinking about it.”
While shorter sessions aren’t meant to replace more comprehensive workouts, they can serve as a powerful tool on days when time or energy is limited. “Shorter workouts can be a backup plan in your toolbox,” says Ewert. “Having a few ‘backup’ workouts in mind can help guarantee you still get movement in without stressing about it.”
Yet even if you’re feeling rushed, Ewert emphasizes the importance of slowing down enough to be present. “If you rush a workout, it can negatively affect your form, which can cause injury and leave you more stressed [because it derails] your regular workouts,” she says.
To that end, Ewert created the following 30-minute-or-less strength and conditioning workouts — which include warm-ups and cool-downs — as options to add to your backup toolkit.
“These are designed to be simple, scalable, and effective for a wide range of people — from beginners to experienced lifters and competitive athletes,” says Ewert. “They can be adjusted using bodyweight movements, moderate resistance, or heavier loads depending on experience and training goals.”
Universal Warm-Up
Typical warm-up time is eight to 10 minutes. “A warm-up is not optional when it comes to injury prevention,” says Ewert. “If you’re short on time, one set of each can be completed; for a longer workout, do up to three sets of each move.”
- Soft tissue work: Foam roll tight areas rather than entire muscle groups. (Moves to try: “5 Beginner Foam-Rolling Moves.”)
- Dynamic stretching: Perform the World’s Greatest Stretch, completing 5 to 10 reps on each side. (See instructions: “The World’s Greatest Stretch.”)
- Activation drills: Do movements such as scapular push-ups or dead bugs for 5 to 10 reps. (See instructions: “Scapular Pushups” and “Dead Bugs.”)
- Central Nervous System stimulation: Perform 5 to 10 reps of seated high jumps to prepare for higher-intensity work.
Workout No. 1: Full-Body Strength and Conditioning Circuit
This is an EMOM (every minute, on the minute) workout designed to keep you moving the entire time. Perform each exercise for a full minute, then immediately transition to the next. Rest for a minute. If applicable, use light weights for added challenge.
Complete three to five rounds total.
| Minute | Exercise |
| 1 | Squat |
| 2 | Assisted pull-up |
| 3 | Push-up |
| 4 | Single-leg deadlift |
| 5 | Rest |
Squat
- Stand with your feet about hip width apart and planted firmly on the ground, hands in front of you or on your hips.
- Brace your core, and, with control, bend your knees and hips to squat down until your thighs are about parallel to the ground.
- Press through your feet to stand up while maintaining a braced core.
Assisted Pull-Up
- Take an overhand, shoulder-width grip on a pull-up bar and hang from it with your arms straight.
- Without swinging, pull yourself upwards until your chin clears the bar. Instead of just pulling with your arms, think about driving down with your elbows.
- Slowly lower yourself with control to the starting position. Avoid swinging and prioritize control in both directions.
Make it easier: Loop a large resistance band around the bar and use it for assistance.
Push-Up
- Start in a plank position with your hands slightly wider than shoulder width, arms straight (but not locked), head neutral, and core tight.
- Bend your elbows, pointing them slightly backward and to the sides; do not let them flare out much beyond 45 degrees. Lower your body until your triceps are about parallel to the floor.
- Aim to tap your chest to the floor (but don’t lie down). Pause for a moment at the bottom and exhale as you push back up to the starting position.
Make it easier: Perform on your knees or with your hands elevated on a bench or other sturdy platform.
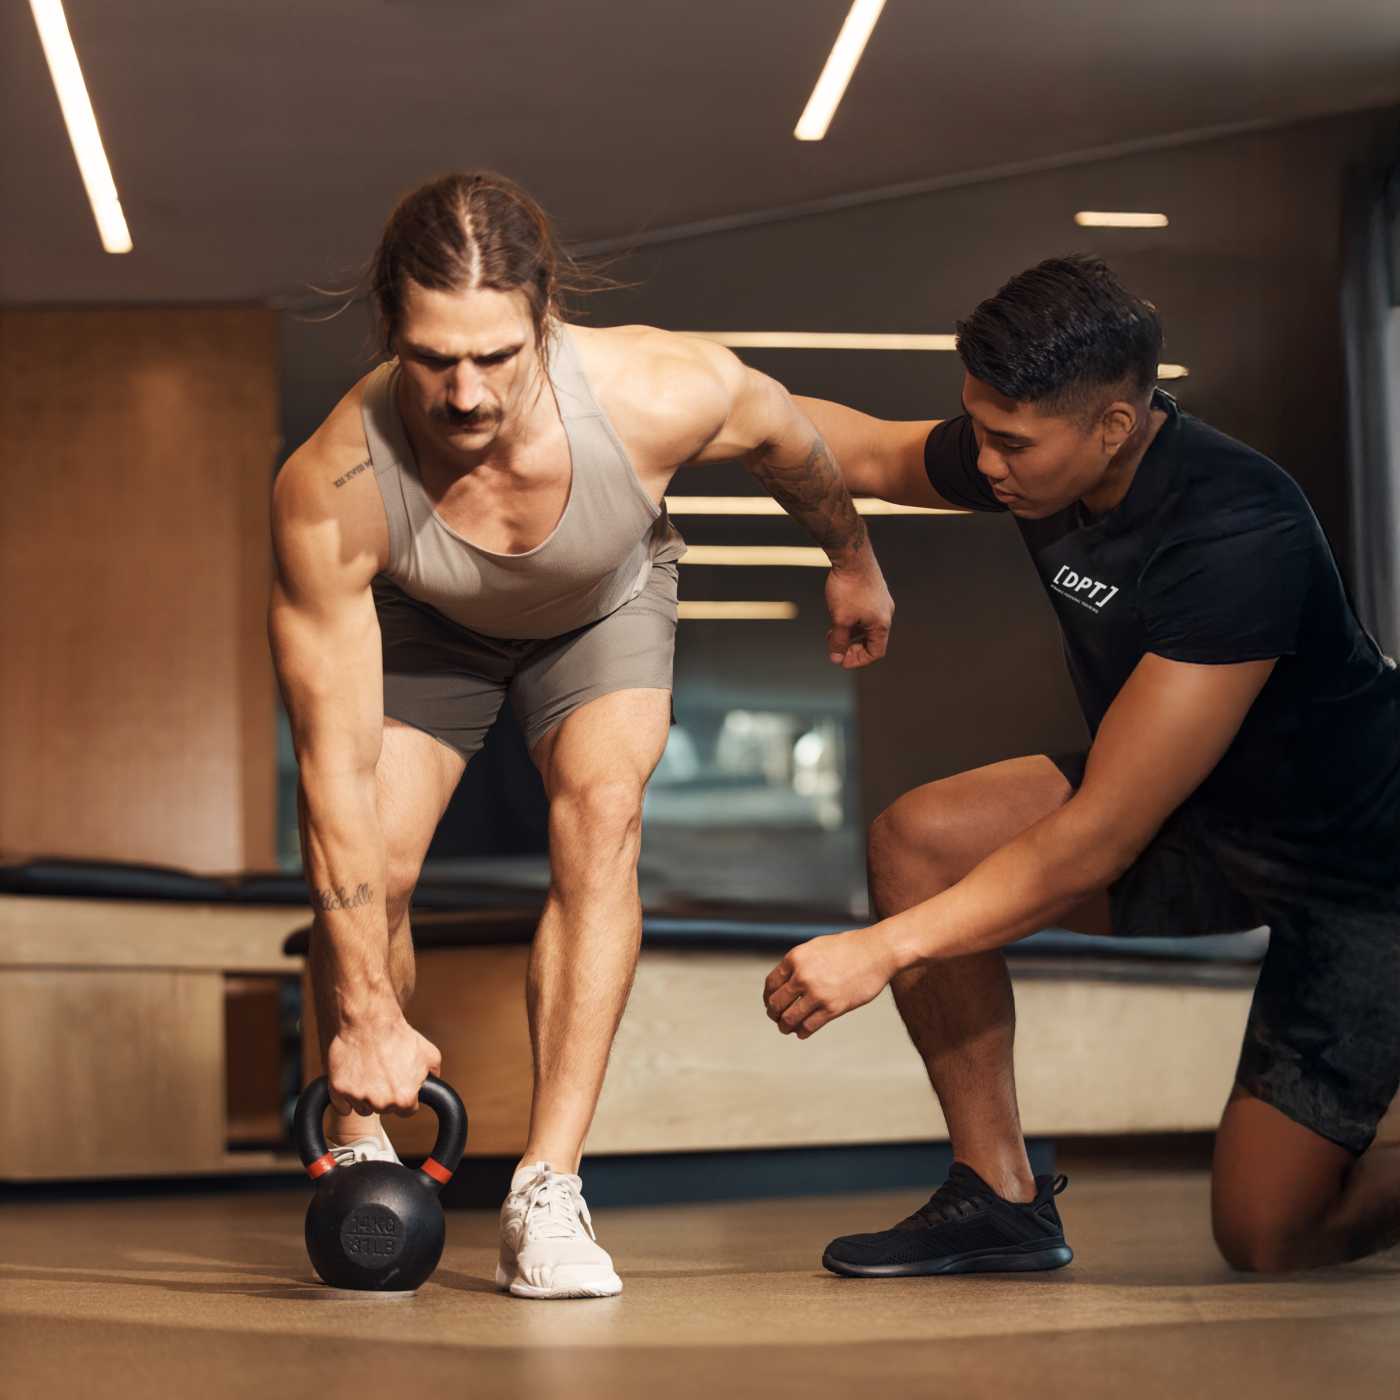
Single-Leg Deadlift
- Shift your weight into your left leg, keeping a soft bend in your knee.
- Hinge at the hips to lift your right leg behind you as you lower your ¬upper body toward the ground. Extend until the right leg is about parallel to the floor.
- Return to the starting position, slowly and with control. Repeat for desired reps, then switch sides.
Workout No. 2: Full-body Strength and Conditioning Circuit
This is a volume-based load accumulation workout, where you accumulate the following total reps or distance using as many sets as needed. Perform exercises as supersets, alternating between A1 and A2 until the total repetitions are completed, then move to B1 and B2, and finally, C1 and C2.
“Choose loads that allow you to complete the workout with two to four sets per exercise,” says Ewert. “Make sure to rest for 60 to 90 seconds between exercises.”
- A1: Dumbbell deadlift for 25 reps
- A2: Dumbbell chest press for 50 reps
- B1: Squat for 25 reps
- B2: Dumbbell bent-over high row for 50 reps
- C1: Loaded carry for 60–90 seconds at a moderate pace.
- C2: Hip thrust for 75 to 100 reps
How to make it easier or harder:
| Beginner | Use bodyweight or light dumbbells. Focus on learning movement patterns and maintaining control. |
| Intermediate | Use moderate resistance that creates fatigue while maintaining good form. |
| Advanced | Use challenging loads on compound lifts while maintaining strong technique. |
A1. Dumbbell Deadlift
- Stand with your feet shoulder width apart, toes pointing straight forward or slightly outward. Hold a dumbbell that’s a challenging weight for you in each hand in front of your thighs with your palms facing your body.
- Hinge at the hips and push your butt back as far as you easily can, lowering the dumbbells along the front of your legs.
- Lower until the dumbbells reach about mid-shin level or you feel a stretch in your hamstrings.
- Drive your hips forward as you stand back up, keeping the dumbbells close to your body.
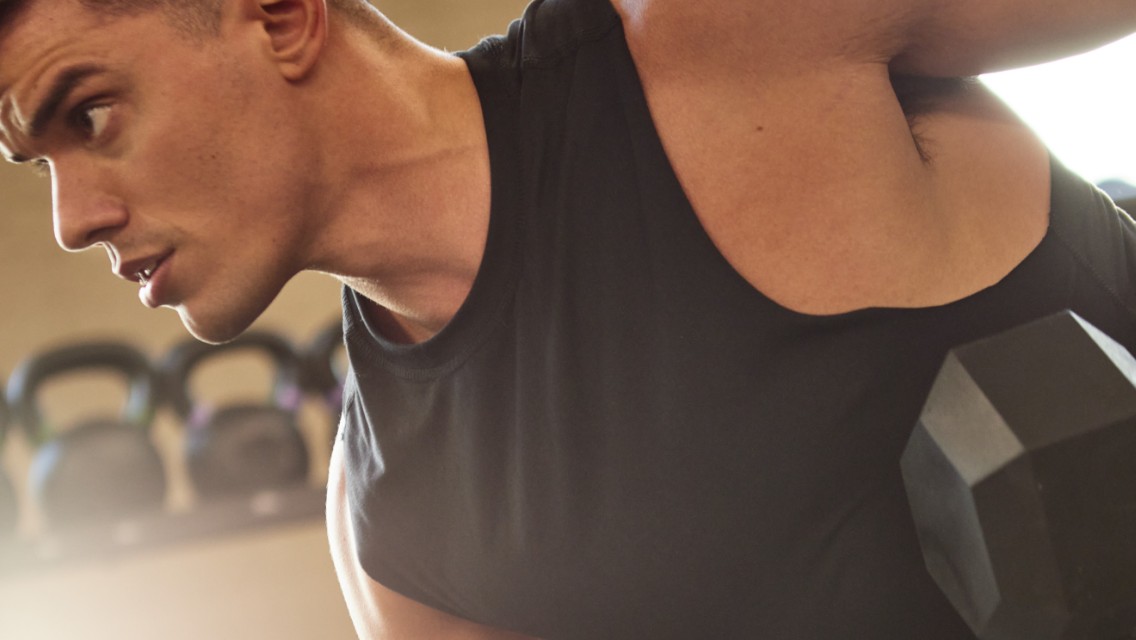
A2. Dumbbell Chest Press
- Holding a set of dumbbells that’s challenging weight for you (if you’re a beginner, start with 10 to 15 pounds), lie back on a flat bench and position the weights at chest-level.
- Press both dumbbells straight up toward the ceiling. After a brief pause, lower the dumbbells back to chest-level.
B1. Squat
- Stand with your feet about hip width apart and planted firmly on the ground, hands in front of you or on your hips.
- Brace your core, and, with control, bend your knees and hips to squat down until your thighs are about parallel to the ground.
- Press through your feet to stand up. Squeeze your glutes at the top to achieve a full lockout.
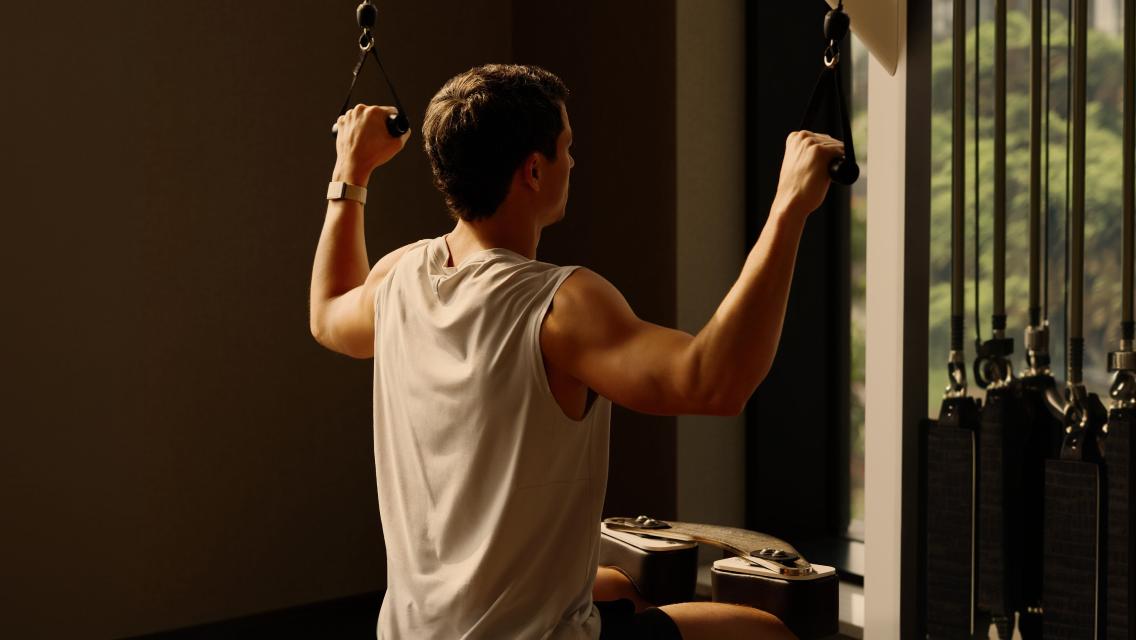
B2. Dumbbell Bent-Over High Row
- Keeping your torso long, slowly retract your shoulder blades and lift the weights toward your ribs until your triceps are about parallel to the floor.
- Pause at the top for a count of one, then lower your arms.
C1. Loaded Carry
- Stand with two heavy weights — kettlebells, dumbbells, or weight plates — on the floor, one at each side. Hinge at the hips to reach down and grasp the weights, and then deadlift them to stand up, weights at your sides.
- With glutes engaged, core braced, and shoulders drawn back and down, walk forward quickly in a straight line.
- Walk about 20 yards, then set the weights back on the floor with control by hinging at the hips and bending at the knees. Turn around and repeat the exercise in the opposite direction.
C2. Hip Thrust
- Sit on the floor and position your upper back against a flat bench.
- Roll a loaded barbell up your legs to the crease of your hips and bend your knees so your feet are flat on the floor. (If needed for comfort, place a rolled-up yoga mat between your hips and the bar.) You can also use dumbbells.
- Hold the barbell or dumbbells in place and press your hips into the air until they are fully extended. Your back should rest on the bench.
- Lower your hips and the barbell back down, keeping your upper back pressed against the bench throughout the movement.
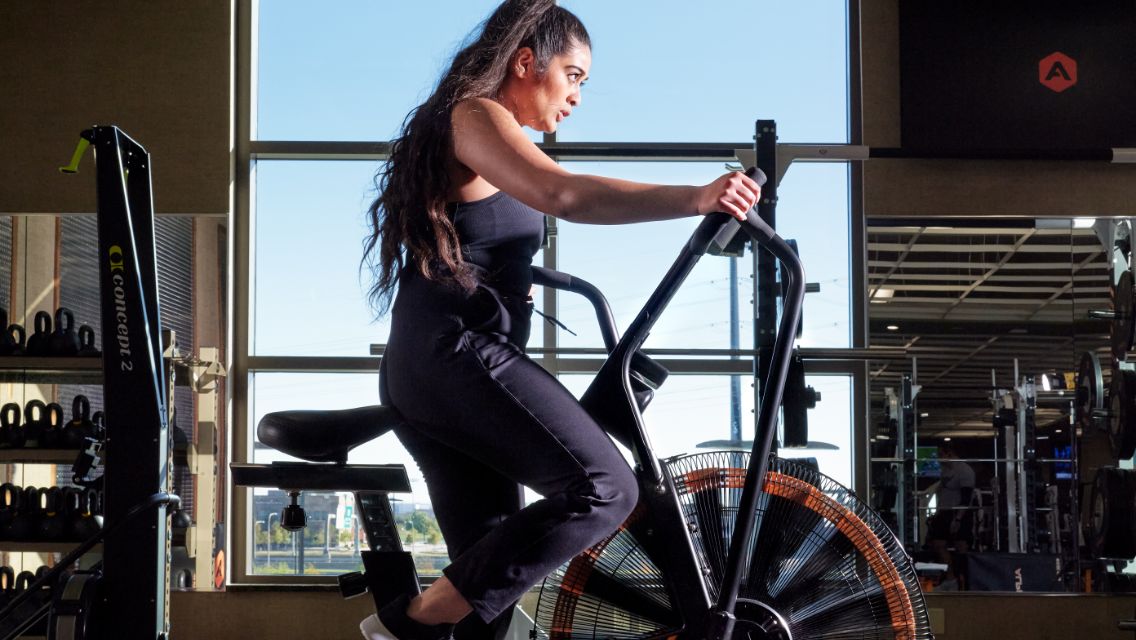
Workout No. 3: Norwegian 4×4 Conditioning Protocol
“Performed on the treadmill, the Norwegian 4×4 protocol is one of the most researched interval methods for improving VO2 max and cardiovascular capacity,” says Ewert. “But for beginners, it’s especially beneficial for building and increasing base conditioning capacity and threshold.”
This can be a minimum session time of 30 minutes, according to Ewert. “Beginners may start with two to three intervals rather than the full four rounds,” she says. “If you’re not tracking your heart rate with a wearable device, use Rate of Perceived Exertion (RPE) as your guide — though HR monitoring is more accurate/effective.”
Instructions
Based on your heart-rate zones or the RPE scale, choose the speed that’s appropriate for you at each of the paces with no incline on the treadmill.
- Start with five to 10 minutes at an easy pace or 1–4 RPE.
- Progress to four minutes of hard effort or 8–10 RPE.
- Move to a pace of easy recovery for three minutes or 1–4 RPE.
- Repeat for four total intervals.
RPE Effort Scale
| RPE | Effort Description |
| 1-2 | Very light effort/recovery pace |
| 3-4 | Easy conversational pace |
| 5-6 | Moderate effort |
| 7 | Challenging but sustainable |
| 8 | Hard effort |
| 9 | Very hard effort, near max |
| 10 | Maximum effort |
Universal Cool-Down
Typical cool-down time is 10 minutes. “Like the warmup, your cool-down time should not be neglected or skipped,” says Ewert. “This helps mitigate pain and improve performance for your next workout.”
- Low-intensity steady state: “Walk on the treadmill at a slow, conversational pace for five to 10 minutes to gradually lower your heart rate.”
- Soft tissue work: “Use a foam roller for two to three minutes per worked muscle group to improve tissue quality and relax the nervous system,” Ewert says.
- Bi-phasic stretching: “Combine static holds with small rhythmic pulses to improve tissue quality and relax the nervous system,” she adds. “Focus on the muscles that feel tight from your workout.”
- Corrective flow: “Move through slow, controlled full-body exercises to restore fluid joint mechanics after training,” Ewert says. “Focus again on the muscles that were worked. For example, if the workout included a squat, hold a deep squat position and rock side to side to release muscle adhesions.”
- Recovery breathing: “Lie on your back with your legs elevated and focus on long, slow exhales to shift into a rest-and-digest state,” she says.