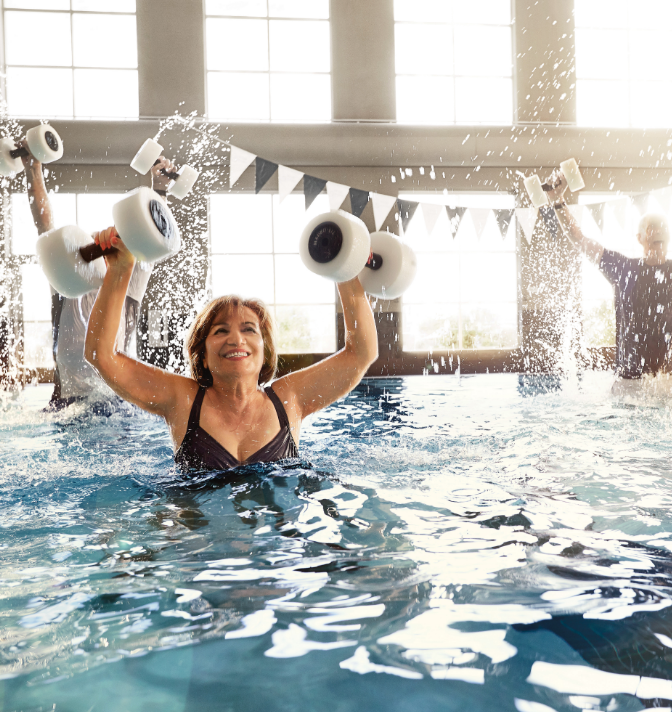
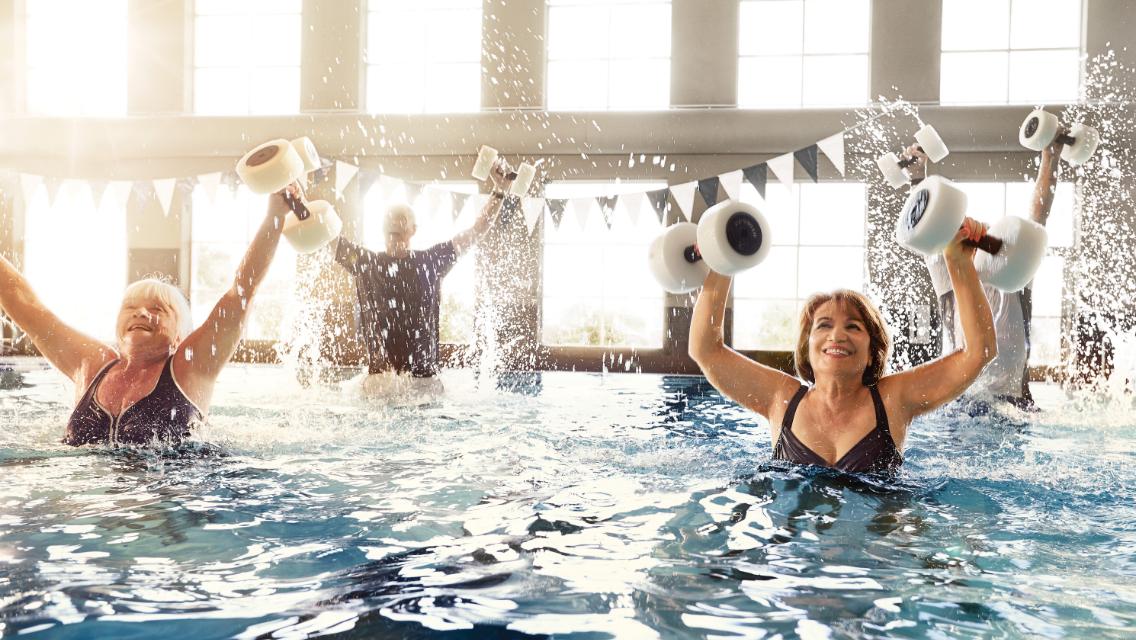
As the years pass, it can be challenging to move your body regularly or in the ways you once did. Yoga is a gentle, yet effective, practice that gets you moving, while also helping to maintain mobility and improve flexibility, strength, and balance — in addition to its other holistic advantages.
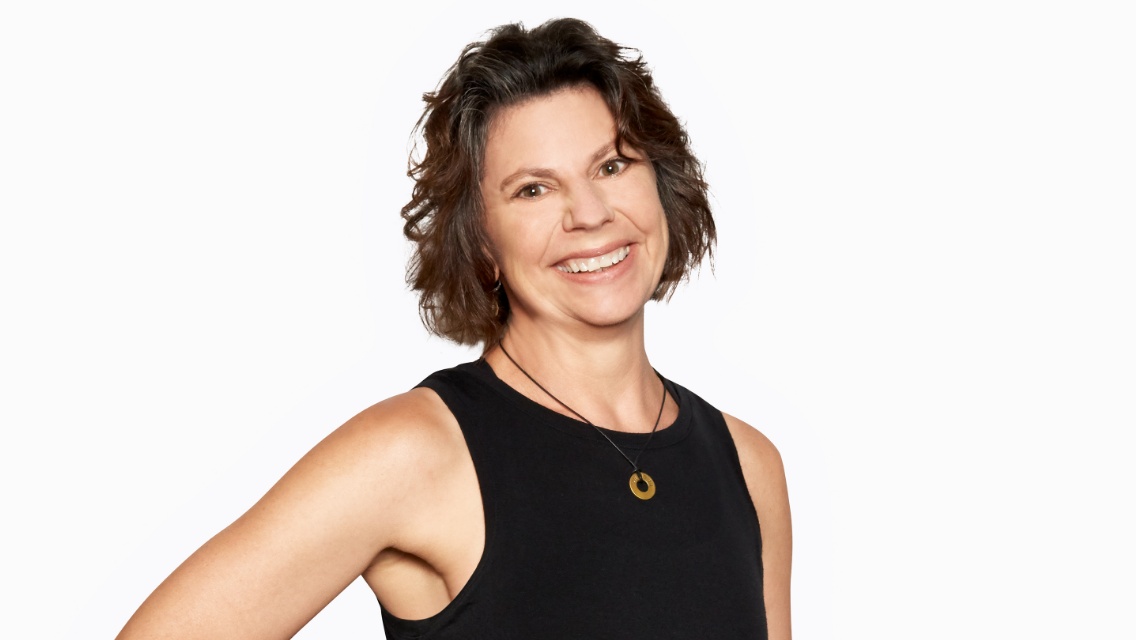
“Yoga offers several benefits for healthy aging,” says Rachel MacCarreall, certified yoga instructor at Life Time in Commerce Township, Mich. “Not only does it promote physical well-being, but it also helps boost your mental and emotional health.
“Working on your flexibility, strength, and balance can reduce the risk of falls and enhance mobility,” she continues. “Yoga also supports joint health and can alleviate chronic pain, which is a common issue as we age. On a mental level, it reduces stress and anxiety through mindful breathing and meditation, and a regular practice can help improve sleep quality and boost cognitive function.”
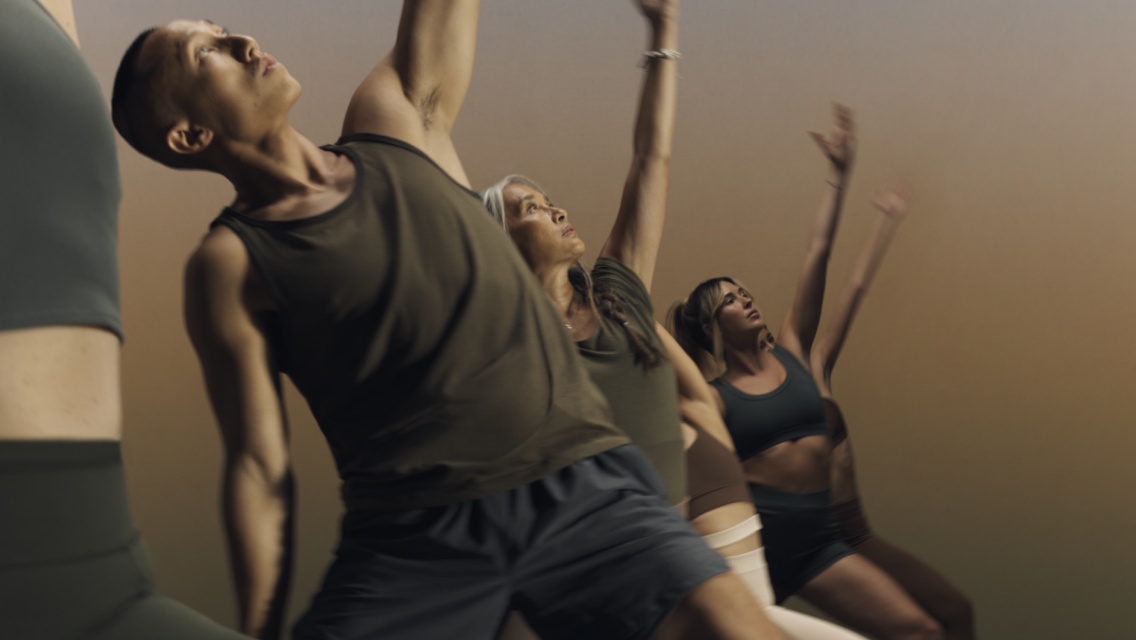
Establishing a regular yoga practice can be as easy as adding one yoga class to your routine each week. At Life Time, ARORA Gentle Yoga is a fully guided class featuring basic yoga moves focusing on stretching, simple movement patterns, and joint range of motion throughout the body. As you move through the class, you’ll be challenged to memorize these movement patterns, which helps stimulate and foster cognitive function.
“ARORA Gentle Yoga is a slow-paced practice that includes breathwork, strength work, and yoga postures, both standing and seated,” says Lisa Gray, certified yoga instructor at Life Time in Beaverton, Ore. “All experience levels and ages are welcome, and this class is especially great for beginners or those who are nursing injuries. I love the pace and gentleness of this practice — anyone can do it — and you’ll leave with a sense of well-being, accomplishment, and self-confidence.”
Here, MacCarreall and Gray demonstrate several yoga moves you can expect to see in an ARORA Gentle Yoga class.
1. Child’s Pose
“We often start class in this pose,” says MacCarreall. “It gently stretches the back, hips, and thighs while helping to calm the nervous system and get you ready for your practice.”
- Start on your hands and knees in a tabletop position. Spread your knees to the edges of the mat and bring your big toes to touch, if possible. Your knees can stay closer together if you prefer.
- Lower down onto your forearms as you sink your bottom back toward your feet. Optional: Place a bolster or towel under or behind your knees if needed (as shown in the video above).
- Stretch your arms toward the front of the mat with just your palms touching the mat. Your head can hover above the mat, or rest on your arms or mat.
- Hold as directed by your instructor.
2. Standing Forward Fold Pose
“This simple, yet effective, pose provides a deep stretch for your hamstrings, calves, and lower back,” says Gray.
- Start with your feet hip-distance apart. Inhale and reach your arms overhead, then start to fold forward from your hips as you exhale. Your hamstrings might feel a little tight, so you can experiment with bending the knees a little, if needed. Let your hands either rest on your legs or hold your opposite elbow in each hand.
- Try to relax your shoulders and neck as you let your head hang.
- Hold for three to five breaths then slowly roll up.
3. Warrior I
“This powerful standing pose helps build strength, stability, and flexibility,” says MacCarreall. “We include it in our sequence to open the hips, strengthen the legs and core, and stretch the chest.”
- Starting at the front of your mat with your hands on your hips, keep your right foot forward and step your left foot back to a wide comfortable stance. Your back foot should be at a 45-degree angle with your heel on the mat.
- Lunge into your right leg with your right knee over the right heel or behind it.
- Raise your arms straight to the sky with your palms facing one another. Optional modification: Bend your arms at your elbows to take cactus arms or keep your hands on hips (as shown in the video).
- Hold as directed by your instructor.
- Step forward and then repeat on the opposite side.
4. Triangle Pose
“This fundamental pose stretches and strengthens throughout the body, especially the legs, hips, and spine,” says Gray.
- Start at the front of your mat and take a big step back with your left foot so your right foot is facing forward, and your left foot is open to about 90 degrees (Warrior II pose).
- Keep both legs straight and bring your arms out to the side.
- Drop your right arm down toward your right knee or shin, allowing your right arm to hover. On your next inhale, reach up actively through your left arm.
- Hold for three to five breaths. Then, using strength from your core and hips, lift to stand.
- Repeat on the opposite side.
5. Side Angle Pose
“Side angle pose engages the entire body and helps improve balance and coordination,” says Gray.
- Start at the front of the mat and take a big step back with your left foot so your right foot is facing forward and your left foot is open to about 90 degrees (Warrior II pose).
- From here, start to bend into your right knee while moving your arms out to the side.
- Bring your right elbow down to your right thigh and lift through your right shoulder.
- Reach your left arm up toward the ceiling while keeping your chin tucked in toward your chest. You can gaze sideways or slightly up.
- Try to keep balancing while you push forward with your right knee and while your left hip draws back.
- Hold for five breaths. Then, on an inhale, stand back up and repeat on the other side.
6. Tree Pose
“This pose, named after the stability and rootedness of a tree, is a wonderful posture for enhancing balance, especially in the hips, legs, and ankles,” says MacCarreall.
If balancing on one leg is new to you or something you find challenging, stand near a wall before you begin with the option to use it for balance (as shown in the video above).
- Start by standing with your feet together and your hands on your hips or with one hand on the wall.
- Put your weight into your right leg and open your left knee up to the side. Start with your left toes on the ground and decide if you’d like to place the bottom of your left foot on the inside of your right leg or at your ankle or calf. The higher you bring your left foot, the more challenging this is for your balance.
- You can choose to bring palms to heart center or add in your arms as tree branches.
- If you’re holding the wall, progress and challenge your balance by trying to bring just one finger to the wall while you’re in tree pose, remove your finger from the wall, and then place it back.
- Hold for three to five breaths and repeat on the other side.
7. Seated Butterfly Pose
“This gentle, seated posture stretches the inner thighs and hips,” says Gray. “It’s especially beneficial for improving mobility and opening up the hips.”
- Sit up straight on your mat with both legs in front of you. Bring the soles of your feet together with your knees bent and pointing outward. It may be easier to bring one in first, then the other to meet it. Make sure you are sitting upright with your head above your spine.
- Bring your heels as close to your body as you can. Hold on to your ankles and pull your feet toward your pelvis. Get them as close as possible, but don’t force the position beyond your comfort. (Even though this is called butterfly pose, do not flap your legs, as that motion can dislocate your joint connecting your leg to your pelvis.)
- Lean forward and make sure your back stays straight. You can use your elbows to push gently on your thighs for a deeper stretch.
- Hold for three to five breaths, then slowly raise up.
8. Reclined Pigeon Pose
“This restorative pose targets the hips, glutes, and lower back,” says Gray. “Performed lying down, it’s a gentler variation of the traditional pigeon pose.”
- Start by lying on your back with your knees bent and the soles of your feet on the ground. Optional: Place a block under your head if that feels comfortable for you (as shown in the video).
- Bring your right knee toward your chest, flex your foot, and cross your right ankle over your raised left knee. (Feel free to stay here if you feel a good stretch in the hips.)
- Take the stretch deeper by threading your right arm between your legs and clasping your hands behind either your left shin or the back of your hamstring.
- Keep your head and back flat on the floor.
- Draw your left shin toward your body while pressing your right knee away from you. Keep your foot flexed to protect your knee.
- Relax your shoulders, unclench your jaw, and breathe deeply; hold the pose for five breaths.
- Release you grip and return your feet to the mat; repeat on the other side.
9. Savasana
“Often called corpse pose, savasana is how we end our class in ARORA Gentle yoga,” says Gray. “This pose allows your body and mind time to process what has happened during a yoga class, helping you wind down and relax.”
- Lie on your back on your mat.
- Separate your legs. Let go of holding your legs straight so that your feet can fall open to either side.
- Bring your arms alongside your body but keep them slightly separated from your torso. Turn your palms to face upwards but don’t try to keep them open. Let the fingers curl in and relax. Tuck your shoulder blades together for support.
- Once you have set up your limbs, release any effort from holding them in position. Relax your whole body, including your face. Let your body feel heavy.
- Let your breathing occur naturally. If your mind wanders, you can bring your attention to your breath but try to just notice it, not deepen it.
- Stay for a minimum of five to 10 minutes. If you are practicing at home, set an alarm so that you are not compelled to keep checking the time.