When life gets stressful, we often feel the tension both mentally and physically in our bodies. And while regular exercise is known for its stress-relieving benefits, we tend to focus more on the outcome — the number of reps or time spent doing cardio, for example — than we do on simply observing how our body feels in the moment.
Somatic workouts challenge this idea and have been growing in popularity over the last few years.
What Is Somatic Movement?
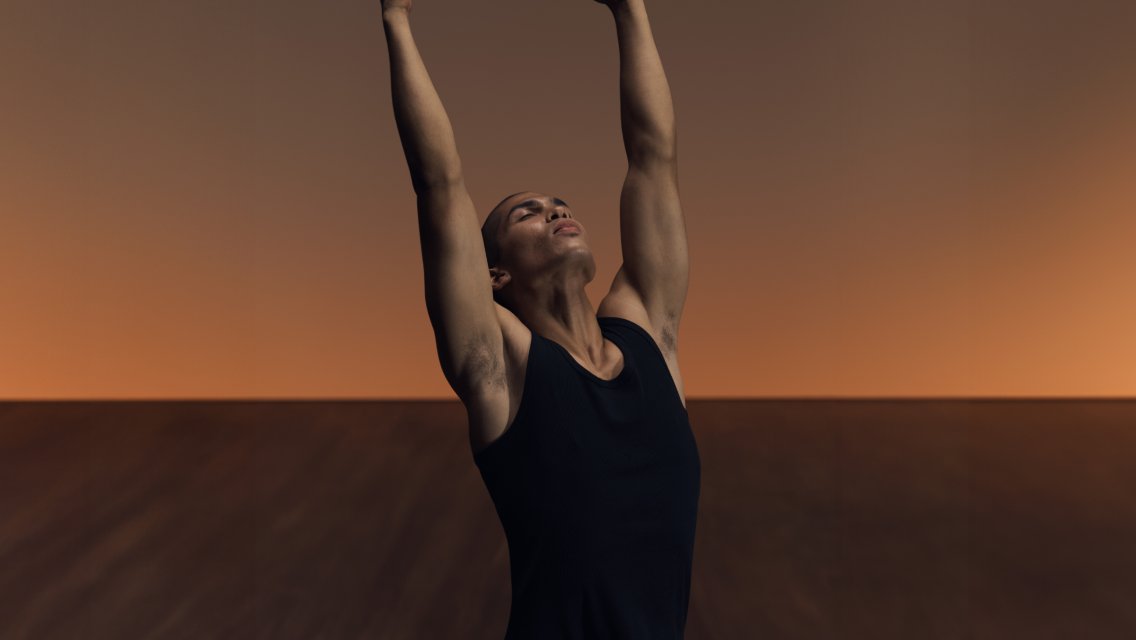
A somatic practice involves dropping into your body and connecting with what you feel on the inside both emotionally and physically.
“Somatic movement is all about feeling,” says April Fort, 500 E-RYT, yoga leader at Life Time in Cypress, Texas. “Instead of focusing on how our bodies are aligned on the outside, we focus on what’s happening inside. It brings mindfulness into every movement and challenges your ability to stay present, which can lead to improved concentration and mental clarity.” (Learn more: “A Somatic Workout to Support Your Well-Being.”)
Incorporating this type of movement into your routine can bring about several benefits for your body and mind, according to Fort.
- Mindfulness allows you to build awareness around the patterns of stress and tension you experience so you can work toward better patterns.
- Dedicated time for somatic movement provides a safe space to explore and release emotional tension in your body.
- Physically slower, more mindful movements can enhance mobility and flexibility by releasing tension and improving joint range of motion.
- Paying attention to every movement can improve your ability to stay in the present moment outside of class.
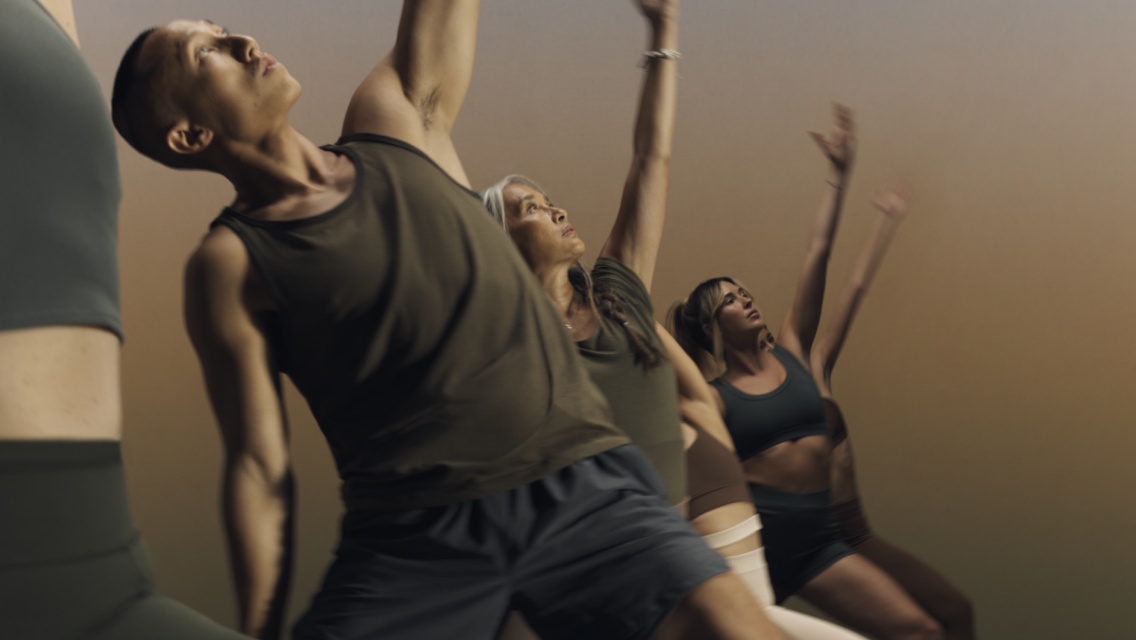
Yoga Moves for a Somatic Practice
This mindful way of moving guides the teaching philosophy for many of the yoga formats at Life Time. “We teach this mind-body connection in all of our LifePower yoga classes,” says Fort. “It’s the reason we don’t have mirrors in many of our yoga studios, and why our teachers lean more into verbal cues then modeling shapes. All our yoga classes are about exploring the full range of motion and emotion that you experience in life, but the slower pace of our ROOT class especially allows you to tap into the benefits of somatic movement.”
Here, Fort demonstrates four somatic yoga movements to help you build more awareness in your body.
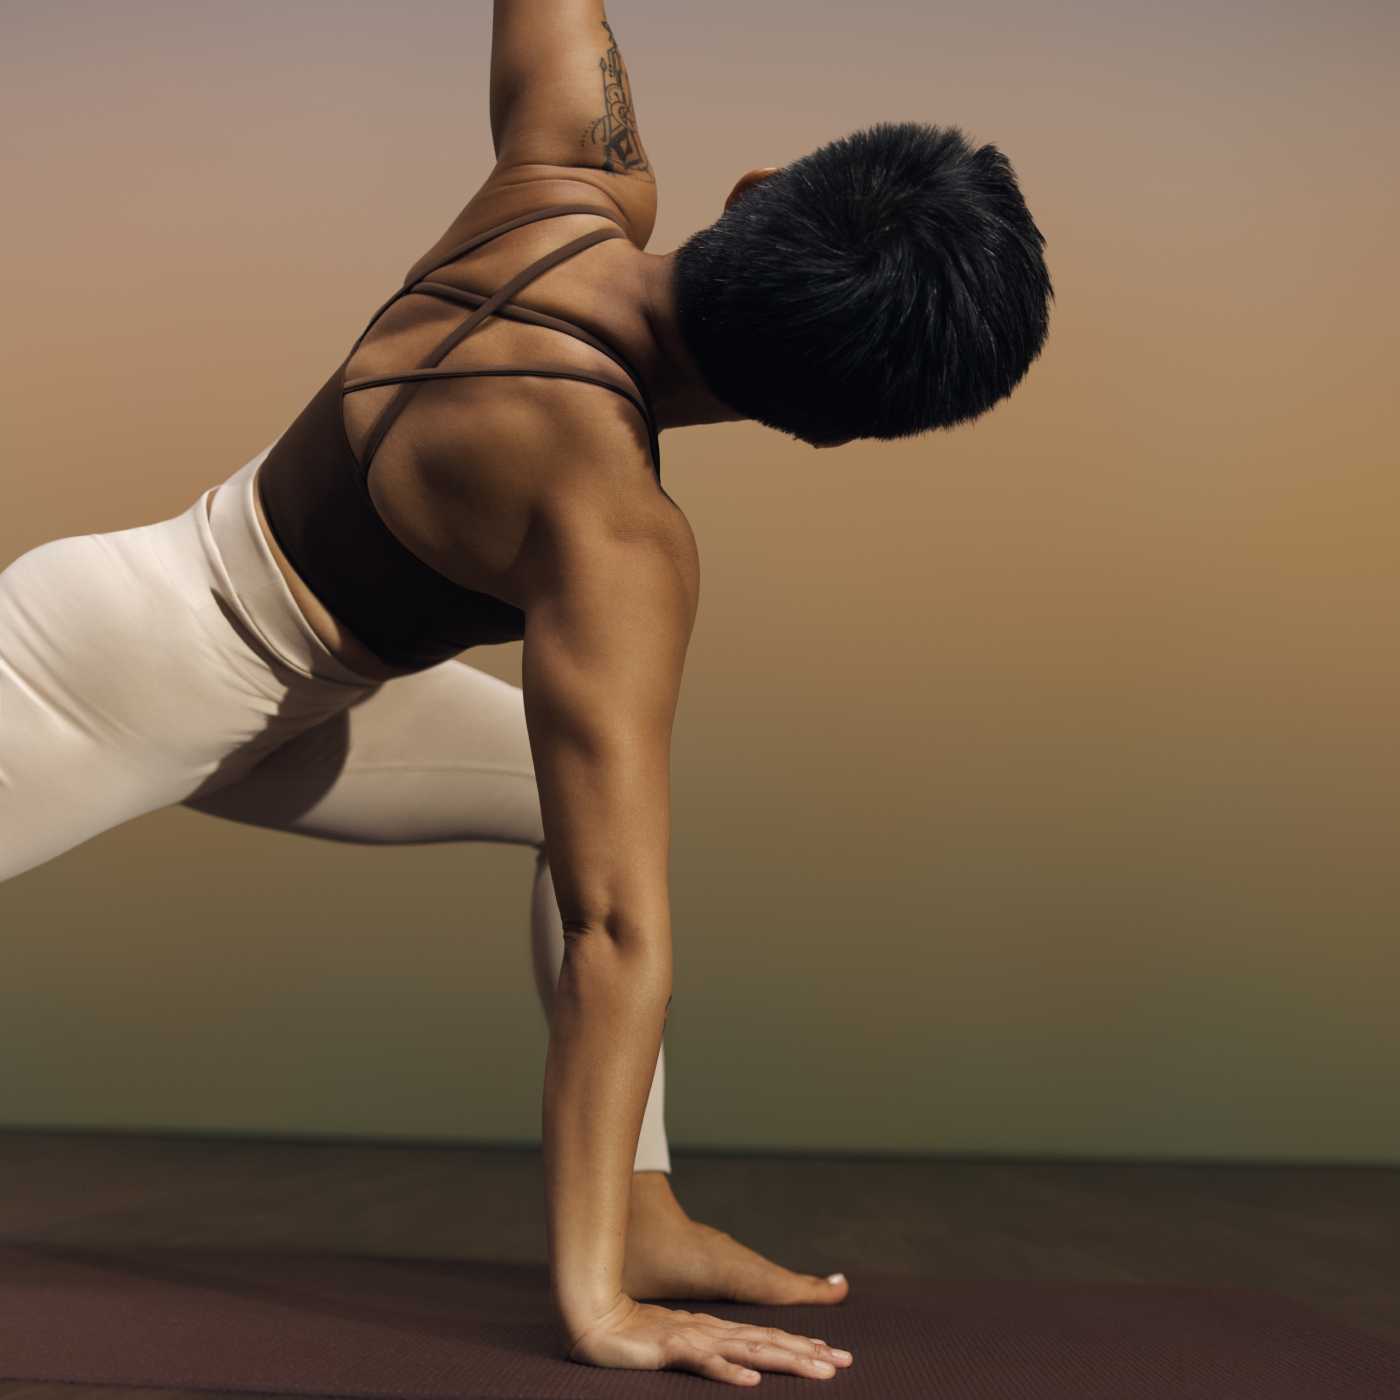
1. Cat-Cow Sequence
“The key for drawing out the somatic benefits of this pose is to really feel how every part of your body moves and keep your breathing slow and controlled,” says Fort.
- Start on your hands and knees in a tabletop position, hands below your shoulders and knees under your hips.
- Give yourself a few breaths to feel your connection to the ground.
- Inhale as you drop your belly slowly, putting your weight in your hands, and turn your chin up as you spread your sitz bones (base of your pelvic bone) and lift your tailbone. Pause for a few seconds here.
- Exhale as you slowly round your back and feel your vertebrae spreading apart. Let your shoulder blades spread out like wings. Place less weight in your fingertips as you drag them closer together, so more weight is absorbed by your core and the squeeze of your thighs.
- Repeat this sequence three to four times, focusing your awareness on how your hands move with gravity and resistance, as well as the feel of the flexion and extension of your spine.
2. Bridge Pose Sequence
“Applying a somatic framework to this movement requires intentionally moving slower than your body wants to,” says Fort.
- Start on your back with your knees pointed up the ceiling. Notice the connection to the earth along your spine and under your feet.
- Take a few breaths to feel the expansion of your lungs and the corresponding movement of your back along the mat.
- Flatten your back on the mat as you place your hands along the top of your pelvic bone (iliac crest).
- Inhale and slowly lift just your tail bone off the mat. Let your focus find the activation in your glutes. Feel the tilt of your pelvic bone and intentionally move slower to explore the movement of your spine as it lifts off the floor one vertebra at a time.
- As you move, feel the way your heels and shoulders are grounded to support the lift of your spine. There is almost a magnetized quality to this lift.
- At the top, pause, exhale completely, and watch the way your navel hugs your spine. Notice the pull of your pelvic floor toward the navel. Inhale fully, letting your chest rise toward your chin.
- Exhale and let your hips lower back to the mat just as consciously as you lifted them. At the bottom, relax the glutes and the abdominals fully for a full breath.
- Repeat this sequence three to four times.
3. Seated Sequence
“The somatic part of this sequence is all about focusing on your breath and how it flows through you during each movement,” says Fort.
- Start seated with your legs crossed comfortably. Feel the way the bottom of your sitz bones (pelvic bone) connects to the earth. Rock back and forth a few times to find the natural curvature of your spine.
- Bow your head and place your right palm on top of your left knee and left palm on top of your right knee.
- Inhale and lift your arms into a cactus pose (arms bent at the elbows and outstretched to the sides) and squeeze your shoulder blades as if you have an imaginary tennis ball between them as you arch your back and let your collarbones smile. As your chin lifts, your pelvic bone tilts.
- Then, exhale as you twist to the right. Anchor your left hip down as you guide your left hand to your right knee. Take an extra breath and inhale to lengthen your spine.
- As you exhale, use the leverage of your hand on your knee to twist deeper.
- Inhale as you shift the anchor into your right hip and sweep your right arm up and over your head. Your top shoulder drifts back as you focus the inhale on your right lung and expand the ribs on the right side.
- Exhale and redistribute weight into the base of your pelvic bone and roll it back so that your spine rounds. Create space in the vertebrae all the way up your back, letting your shoulder blades pull apart and your chin move toward your chest. Empty all your breath, scooping your navel under the bottom of your rib cage.
- Inhale and move back into cactus pose, with your back arched and shoulder blades squeezed together. Repeat twist sequence on the opposite side. Pay attention to the movement of your pelvic bone as you shift from shape to shape.
- Repeat this entire sequence three to four times.
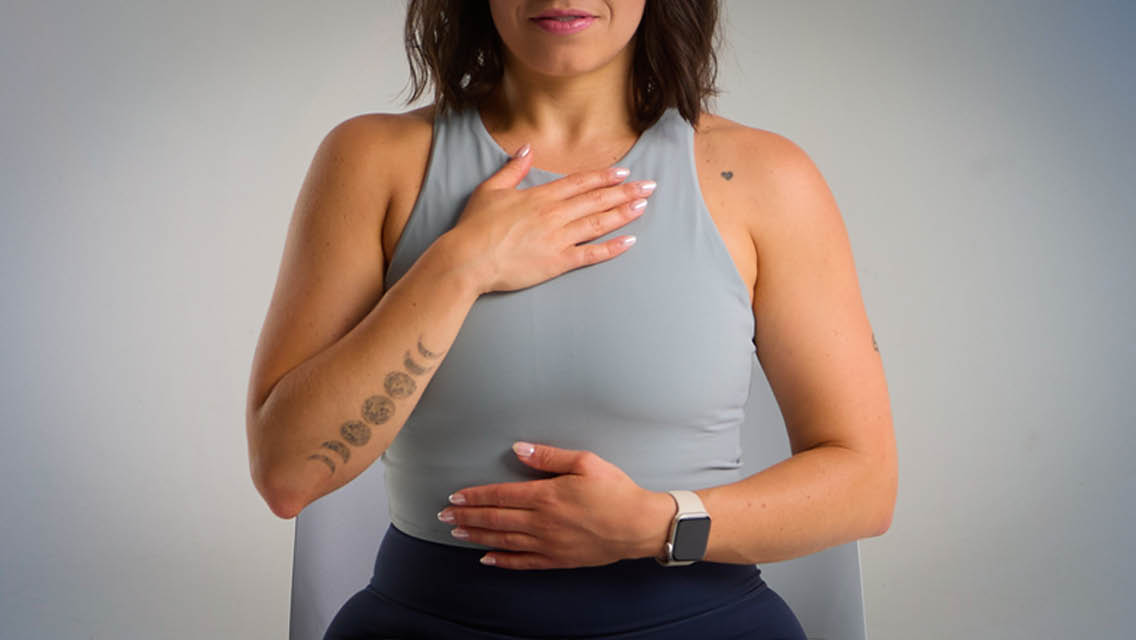
4. Dirgha Pranayama
“Dirgha pranayama is a somatic breathing technique that involves a series of breaths that allow us to use and feel the entire lung expanding and contracting,” Fort explains.
- Start on your back with your feet pressed together. (Optional: Put a block under each knee to lessen the sensation on the inner thighs.) Place one hand on your belly and one hand on your collarbones.
- Inhale into your belly and feel the swell of it in your bottom hand. Carry the inhale into your rib cage and notice how it expands. Keep inhaling into your collarbones and feel your top hand lift. (This is a longer, deeper breath — try inhaling for a count of four.) Explore the sensation of breathing slowly to every corner of your lungs.
- Exhale for a count of five. Feel your collarbones drift down, your rib cage slowly contract, and your lower hand soften toward the spine with the sink of your belly as you empty your lungs, exhaling completely with a gentle squeeze at the end.
- Repeat this sequence three to four times. See if you can sense the movement of your diaphragm to fill and empty.