Beginning a new workout program or trying a fresh style of fitness training can be intimidating — but sometimes that’s exactly what’s needed to spark motivation or elicit desired change.
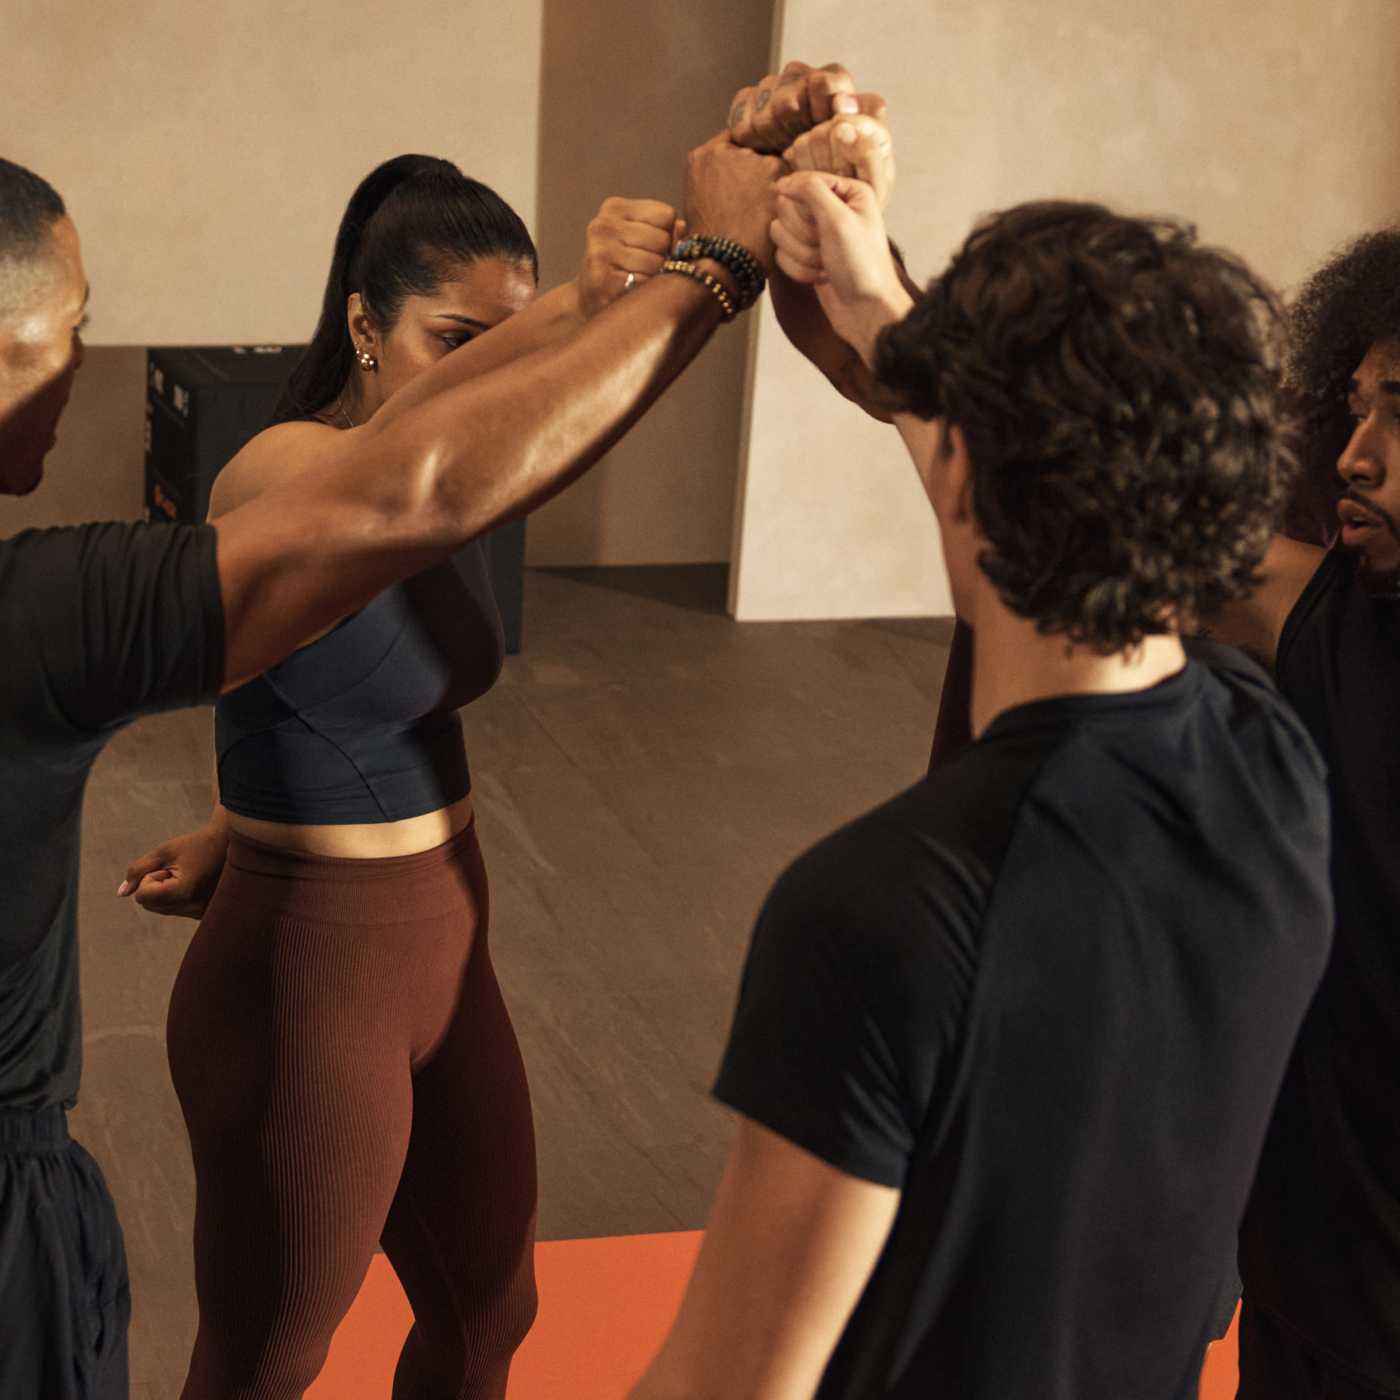
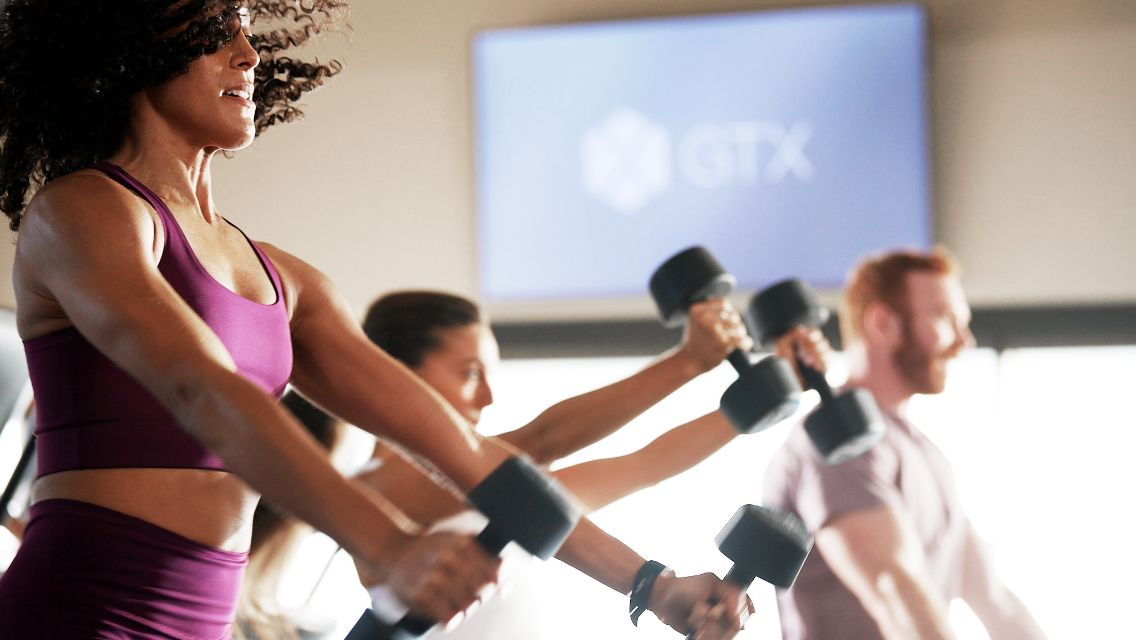
GTX, one of four signature group training formats at Life Time, welcomes anyone who’s seeking some level of transformation, from beginners to more experienced athletes. The program is designed to meet the needs of all people, wherever they are on their fitness journey.
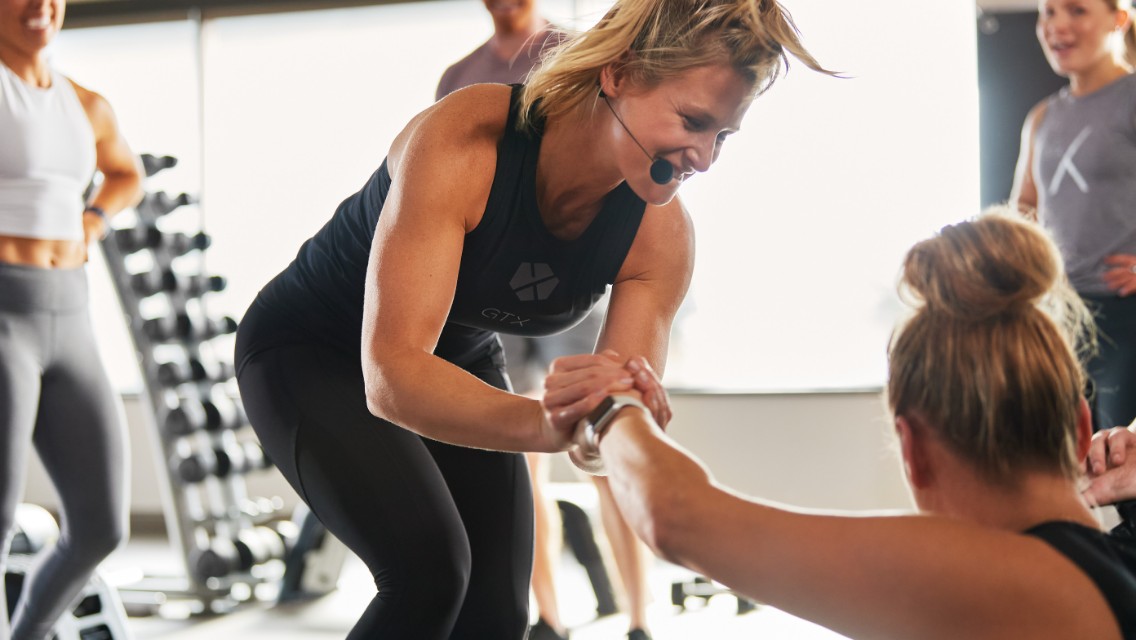
“We know there is no one-size-fits-all approach when it comes to training,” says Danica Osborn, a.k.a. Coach Danica, group instructor at Life Time in Warrenville, Ill. “GTX is a fantastic program because it allows participants to come in wherever they’re at — and whatever their age or goals. The programming can be modified and adjusted to the individual. I’m endlessly inspired by the work our members put in to become healthier versions of themselves.”
To give you an idea of what GTX is like, we asked Coach Danica to demonstrate a few of the moves you likely find in the class programming. They’ll hit multiple muscle groups and drive up your heart rate up while maximize your time exercising.
Equipment needed: Light to medium dumbbells, depending on your individual fitness level and comfort.
World’s Greatest Stretch
- Step forward with your right leg to get into a deep lunge position; check to make sure your front leg is bent at about 90 degrees and your back leg is straight. Place both hands on the floor to frame your right foot.
- Activate your glute muscles and open your forward knee slightly to the side, deepening the stretch through your hips.
- When you feel stable, begin to add rotation through the thoracic spine and warm up your back by lifting your right arm straight toward the ceiling while also placing your left forearm on the ground (to make it easier, keep your palm on the floor rather than your forearm).
- Return to the starting position and repeat on the opposite side. Stretch both sides at least four times.
Skier Swings
- Stand with your feet just wider than hip width with a slight bend in your knees. Hold two dumbbells at your sides.
- Begin to swing the dumbbells behind your body, hinging at your hips and pushing your glutes and hamstrings toward the back wall. You want to hinge so that your torso almost comes parallel with the floor; keep your knees soft and engage your core.
- Use momentum and power to thrust your hips forward, squeezing through your glutes as you stand; be careful not to overcorrect and thrust your hips too far forward. Simultaneously as you stand, swing your arms forward until the dumbbells reach chest height. Keep your arms strong and straight throughout the entire motion. Be mindful to let the momentum come more from your hips and glutes rather than your upper body.
Deadlift/Squat/Thruster
- Stand with your feet hip width apart and grasp two dumbbells, holding them near the tops of your shoulders with your elbows bent close to your body.
- Lower the dumbbells toward your thighs and use them to “trace” the fronts of your legs until you reach your ankles; keep a slight bend in your knees and hinge at your hips, pushing them backward.
- Reserve the movement to stand up; as you’re doing so, draw the dumbbells back up to your shoulders, keeping them close to your body.
- With the dumbbells at your shoulders, immediately drop into a squat, stacking your knees over your ankles and keeping your weight in your heels.
- Drive through your heels to return to standing, driving your arms, and the dumbbells, straight up toward the ceiling to an overhead press.
Pushup Side Reach
- Start in a high plank position, stacking your shoulders, elbows, and wrists.
- Keeping your glutes tight and core engaged, begin to bend your elbows to lower your chest to the floor.
- Drive through your planted palms to straighten your arms and return to a plank position.
- Transfer your weight onto one palm as you rotate your body to bring your opposite arm toward the ceiling. Allow your eyes to trace up your lifted arm to keep your spine and neck in alignment.
- Lower your hand back to the floor, and repeat, this time raising the opposite arm.
- Tip: If you’re working toward a full pushup, great modifications can include placing your hands on an inclined surface, such as a wall, chair, or bench, or you can let your knees come down to the floor to bear some of your body weight.