The neck, back, shoulders, legs — these are areas we often think of as needing relief when we book a massage. Rarely do we consider the face as an area for meaningful bodywork. Yet facial massage can play a role in our overall wellness, while also helping enhance appearance when aesthetics are the goal.
Facial muscles hold more tension than many of us realize, particularly in the jaw, brow, and temples, where stress tends to accumulate. Releasing these areas through gentle massage can help alleviate that tightness, among other benefits.
“Facial massage offers improvements to circulation, collagen production, skin elasticity and firmness, and lymphatic drainage,” says Jessie Sanders, licensed massage therapist at LifeSpa in Plymouth, Minn. “It also helps reduce tension from everyday stressors and from more serious aches often related to temporomandibular joint (TMJ) disorder [often abbreviated as TMD and TMJD]. Since the muscles in our face, head, and neck are all connected, facial massage can also contribute to alleviating headaches and discomfort in the neck.”
Saveria Burdi, a licensed massage therapist at LifeSpa in Woodbridge, Ontario, explains that the face muscles contract and shorten when they become tight or overworked, pulling their ends together. “This can create nodules or ‘trigger points,’ especially during periods of stress or repetitive use,” she explains. “Even something as simple as clenching your jaw during a competitive pickleball match can lead to this. That tension can leave the face feeling sore, heavy, or fatigued, which can also affect the neck muscles, causing aches and strains.”
Facial massage can be performed in a professional setting or by self-massage at home. To receive a facial massage during your massage, Burdi encourages requesting this with your therapist just before your service or at the time of booking. Most massage therapists can integrate facial massage techniques when requested, but by asking before you book, you may be able to request a massage therapist who is skilled in this area.
We asked Sanders and Burdi to further explain the benefits of facial massage practice and offer tips for a DIY facial massage at home.
1. Reduced Tension, Pain, and TMJD Symptoms
One of the most common reasons people seek facial massage is to relieve pain, tightness, and soreness in the jaw, often associated with TMJD. “TMJ is the hinge muscle that connects your jawbone to your skull, located just in front of each ear,” Sanders explains. “This joint moves up and down, forward and backward, and side to side.”
TMJ disorder occurs when there is irritation or dysfunction in this joint, leading to jaw pain, clicking, tension, headaches, or difficulty opening and closing the mouth. “The causes vary from person to person,” says Sanders. “However, common contributors include bruxism, or teeth grinding; and malocclusion, or a dysfunctional bite. Loose ligaments surrounding the jaw can also play a role in a TMJD/TMD diagnosis.”
Stress-related clenching is another contributor to facial tension. While clenching often occurs during sleep, it can also happen during the day, especially when you’re feeling anxious or concentrating intensely. “When we’re stressed, the sympathetic nervous system — our fight-or-flight response — activates, causing the body to contract and tense,” Burdi says. “This can lead to jaw clenching or teeth grinding, sometimes without us even realizing it.”
Hands-on techniques, such as soft tissue manipulation, acupressure, or gentle trigger-point work, can help release built-up tension and target the areas causing discomfort. Pinning the muscle and gently squeezing the affected area to stretch it can also help lengthen the muscle and tissue. These techniques help reduce tension and pain in the jaw and face, which can then help to relax your neck and shoulder muscles as well.
2. Improved Circulation
Massage helps stretch, soften, and lengthen the muscles in the face through targeted soft-tissue manipulation. “This helps promote better blood flow to the area,” Burdi explains. “By using your hands, you can help push and guide blood flow around the body. When someone presents with tightness, I can mechanically improve their circulation, which ultimately leads to better mobility and less stagnation.”
A professional massage is an ideal time for working to improve circulation in the face and facial muscles, as your body is likely relaxed and your face is resting.
“With a calm nervous system, you’re more relaxed, which physiologically causes the blood vessels to vasodilate, meaning they open up and allow the blood pathway to be wider for smoother blood flow,” says Burdi.
3. Supports Lymphatic Drainage
For some, the goal of facial massage is a temporarily sculpted appearance, where the face appears more contoured with a defined jawline. This can be achieved through a facial massage, as it also helps drain stagnant fluids in the face.
“When the concern is swelling or puffiness, I recommend lymphatic drainage massage,” Burdi says. “This technique encourages fluid movement by flushing out pooling at the lymph node sites, which can leave the face looking and feeling lighter. By moving stagnant fluid, we often see a more contoured appearance due to reduced fluid retention.”
Burdi notes that a lymphatic drainage massage also supports the immune system. “When we have a sore throat or our nose swells when we have nasal congestion or an allergic reaction, we [often] get swollen lymph nodes. By creating an external pressure or pump [with our] our fingers and hands] in that clogged section, [we flush] that build up of fluid or stagnation so it can circulate better.”
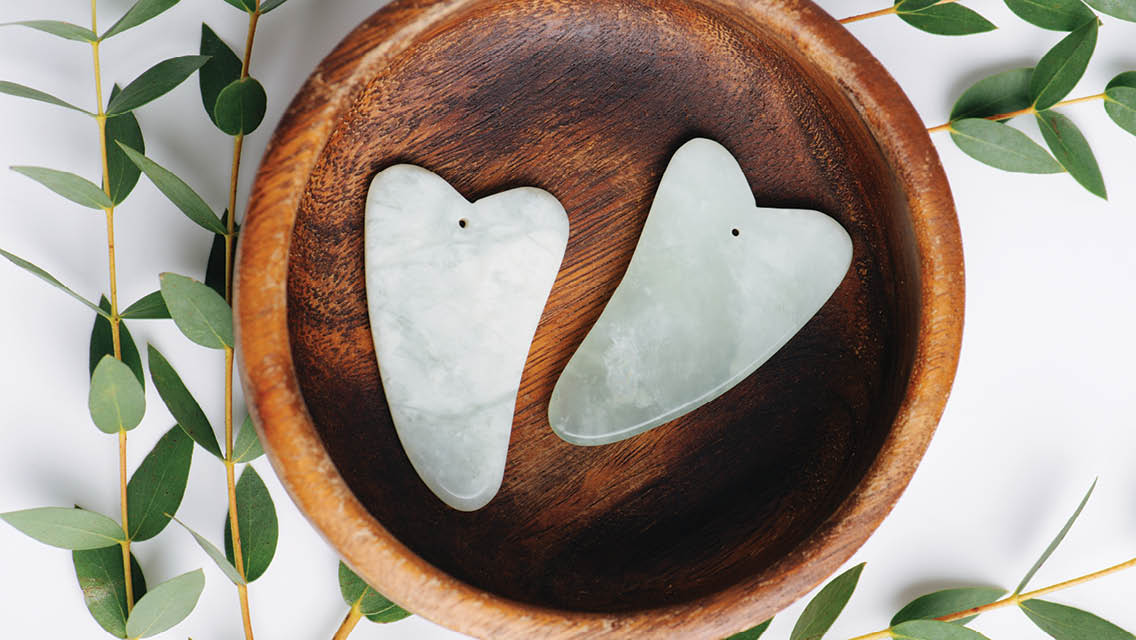
To achieve this, Burdi uses gentle, rhythmic hand movements to guide fluid from the face down through the neck, supporting the body’s natural lymphatic pathways. “This style of massage can also be helpful as a self-care approach when recovering from a common cold to help move that stagnant fluid in swollen lymph nodes. Gua sha therapy may be incorporated using a small handheld tool to glide over the skin, helping to release restrictions, stimulate circulation, and relax tight tissue. Facial cupping is another option, gently lifting the skin to further encourage lymphatic flow.”
4. A Brighter, More Even Complexion
A sculpted appearance isn’t the only aesthetic benefit of facial massage: Regular massage can positively affect the health and vitality of the skin itself. With every expression, the skin moves in tandem with the muscles of the face, mouth, and jaw — meaning tension beneath the surface can influence how the skin looks above it.
Massage increases circulation, which helps deliver oxygen and nutrients to the skin while supporting lymphatic flow. The result is often a brighter, more even-looking complexion. “When there is stagnation or tension, the skin can appear pale or uneven,” Burdi explains. “That’s why sometimes after a facial or a face massage, your skin may appear pink or red. That’s your skin welcoming blood to the surface to carry oxygen and nutrients to its cells.”
With consistent massage treatments and at-home care, facial massage can help maintain skin elasticity, soften the appearance of fine lines, and reduce adhesions or areas of tightness within the tissue.
Facial massage also provides the traditional benefits that most people love, including a positive effect on mental health. Massage reduces stress and promotes relaxation.
An At-Home Facial Massage
For those interested in maintaining these benefits at home, gentle self-massage can be a helpful addition to your routine a few times per week. Sanders demonstrates some simple techniques you can do on yourself between professional treatments.
Start with clean hands and apply a light facial oil or serum that allows your fingers to glide comfortably over your skin without tugging.
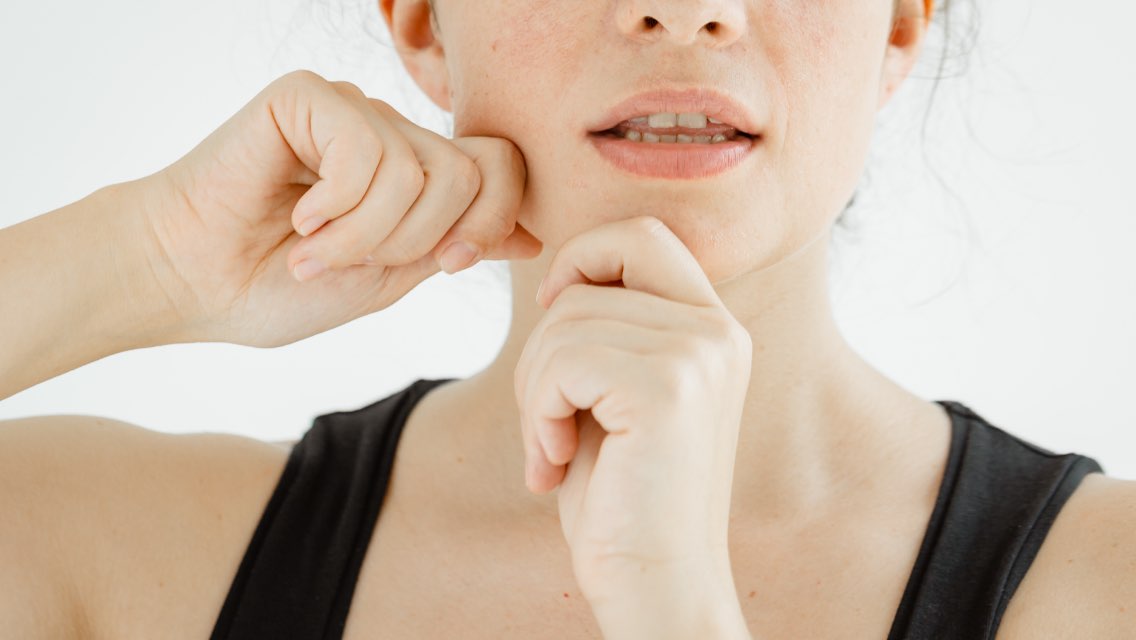
1. Jaw to Collarbone Technique
“Start your at-home facial massage with a technique that guides the fluid down and out of your face,” says Sanders.
- Make two fists with your hands and place them gently on either side of your face along your jawline. (You can use your fingertips instead of fists if that feels more comfortable.)
- With gentle pressure, slowly slide your fists from your jawline down to your neck and collarbone.
- Life and move your hands back up to your jawline and repeat, slowly moving your starting point toward your chin with each repetition.
- End once your starting point is at your chin area and your fists or fingers run down your esophagus to your collarbone. Be gentle when massaging over the front of your throat.
- Repeat for one minute.
2. Masseter Muscle Technique
“This is a great technique to relax the muscle that helps us open and close our mouth,” says Sanders.
- Take your fists or fingertips and place them on the sides of your face, near the tops of your cheekbones.
- Make an “O” shape with your mouth and glide your fists or fingertips down your cheekbones and over the jaw muscles toward your chin with slow, gentle pressure.
- Repeat for one to two minutes.
3. Temporalis Muscle Technique
“This technique is helpful for those who get tension headaches in the temple area as it helps relax the temporalis muscle,” Sanders says.
- Take your fists and or fingertips and place them on the sides of your face at your temples.
- Apply gentle pressure as you work upward from your temples to the crown of your head.
- Repeat for one to two minutes.
4. Bear Claw Technique
“This is a great technique for helping with scalp circulation and overall relaxation,” says Sanders.
- Put your fingertips in a “bear claw” position on the top of your head — fingers spread and palms lifted.
- Using your finger strength, roll your fingers around the top of your head and scalp in a circular motion.
- You can use your thumbs to massage around the ear area before coming back up to the top of the head.
- Repeat for one to two minutes.
5. Occipital Technique
“This move targets the occipital muscle at the base of the skull,” explains Sanders. “These muscles are frequently overworked and can create tension headaches.”
- Reach your left hand up and around to your right occipital muscle at the base of your hairline behind your right ear.
- Bring your right hand up so your fingertips meet the fingertips of your left hand at the base of the skull and the neck.
- Slowly and gently pull your fingertips apart over that muscle, moving your left finger tips up across the back of your head, and your right fingertips down over the side of your neck.
- Repeat for one to two minutes on each side.