When the weather warms up, I want my morning java over ice. I like to make a batch of cold-brew coffee every weekend during the spring and summer, so getting my caffeine fix during the week is as simple as adding a few ice cubes and a splash of nondairy milk. (Bonus: Fewer trips to the coffee shop adds up in the bank account.)
Cold-brewing produces a smoother, less-acidic beverage than traditional methods, and you can also tweak the ratio of coffee to water to create your perfect cup. If you have a bag of week-old coffee beans on hand, this is a good use for them — the long extraction time of the cold-brew process will keep your coffee tasting fresh.
You’ll need:
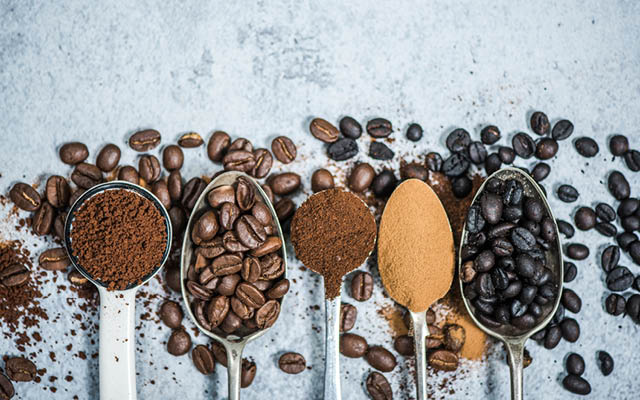
- 2 cups freshly ground coffee
- 8 cups cold, filtered water
- Large jar or pitcher with lid
- Coffee filter or nut-milk bag
Step 1

1. Place the coffee grounds in a large jar or pitcher and cover with the cold, filtered water. Seal and refrigerate for 12 to 24 hours.
Step 2

2. Strain the coffee grounds with a filter or nut-milk bag. You may need to strain it a few times.
Step 3

3. Rinse your jar or pitcher and fill it with your strained cold-brew coffee. Coffee will keep in a sealed container in the fridge for up to a week.
Step 4

4. Enjoy about 3/4 cup of cold brew over ice with milk or your favorite dairy-free alternative. If you prefer to drink your cold brew without milk, dilute it with water to your preferred strength.
This article originally appeared as “DIY Cold Brew” in the May 2021 issue of Experience Life.


This Post Has 0 Comments