

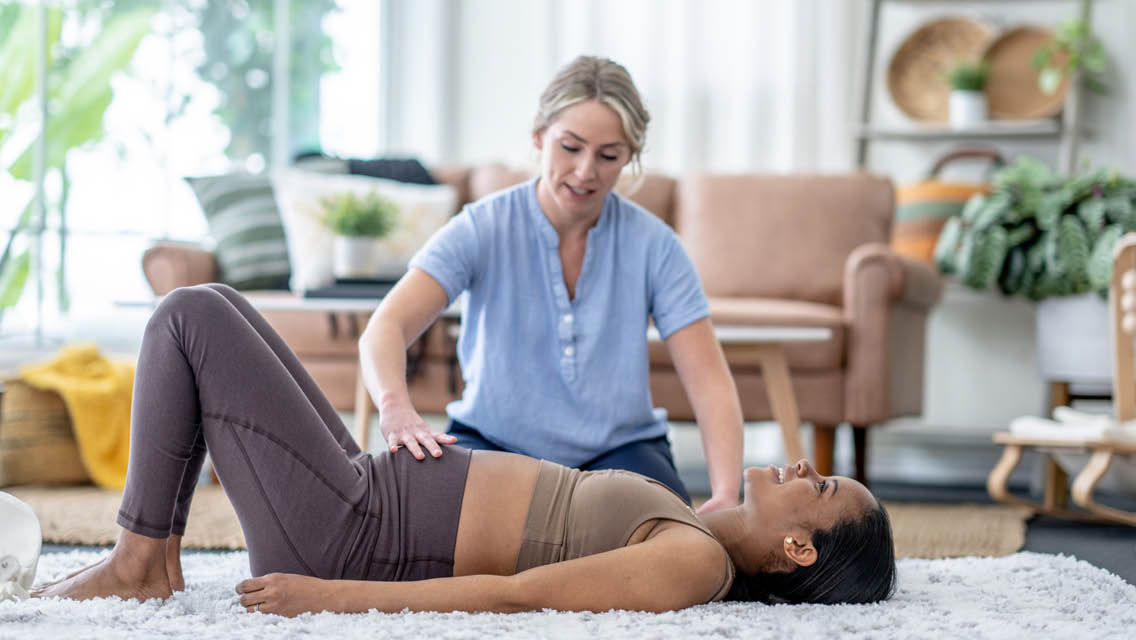
If you’re experiencing pelvic-floor issues, try the following routine designed by chiropractor Mamak Shakib, DC, who focuses on stabilizing the pelvis when treating patients with pelvic-floor dysfunction.
These moves progressively build stability in different parts of your body. Shakib notes that performing each move with optimal form and maintaining awareness of the pelvic floor is more important than the number of repetitions or the duration of each exercise.
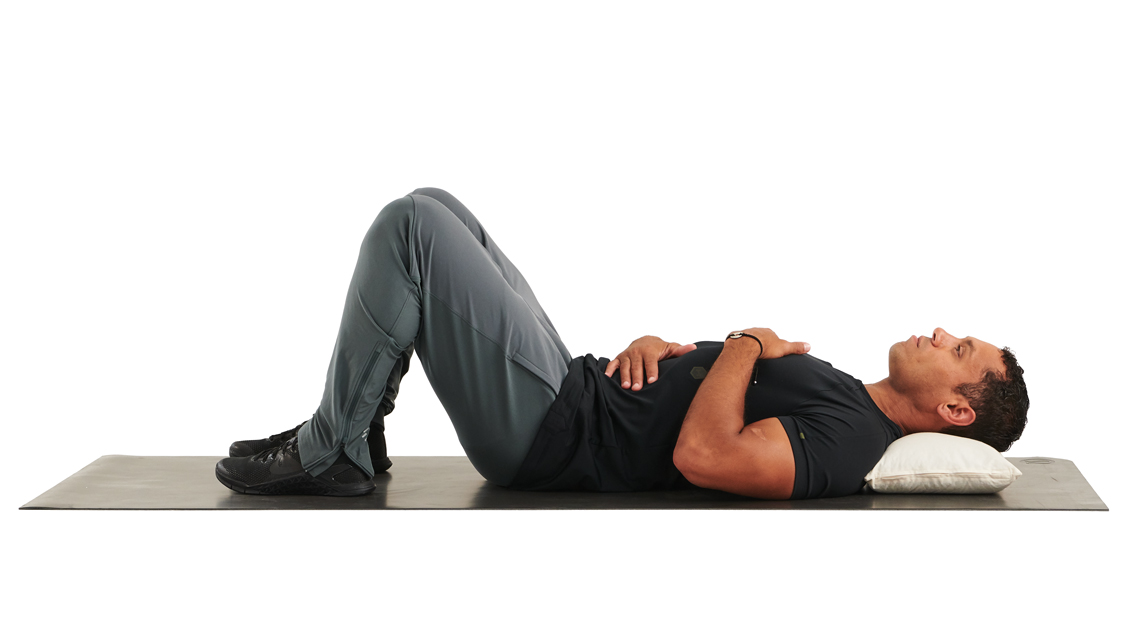
Neutral Spine

Focus throughout the movement on proper mechanics and execution.*
- Lie on your back with your knees bent and your feet flat.
- Close the gap between the small of your back and the floor by gently pressing your lower back to the floor. Avoid engaging your inner thighs, clenching your glutes, or tightening your perineum (the space between the anus and the external genitalia).
- Elongate the back of your neck without tucking your chin.
- Extend your arms outward, bend your elbows 90 degrees, and rest the backs of your hands on the floor. (This is known as the “goal-post” position. Too tough? Place a rolled-up towel under your forearms, or, if you’re still uncomfortable, place your hands on your chest.)
- Relax deeply, gently pressing your lower back into the floor.
- Breathe biologically; focus on sending your abdominal diaphragm down toward your pelvis and pushing the sides of your body out. (This differs from belly breathing, where the focus is on pushing the front of your abdomen out.)
Toe Tap
Focus throughout the movement on proper mechanics and execution.*
- Lying on your back in the neutral spine position — knees bent, feet flat, arms in the goal-post position, lower back on the floor with no gap between the spine and the floor — slowly lift your left leg up, with your ankle flexed, until your thigh is vertical.
- Without flaring your chest or lower back, raise your right leg up to meet your left. This is your starting position.
- Maintaining a neutral spine, slowly lower your left leg and tap your toes to the floor.
- Reverse the move, returning to the starting position.
- Repeat the move on your right side.
- Continue alternating sides, maintaining a neutral spine throughout the movement.
- Focus throughout the movement on proper mechanics and execution.
Side Roll-Up
Focus throughout the movement on proper mechanics and execution.*
- Lie on your back with your spine neutral and arms in the goal-post position.
- Assume the starting position from the previous exercise (thighs vertical, feet off the floor).
- While breathing biologically and without twisting or bending your spine, slowly begin turning toward your left side, lifting your right arm and shoulder blade off the floor.
- Press your left elbow into the floor to push yourself off the ground, finishing in a position with your left hip, outer thigh, elbow, forearm, and hand on the floor. Keep your torso neutral the entire time; do not crunch or contract along your right side.
- Slowly reverse the move, maintaining a neutral spine as you roll your way smoothly back onto your back.
- Complete the desired numbers of reps, then repeat on the opposite side: Roll to the right to press up into a position with your right hip, outer thigh, elbow, forearm, and hand on the floor.
- Focus throughout the movement on proper mechanics and execution.
Seated Hip Mobility
Focus throughout the movement on proper mechanics and execution.*
- Sit on the floor with your feet flat and your knees bent, hands on the floor behind you for support.
- Without protruding your chest, lengthen your spine so you are sitting fully upright.
- Separate your feet about 18–24 inches apart; this is your starting position.
- Maintaining an elongated spine, lower your left knee toward the floor between your legs as far as you can without twisting your spine.
- Return to the starting position and repeat the movement on your right side.
- Alternate sides.
- Focus throughout the movement on proper mechanics and execution.
Rocking Bear
Focus throughout the movement on proper mechanics and execution.*
- Assume an all-fours position on the floor with your hands directly under your shoulders and your knees under your hips.
- Placing the balls of your feet on the floor, press your feet into the floor and raise your hips toward the ceiling until your arms, shoulders, and torso are in a straight line. Keep a bend in your knees.
- Maintain a neutral spine position. Lift your head slightly to ensure your neck is aligned with the rest of your spine. Don’t tuck your chin or let your head dangle down.
- Push the floor away with your arms, moving your shoulder blades down toward your back pockets without letting your midspine drop down toward the floor.
- Breathe biologically while you rock forward onto your arms and hands, then back toward your heels. Think of this as a game of pushing the ground away with your hands while kicking the ground away with your toes, without losing your neutral spine.
- Continue the back-and-forth motion only for as long as you can maintain proper form.
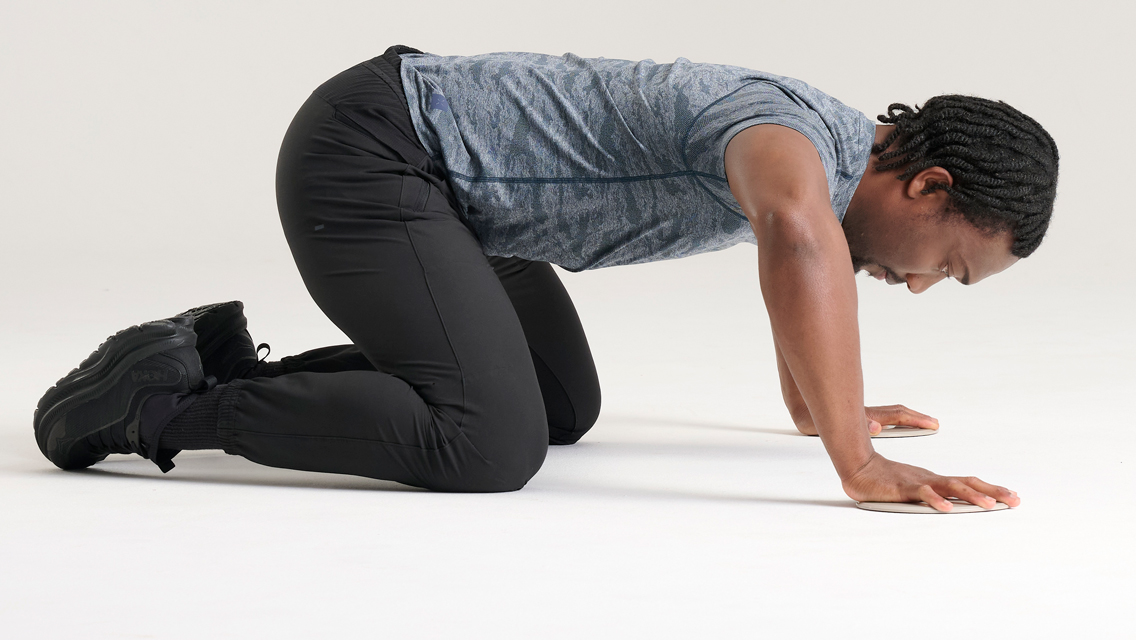
Spider
Focus throughout the movement on proper mechanics and execution.*
- Place two exercise sliders — towels or plastic bags also work — on the floor.
- Get on all fours, with your knees on the floor and your hands on the sliders.
- Simultaneously slide your hands apart to the outside of your shoulders and bend your arms until your elbows form 90-degree angles and stack directly over your wrists. Your upper arms will be perpendicular to your torso (not angled back). Ensure that your spine is still neutral, your gaze is down, and your shoulders are not scrunched up by your ears. This is your starting position.
- Slide one slider forward at a time, with the goal of eventually sliding both sliders forward simultaneously. Make sure to move only your arms, without shifting your upper body, and to maintain a bend in your elbows. (Avoid crawling or reaching as far forward as you can.)
- Once both hands have slid forward, walk your knees up, one at a time, until you are back in the starting position. The goal is to keep your spine neutral and your trunk supporting itself while the arms do something else.
- Continue walking forward only for as long as you can maintain proper form.
*Performing each move with optimal form and maintaining awareness of the pelvic floor is more important than the number of repetitions or the duration of each exercise.
A Man’s Guide to Pelvic-Floor Health
Some of the most vexing health problems for men — including urological, reproductive, and orthopedic issues — can be traced to pelvic-floor dysfunction. Find out how to keep this foundational set of muscles strong and healthy at “What You Need to Know About the Male Pelvic Floor,” from which this article was excerpted.

This Post Has 0 Comments