


Explore this workout:
Knee issues and the mobility limitations that accompany them are so pervasive that it’s easy to believe they’re a foregone conclusion, an expected part of growing older. Injuries to the ligaments of the knee, fractures around the joint, gout, osteoarthritis, and overuse — the result of time under the tensions of an active life — are just a few common causes of knee pain.
But knee issues don’t have to accompany the aging process, says Mark Schneider, a trauma-informed strength coach specializing in injury rehab and pain management. Many injuries can be prevented or ameliorated through targeted strength and mobility work.
“The knee flourishes in stability and rhythm,” Schneider explains.
Stability requires strengthening the muscles that cross the knee joint — particularly those on the front and back of your thighs and calves. Those muscles, he says, are your first line of defense against injury. When they’re weak, the tendons and ligaments in the knee joint can be easily overtaxed.
But when you strengthen them, he notes, “they act like a waterproof shell that takes most of the abuse of the environment so that the jacket underneath can keep you warm.”
Rhythm refers to your knees’ ability to work in tandem with the more complex joints in the kinetic chain. As Schneider describes it, “The knee is the servant of the hip above and the ankle below.” When those joints don’t function well — bending and rotating as they’re designed — the knee is often pulled off-kilter, resulting in pain and injury.
Schneider created the following routine to hone both of these skills. It aims to build muscle around the knees to improve stability while teaching coordination and balance in all the major lower-body joints to bolster rhythm.
Workout Overview
This program is based on five movements, each with three to five variations, and is intended to be progressive.
- Begin with the level-one variations and work your way up over time, focusing on time rather than reps.
- With each exercise, aim to move at a steady, continuous pace for about one full minute. Work to increase your time whenever you repeat the workout. When you can perform a movement continuously for two minutes, progress to the next level. Note: You may not level up every move at the same pace.
The exercises should be challenging and may be uncomfortable, but they should not be painful — so scale up only as quickly as you can with control and without pain. (If you are experiencing acute or chronic pain, or recovering from an injury or surgery, consult a medical professional prior to beginning this program.)
Perform the entire workout as a standalone session two or three times per week. Alternatively, perform two or three of the moves daily, either as a warm-up to a lower-body workout or as a standalone mini workout.
1) Single-Leg Glute Bridge
Start a timer and repeat for one to two minutes, until fatigued. Repeat for the same duration with your opposite leg.
LEVEL 1
- Pictured above: Lie on your back with your feet flat on the floor and your knees bent.
- Lift one foot off the ground.
- Start a timer. Then, keeping your shoulder blades and head on the floor, push off your planted foot, lifting your pelvis as high as possible. Focus on pressing down and back (toward your hips) through the heel of your planted foot instead of thrusting upward with your hips.
- Hold the top position for a one-count, then slowly return to the starting position.
- Repeat for one to two minutes, until fatigued.
- Repeat the movement at the same tempo and for the same duration with your opposite leg.
LEVEL 2
- Perform the same movement, this time with the ball of your foot (of the working leg) on a step, and your heel hanging off.
- Keep your foot level for the duration of the set and focus on pressing downward through the ball of your foot.
LEVEL 3
- Perform the same movement as above, this time with the foot of your working leg on a higher surface.
- Press the ball of your foot firmly into the step as the set progresses.
LEVEL 4
- Perform the same movement as above, this time with the foot of your working leg on a foam roller, a Swiss ball, or some other unstable surface.
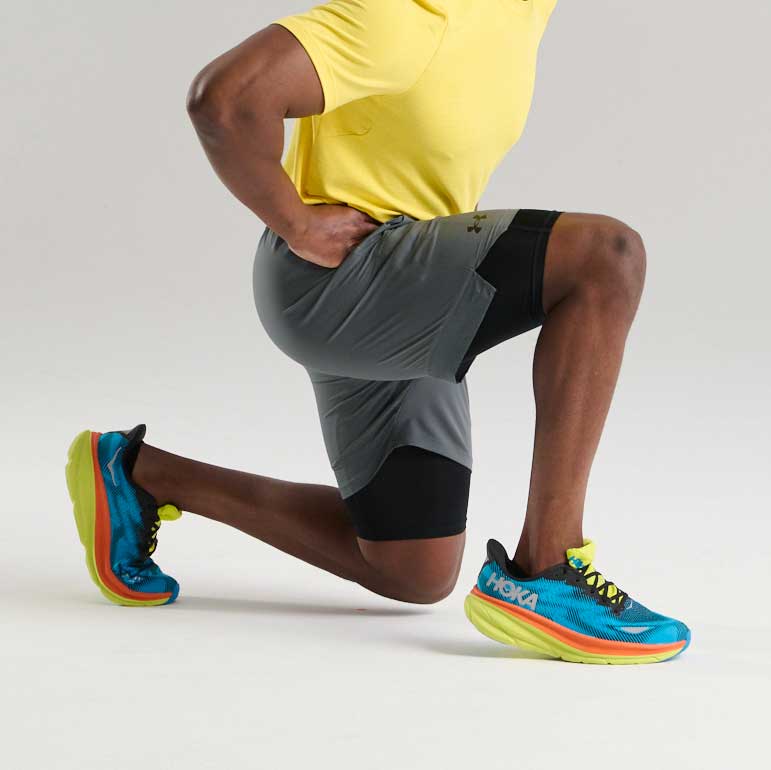
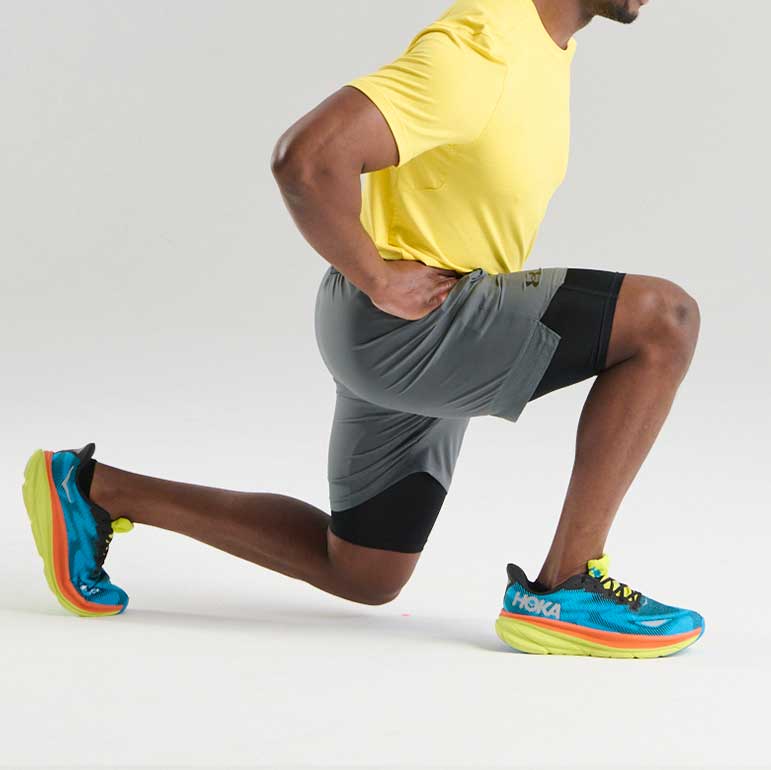
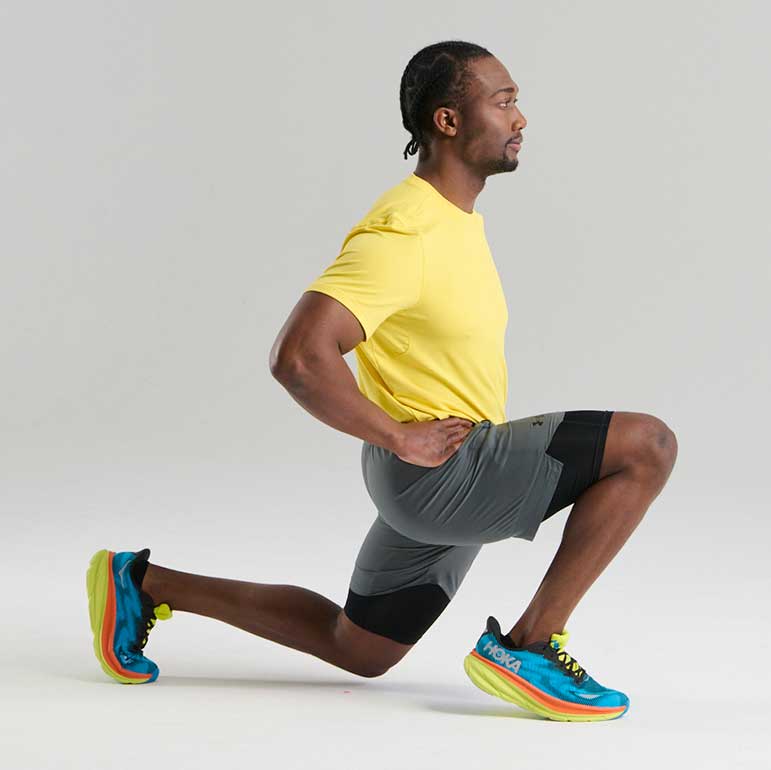
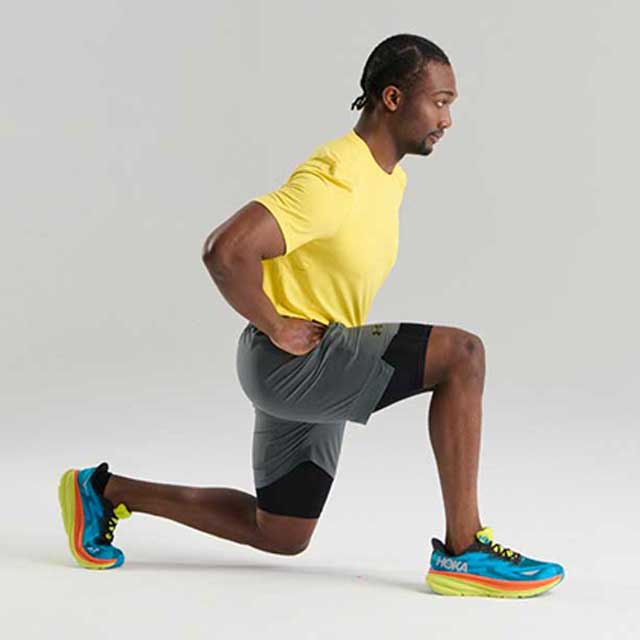
2) Split Squat
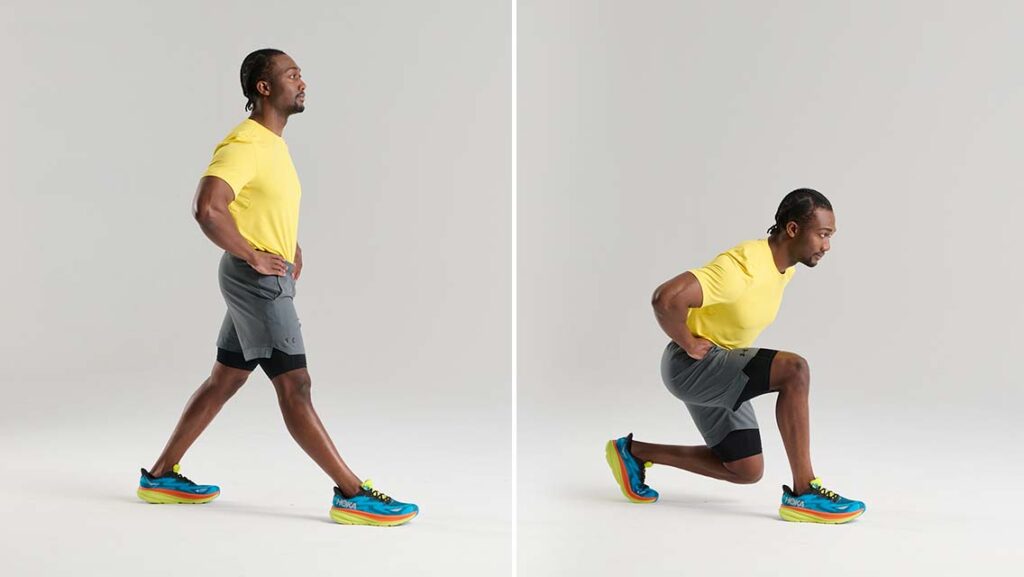
Start a timer and repeat for one to two minutes, until fatigued. Repeat for the same duration with your other foot forward.
LEVEL 1
- Pictured above: Assume a shoulder-width stance with your feet parallel.
- Step your right foot directly backward two to three feet and place your right foot flat on the floor. This is your starting position.
- Start a timer.
- Keeping your front shin vertical and the pressure on your front heel, bend your knees and hips, lowering your back knee close to the floor while simultaneously bending your torso forward so your belly touches — or comes close to — your left thigh. Your right (back) heel will rise off the floor.
- Return to the starting position, driving your right (back) heel to the floor, and repeat until fatigued, noting the duration of your set.
- Repeat the movement for the same duration with the opposite foot forward.
LEVEL 2
- For Level 2 you’ll progress the split squat by keeping the pressure on the ball of your front foot.
LEVEL 3
- For Level 3 you’ll progress the split squat by driving your knee forward, while maintaining maximal pressure on your heel throughout each rep.
LEVEL 4
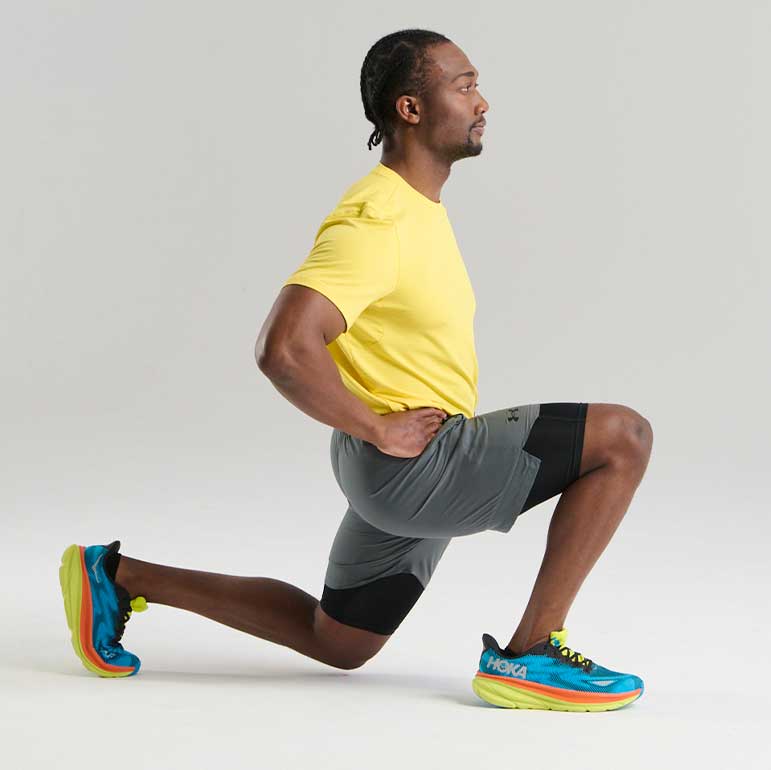
- For Level 4 you’ll progress the split squat by keeping the pressure on your heel and maintaining a vertical torso throughout each rep.
LEVEL 5
- Level 5 is similar to Level 4, but this progression keeps the pressure on the ball of your front foot throughout the set.
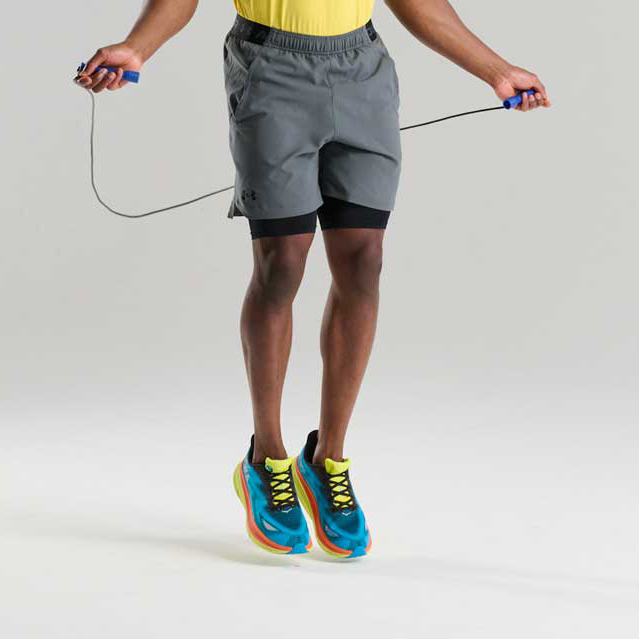
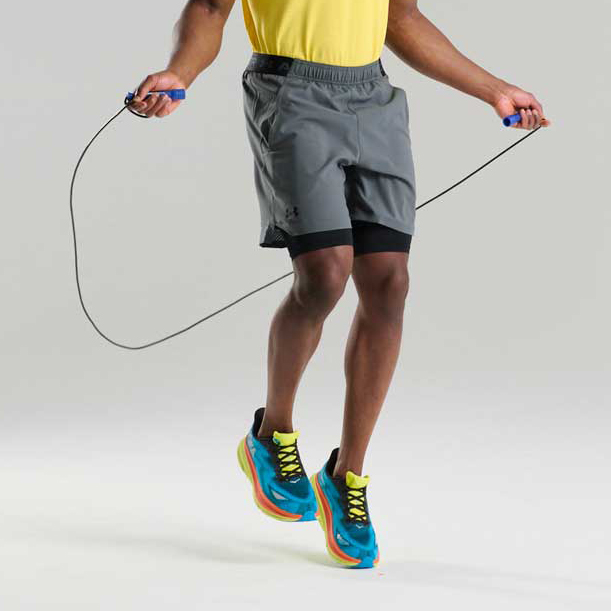
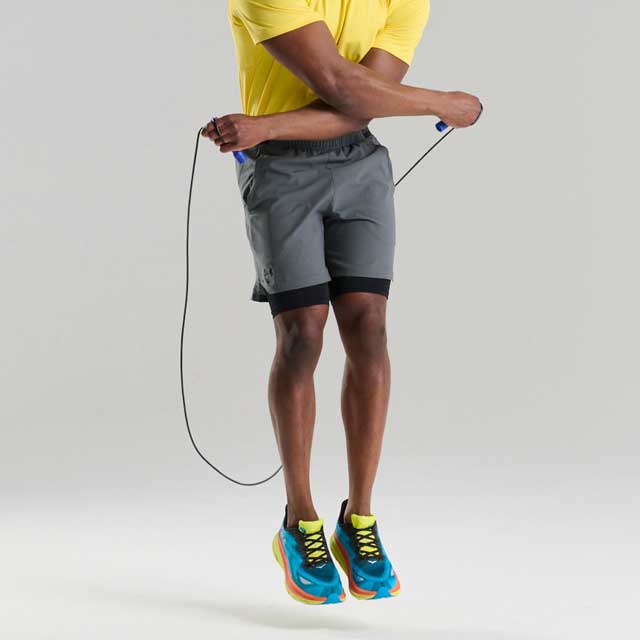
3) Jump Rope

Repeat for one to two minutes, until fatigued.
LEVEL 1
- Pictured above: Stand, holding the jump rope handles at about waist height, with the center of the rope behind your feet.
- Swing the rope over your head and jump over the rope continuously, as best as you can (single foot, double foot, steady or erratic pace).
LEVEL 2
- Perform the same movement, trying to land as quietly as possible on each rep.
LEVEL 3

- Perform the same movement, “slapping” the floor strongly with the balls of your feet on each jump.
LEVEL 4
- Perform the same movement, skipping from foot to foot on each rep (skip over the rope with your right foot on the first rep, your left on the second, and so on).
LEVEL 5
- Perform the same exercise, working in tricks: crossovers (crossing your arms as the rope passes over your head and jumping through the loop) and double-unders (swinging the rope twice under the feet) as desired.
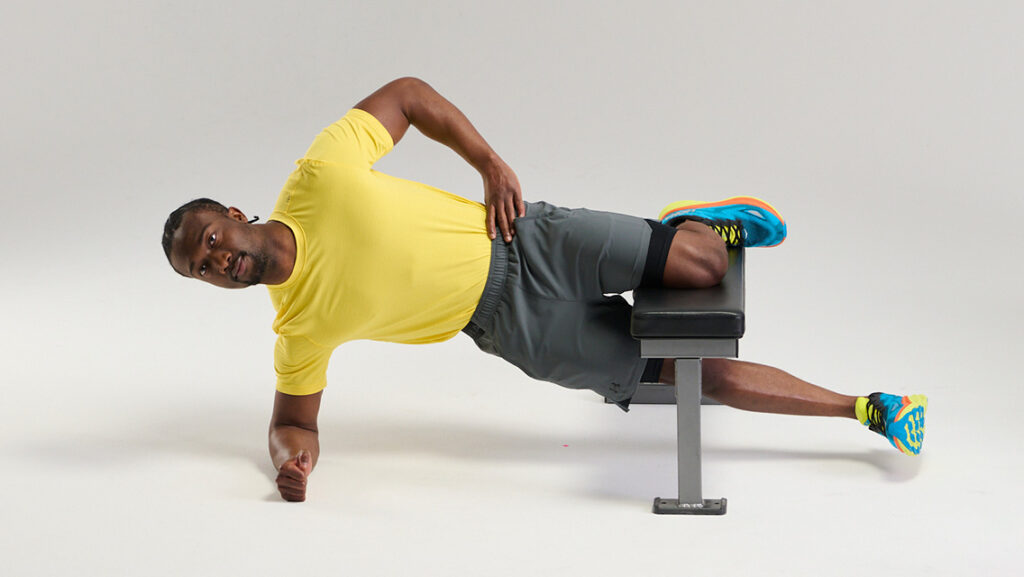
4) Copenhagen Plank
Start a timer and hold this position for one to two minutes, until fatigued. Switch to the opposite side and repeat for the same duration.
LEVEL 1
- Pictured above: Assume a side-plank position, with the inside of your top knee resting on an exercise bench and your bottom leg extended below the bench. Your bottom elbow, hand, and forearm, and the outside of your bottom foot, should be on the floor. Stack your shoulders and hips. This is your starting position.
- Start a timer. Maintaining your alignment, press the inside of your top knee into the bench and lift your right foot from the floor. Hold this position for one to two minutes, until fatigued.
- Switch to the opposite side and repeat for the same duration.
LEVEL 2
- Perform the same movement with your bottom leg off the floor, repeatedly oscillating that leg up and down four to six inches.
LEVEL 3
- Perform the same movement with your bottom leg off the floor, repeatedly oscillating up and down as far as possible.
LEVEL 4
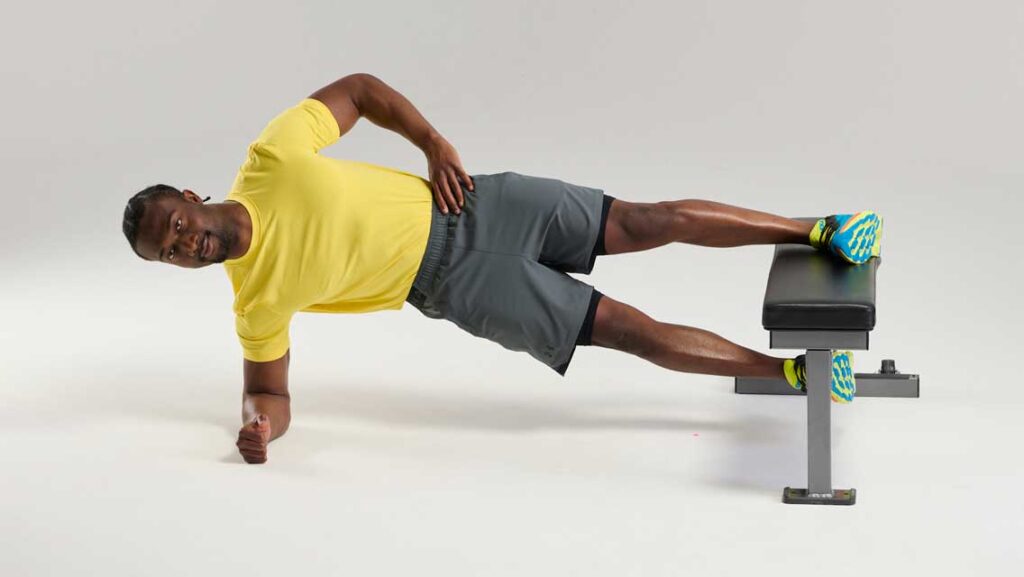
- Perform the Level 1 movement, this time with the top leg extended and the lower part of the top leg on the bench.
- Then progress through levels one through three again, using this new setup.
5) Isometric Holds
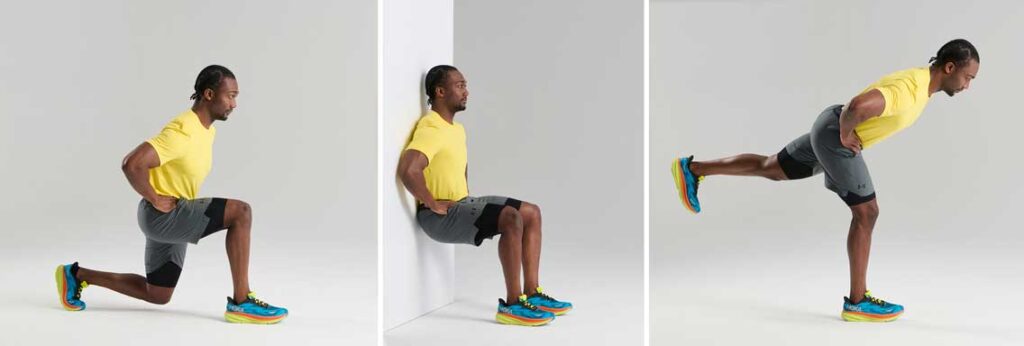
LEVEL 1: Split Squat
- Assume a split-squat position as described in exercise two.
- Bend both knees, lowering yourself to a point that feels stable, but not easy. Start a timer.
- Hold the low position as long as possible (up to two minutes), then repeat the movement for the same amount of time on the other side.
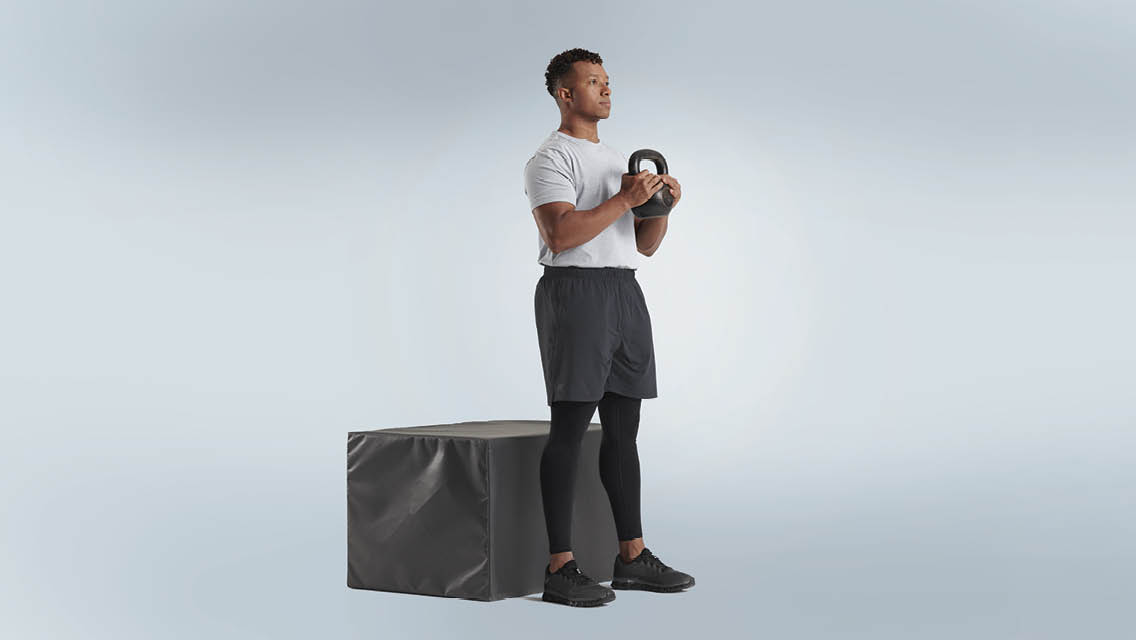
LEVEL 2: Wall Sit
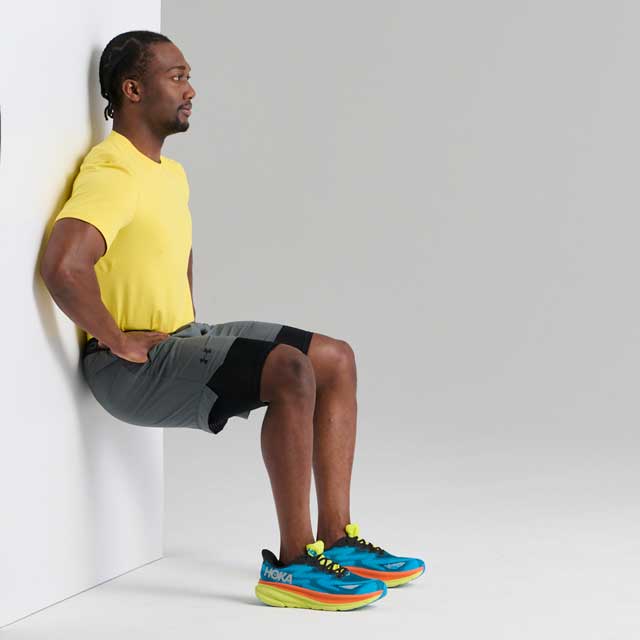
- Stand with your back against a wall.
- Keeping your back flat against the wall, bend your knees, lowering yourself into a position that feels stable, but not easy.
- Hold the low position as long as possible (up to two minutes).
LEVEL 3: Single-Leg Romanian Deadlift

- Stand with your knees slightly bent.
- Start a timer.
- Place your weight on your right foot and lift your left foot an inch or two off the floor.
- Keeping your lower back in its natural arch, lift your left leg behind you and simultaneously hinge forward on your right hip.
- Extend and straighten your left leg, attempting to keep your left leg and torso parallel to the ground and the toes of your left foot pointing toward the floor.
- Hold the position for as long as possible (up to two minutes). Repeat for the same amount of time on the other side.
Reminders:
⊕ With each exercise, aim to move at a steady, continuous pace for about one full minute. Work to increase your time whenever you repeat the workout. When you can perform a movement continuously for two minutes, progress to the next level. You may not level up every move at the same pace.
⊖ The exercises should be challenging and may be uncomfortable, but they should not be painful — so scale up only as quickly as you can with control and without pain. (If you are experiencing acute or chronic pain, or recovering from an injury or surgery, consult a medical professional prior to beginning this program.)
⊗ Perform the entire workout as a standalone session two or three times per week. Alternatively, perform two or three of the moves daily, either as a warm-up to a lower-body workout or as a standalone mini workout.

This article originally appeared as “5 Moves for Resilient Knees” in the July/August 2024 issue of Experience Life.


This Post Has One Comment
Can you do these exercises if you have no cartilage in one of your knees? I was just told by a doctor, who took x-rays of my knee, that I would need a knee replacement within a year. I am trying to avoid the surgery but am wanting to know if these exercises could help me keep my knee for a little longer.