Recipes in this article:
|
Bars |
Chewy Snack Bars ⋅ Double Chocolate Protein Bars ⋅ No-Bake Cookie Dough |
|
Dips |
Buttermilk Ranch Dressing ⋅ Fiesta Hummus ⋅ Nut or Seed Butter ⋅ Black Bean and Avocado Salsa |
|
Energy Bites |
Almond Butter ⋅ Apple Pie ⋅ Birthday Cake ⋅ Cocoa-Almond ⋅ PB&J |
|
Fruit |
Apple Chips ⋅ Cinnamon Applesauce ⋅ Plum Roll-Ups ⋅ Triple Berry Roll-Ups |
|
Muffins |
Apple Butter & Jam ⋅ Banana Oatmeal ⋅ Nut Butter Banana ⋅ Raspberry Lemon |
Chewy Snack Bars
Perfect for a homemade lunch, after-school snack, or on your way to evening practice.
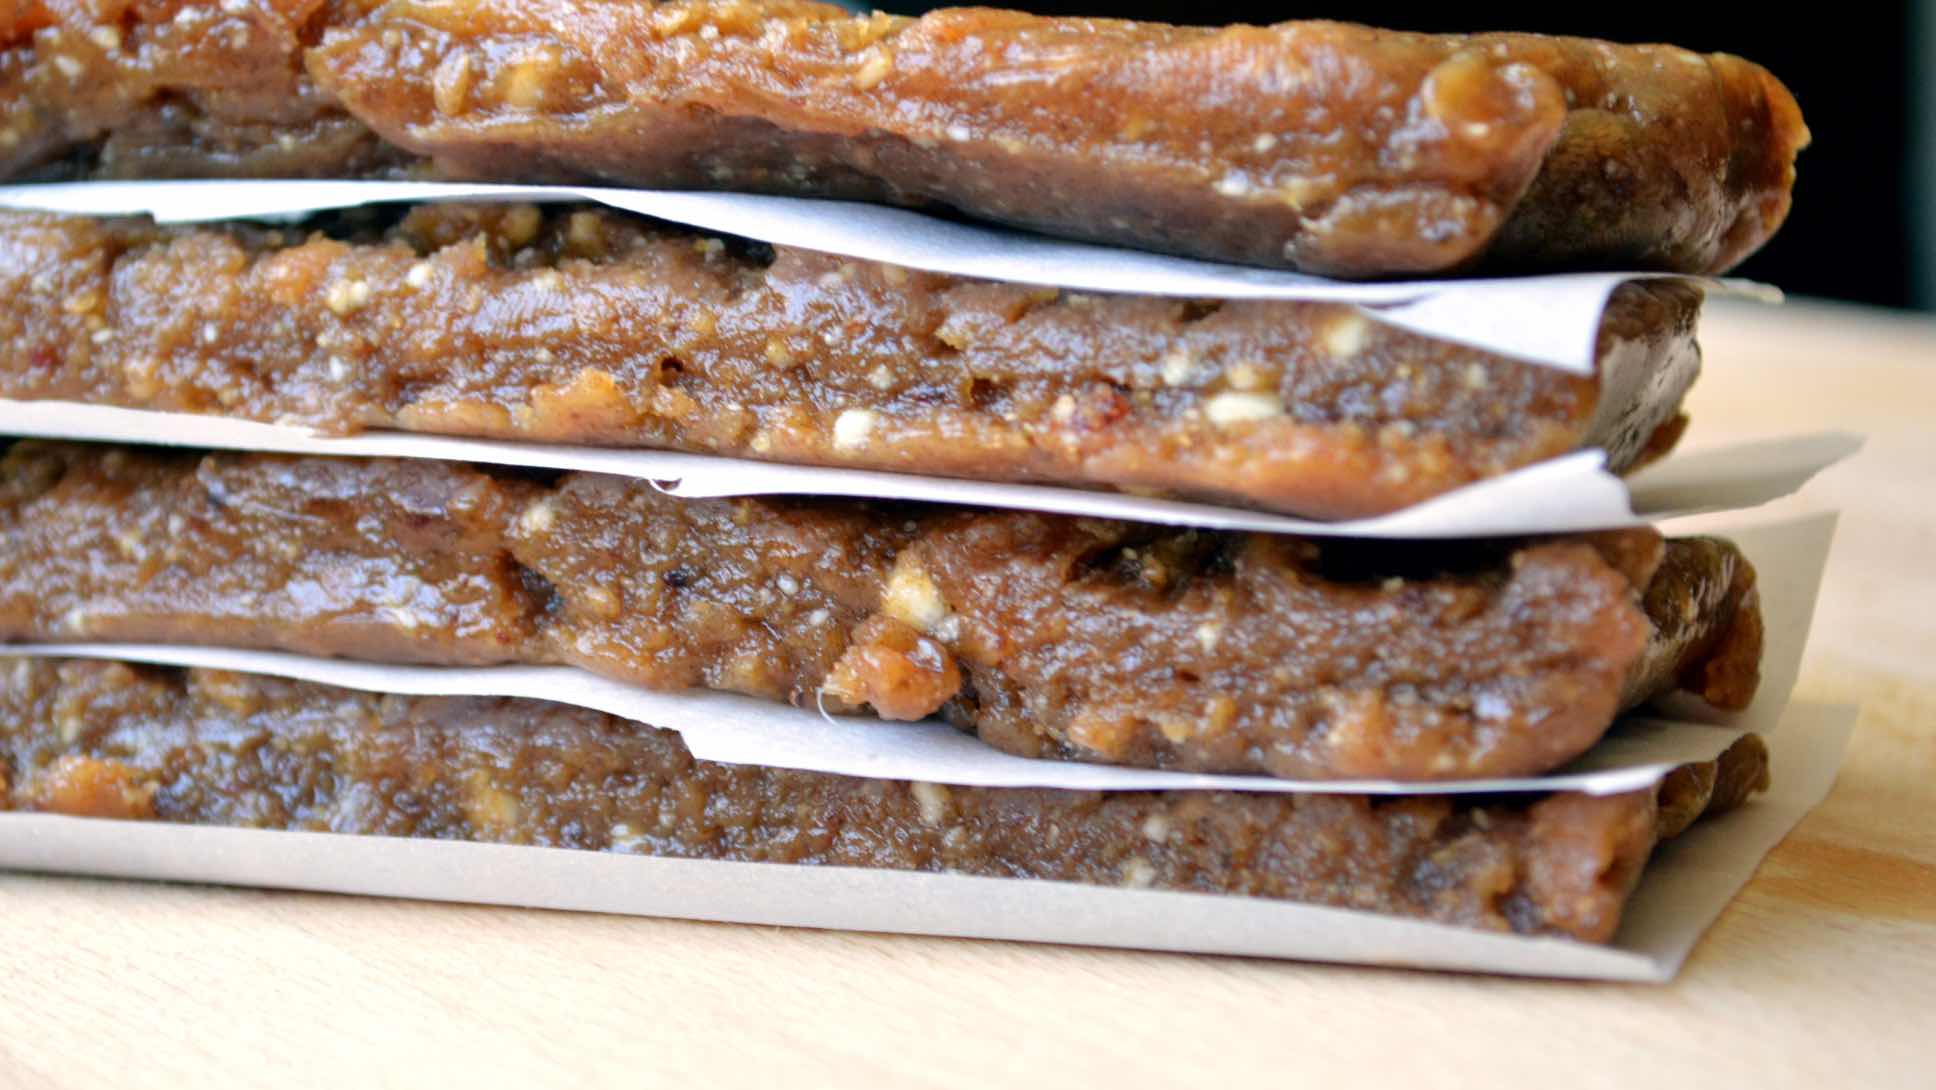
Makes 8 servings • Prep time 10 minutes • Cool time 30 minutes refrigeration
- 1 cup raw cashews, almonds, or other nut of choice
- 1 cup Medjool dates, pitted
- ⅓ cup nut butter of choice, such as almond, cashew, or sunflower butter
- 1 tbs. water
Recipe by the Life Time Fitness Training Team.
- Pulse the nuts in a food processor until they are in small pieces.
- Add the dates and nut butter to the food processor and blend together, scraping the sides down as needed.
- Add the water and continue blending. The mixture should stick together and be pliable — add another 1/2 tablespoon or more of water as needed to get to the desired consistency.
- Grease an 8×8 or 9×9 pan with avocado or coconut oil spray. Scrape the mixture into the pan.
- Place in the refrigerator for 30 minutes, then cut the bars into 8 squares. Keep refrigerated.
Double Chocolate Protein Bars
Nutty and chocolaty, these gluten-free energy bars will keep you satisfied during busy days.
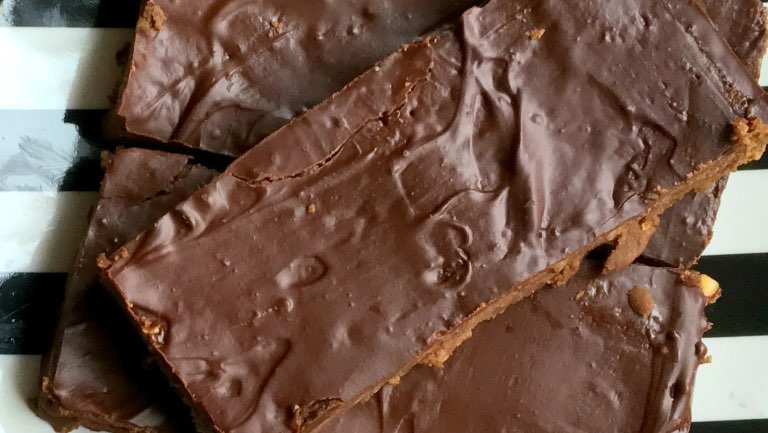
Makes 8 servings • Prep time 15 minutes • Cook time 5 minutes
- ½ cup unsweetened vanilla almond milk
- 1 cup natural chunky almond butter (or nut butter of choice)
- 2–3 tbs. honey, plus more to taste if desired
- 1 ¼ cup Life Time chocolate whey protein powder
- 2 cups gluten-free oats
- Optional: Melted 80 percent or higher dark chocolate for drizzle
Recipe by the Life Time Training Team.
- In a medium pot, combine the almond milk, nut butter, and honey over low heat. Stir just until all of the ingredients are well combined and warmed through. Add the protein powder and oats. Stir well to combine. (If the mixture is too thick to stir, slowly add more almond milk to thin.)
- Grease an 8×8 pan and press the mixture evenly into the pan. Drizzle with dark chocolate if desired.
- Allow the bars to cool completely before cutting them into squares. Seal the bars in an airtight container and store them at a moderate room temperature for up to a week.
No-Bake Cookie Dough
Tastes just like cookie dough but without all of the extra added sugar — plus a boost of protein powder for sustained energy.
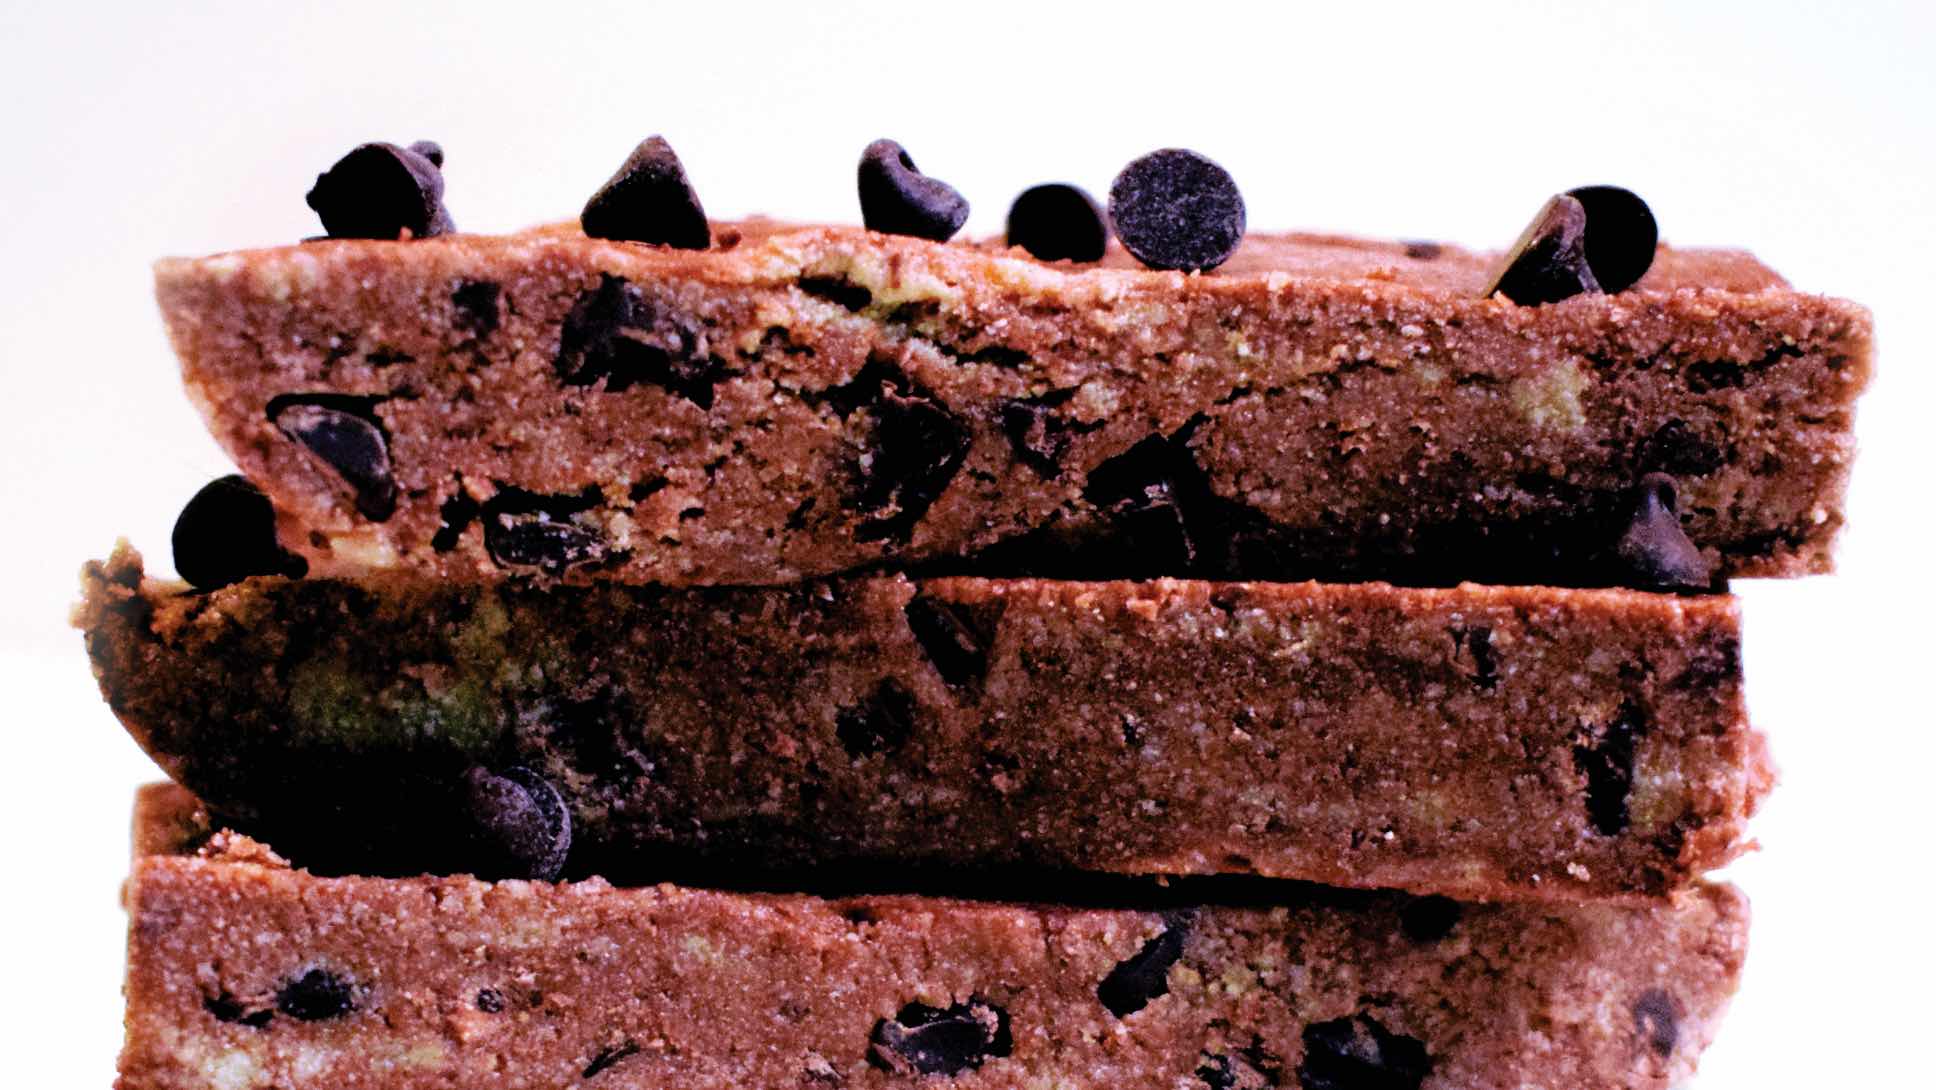
Makes 6 servings • Prep time 10 minutes • Cook time 10 minutes
- ½ cup oat flour
- 2 scoops Life Time vanilla whey protein powder (or vanilla protein powder of choice)
- ¼ cup maple syrup
- 1 tbs. butter, melted
- 1 tsp. vanilla extract
- Pinch of sea salt
- ¼ cup mini dark chocolate chips
- 1+ tbs. nut milk, as needed
Recipe by the Life Time Fitness Training Team.
- In a large mixing bowl, add all ingredients except the chocolate chips and nut milk and mix until it forms a dough-like consistency. If your mixture is too dry, add one tablespoon of nut milk at a time until the desired consistency is formed.
- Let the mix cool if the butter is still warm. Once completely cool, fold in the chocolate chips.
- Evenly roll out or press the cookie dough on a wax paper-lined baking sheet — the thickness of the dough will be the thickness of your bars. Place in the freezer for 15 minutes until firm.
Buttermilk Ranch Dressing
Free from industrial vegetable oils, sugar, and chemical additives and preservatives, this homemade dressing pairs perfectly with crisp greens, or can be used as a simple dip for your child’s favorite veggies.
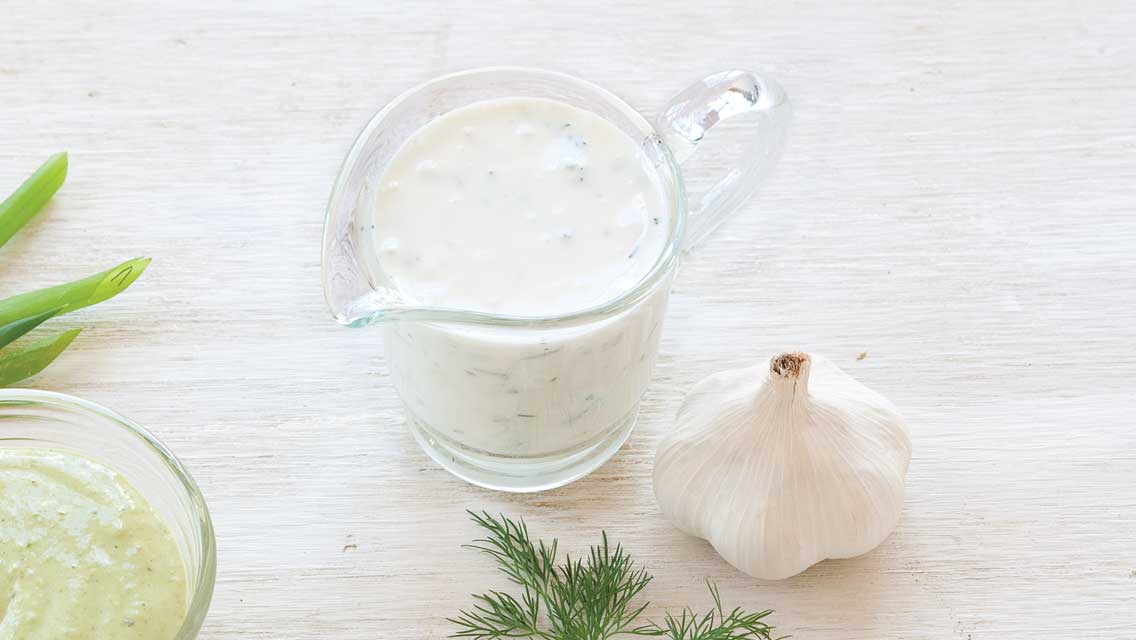
Makes 1 1/2 cups • Prep time 10 minutes • Cook time 0 minutes
- 1 clove garlic, minced
- ½ cup buttermilk
- 1 cup sour cream
- 1 scallion, finely minced
- 1 tbs. fresh chopped dill
- ½ tsp. chopped fresh marjoram or other herb
- 2 tbs. white wine vinegar
- Salt and freshly ground black pepper to taste
This recipe first appeared in “Dress Up Your Salad.” Recipe developer: Betsy Nelson.
- Whisk all ingredients together in a small bowl.
- Adjust the seasoning according to your taste, and have fun experimenting with different herb combinations.
- Keeps in the refrigerator for one week.
Fiesta Hummus
Spice up your go-to hummus with this fun recipe provided by Tempe School District, a partner of the Life Time Foundation.
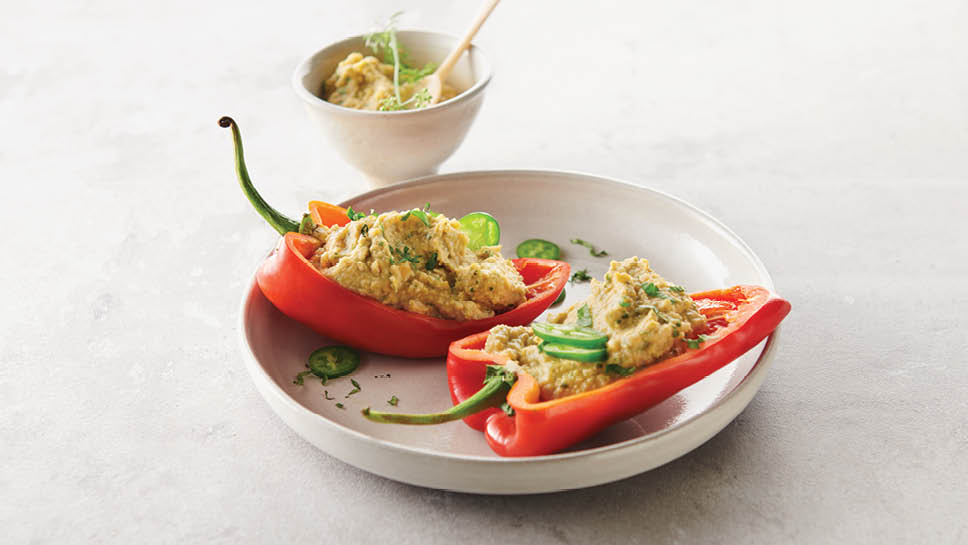
Makes 12 servings • Prep time 10 minutes • Cook time 0 minutes
- 2 cans garbanzo beans
- 5 tbs. olive oil
- 2 tbs. garlic, minced
- 1 tsp. salt
- ¼ cup lemon juice
- ¼ cup tahini
- 1 can (4 oz.) jalapeno
- 1 cup cilantro
- 1 tsp. cumin
Recipe by the Life Time Fitness Foundation.
- In a food processor, blend together all ingredients until smooth.
- Serve as a dip for fresh-cut vegetables or spread on your favorite sandwich.
Nut or Seed Butter
Your kids will love dipping their favorite crackers or sliced apples in this butter!
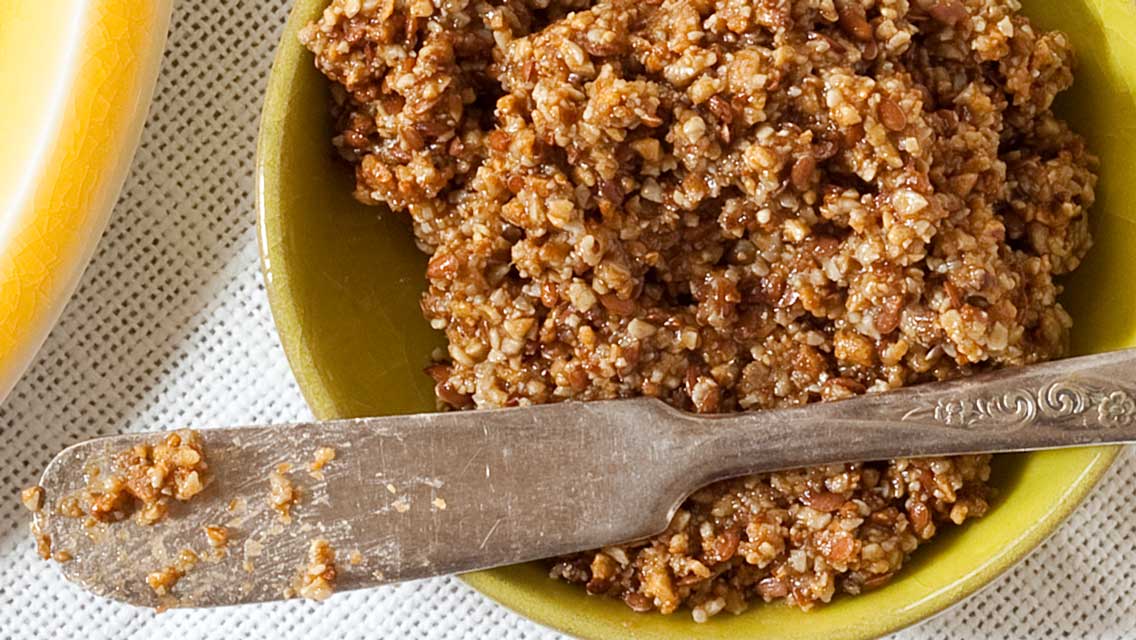
Makes 6 servings • Prep time 10 minutes • Cook time 10 minutes
- 3 cups raw nuts or seeds (almonds, walnuts, pecans, pistachios, cashews, macadamia nuts, hazelnuts, pumpkin seeds, sesame seeds, hemp seeds, or sunflower seeds)
- 1 tsp. sea salt
Mix-Ins (optional: pick one or more from the list below)
- ½ tsp. vanilla extract
- ½ tsp. almond extract
- 1 tsp. cinnamon
- 2 tbs. cocoa powder
- 2 tbs. honey
- 3–4 tbs. coconut oil (for a smoother nut butter)
This recipe originally appeared in “5 Made-From-Scratch Recipes.” Recipe developer: Kailyn Riley.
1. Preheat oven to 350 degrees F. Spread raw nuts or seeds on alarge rimmed sheet pan and bake until fragrant and toasted, about 10 minutes, stirring halfway through. Allow nuts to cool for a few minutes.
2. Add roasted nuts to a food processor and process until creamy, about 10 to 15 minutes, pausing to scrape down the sides as necessary. Do this in stages, three to four minutes at a time with breaks in between, so your food processor doesn’t overheat.
3. Add salt and any other mix-ins and process until combined. For a smoother, creamier result, add coconut oil and process once more.
4. Scoop nut or seed butter into a clean canning jar and store in the refrigerator for up to two weeks. Bring to room temperature before serving.
Tip: Toasting the nuts or seeds before blending gives them a richer, fuller flavor.
Black Bean Avocado Salsa
This salsa makes a great tortilla chip dip.
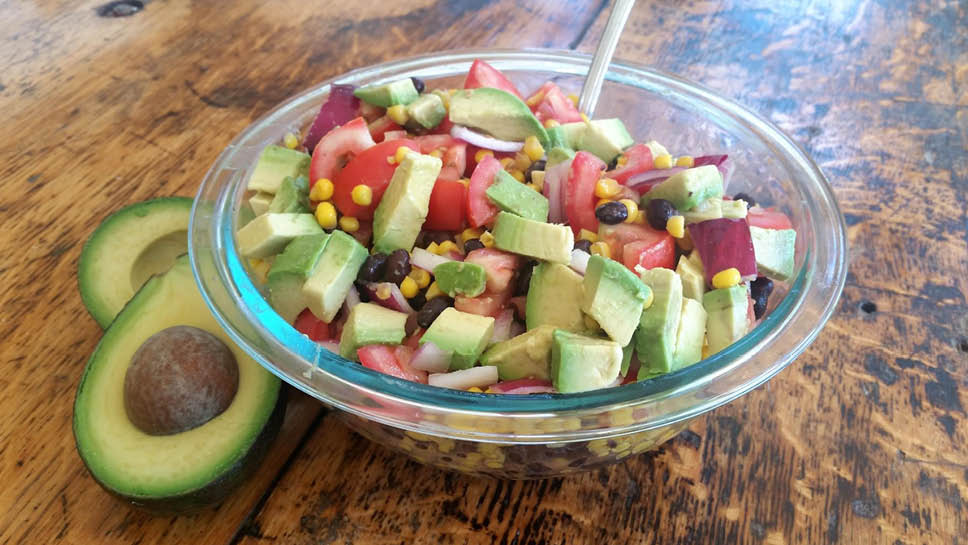
Yield 4 servings Prep time 10 minutes
- 1 can black beans
- 4 roma tomatoes
- 2 ripe avocados
- 1/2 cup red onion
- 1 jalapeño (optional)
- 2 cups fresh sweet corn
- Juice of 1 lime
- Salt and pepper to taste
Recipe by the Life Time Training Team.
- Combine the chiles, onion, salt, garlic, tomatillos and cilantro in a food processor and pulse to puree. Do not over puree. Reserve.
- Halve the avocado, remove and discard pit and scoop out the flesh. Discard the skin.
- Using a fork, mash the avocado into the pureed sauce with the lime juice.
- Season and serve quickly.
Try served with these homemade socca chips.
Almond Butter Protein Bites
These no-bake bites are great to have on hand when you or your little one want a quick, healthy treat.
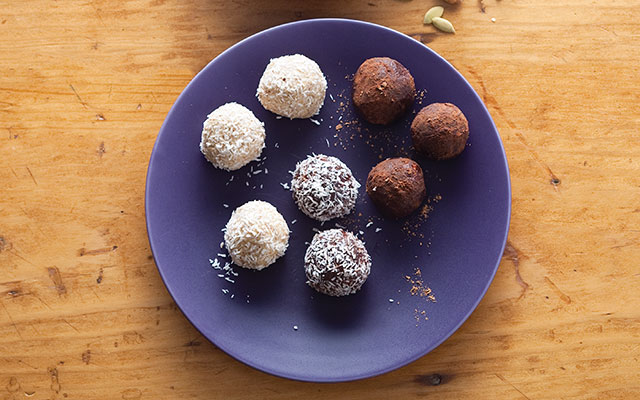
Makes 30 servings • Prep time 10 minutes • Chill time 30 minutes refrigeration
- 1 ⅓ cup vanilla Life Time Grass-Fed Whey Protein (or vanilla protein powder of choice)
- 1 tsp. honey (or more to taste)
- ¾ cup raw unsweetened almond butter
- 1 tsp. almond extract
- ¼ cup cocoa powder
- ⅓ cup unsweetened shredded coconut
This recipe first appeared in “Hearty Vegetarian Meals for the Entire Day.” Recipe developed by Betsy Nelson. Photo by: Terry Brennan.
- Mix the protein powder, honey, almond butter and almond extract together to form stiff dough. Chill the dough for at least an hour.
- Then scoop the dough into small balls, about 1 1/2 teaspoons each, and roll in either cocoa powder or shredded coconut or both.
- Refrigerate in an airtight container.
Tip: You may need to adjust the quantity of protein powder depending on how creamy the almond butter is.
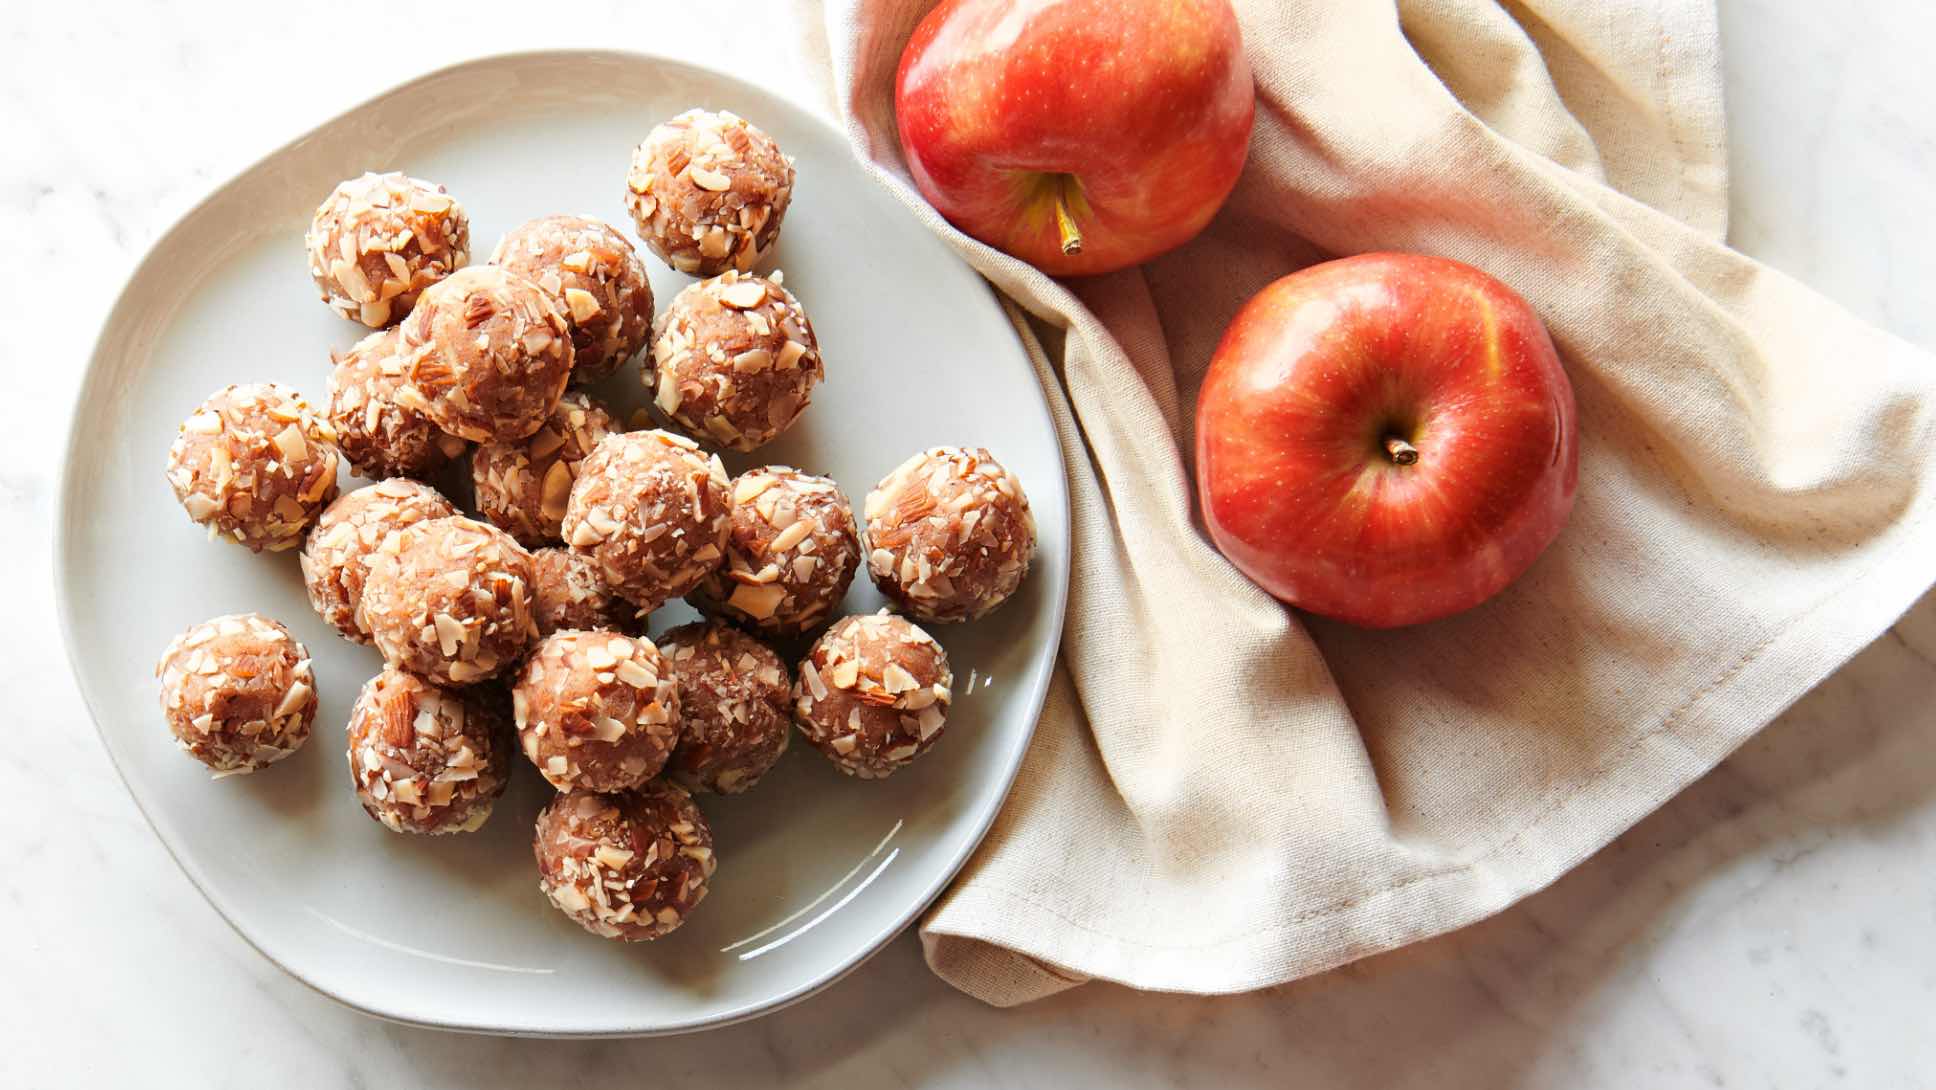
Apple Pie Protein
Bursting with apple and cinnamon, these bites are perfect for snack or lunchtime.
Makes 8 servings • Prep time 10 minutes • Chill time 30 minutes refridgeration
- 1 ½ cup almond flour
- 4 scoops vanilla Life Time Grass-Fed Whey Protein (or vanilla protein powder of choice)
- 2 tbs. maple syrup
- 1 tbs. cinnamon
- 1 tsp. nutmeg
- ¼ cup almond butter
- ½ cup unsweetened applesauce
Recipe by the Life Time Training Team
- In a large mixing bowl, combine all of the ingredients and mix until combined. The batter should be a sticky, thick consistency.
- Place the mixture in the refrigerator for about 30 minutes.
- Remove and form into one-inch balls. If desired, roll balls into raw, finely chopped almonds for added texture. Enjoy or store in the refrigerator until ready to consume.
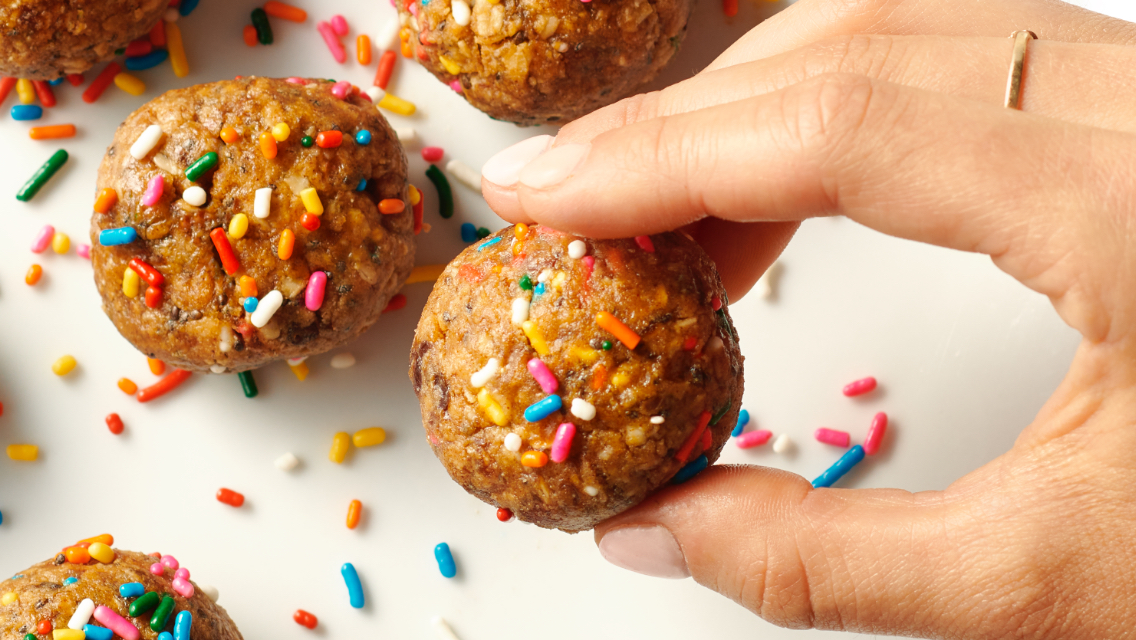
Birthday Cake Protein Bites
Because there’s always a reason to celebrate!
Makes 16 servings • Prep time 10 minutes • Cook time 0 minutes
- 4 whole dates, pitted
- ½ cup creamy, natural almond butter
- 1 tbs. flaxseed meal
- 1 tbs. chia seeds
- ½ cup gluten-free rolled oats
- 2 servings Life Time Vanilla Vegan Protein Powder (or vanilla protein powder of choice)
- 2 tsp. vanilla extract
- 3–4 tbs. oat milk
- 1 tbs. sprinkles (free from artificial colors)
Recipe by the Life Time Fitness Training Team.
- In food processor, add the dates, almond butter, flaxseed meal, chia seeds, oats, protein powder, and vanilla. “Chop” until combined.
- Add the oat milk in one tablespoon at at a time until the mixture becomes sticky.
- Transfer the mixture from the food processor to a small bowl and fold in the sprinkles.
- Roll into 1.5-inch balls. Store in the refrigerator for up to four days.
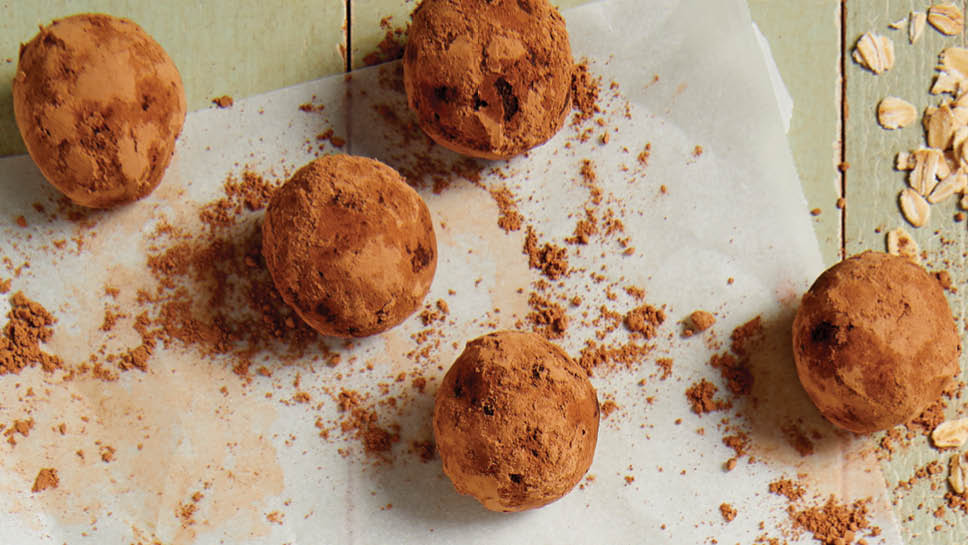
Cocoa-Almond Energy Bites
These bites come together in just minutes in the blender and are naturally sweetened with dates.
Makes 12 servings • Prep time 10 minutes • Cook time 0 minutes
- 1 cup soft dates
- ¼ cup rolled oats
- 3 tbs. almond butter
- ½ tsp. vanilla extract
- 1 tbs. cocoa powder, plus 2 tbs. for coating
This recipe originally appeared in “Healthy Snacks for the Workday and School Lunch.” Recipe developer: Robin Asbell. Photo by: Andrea D’Agosto.
- Place all the ingredients for your chosen flavor (minus the coating) in a powerful blender or food processor. Blend, scraping down the sides frequently until the mixture forms a coarse purée.
- Spread coating on a large plate. Scoop out level tablespoons of the mixture, then roll into 1-inch balls and place on the plate.
- Roll the balls in the coating until well covered, then place in an airtight container and refrigerate for up to a month.
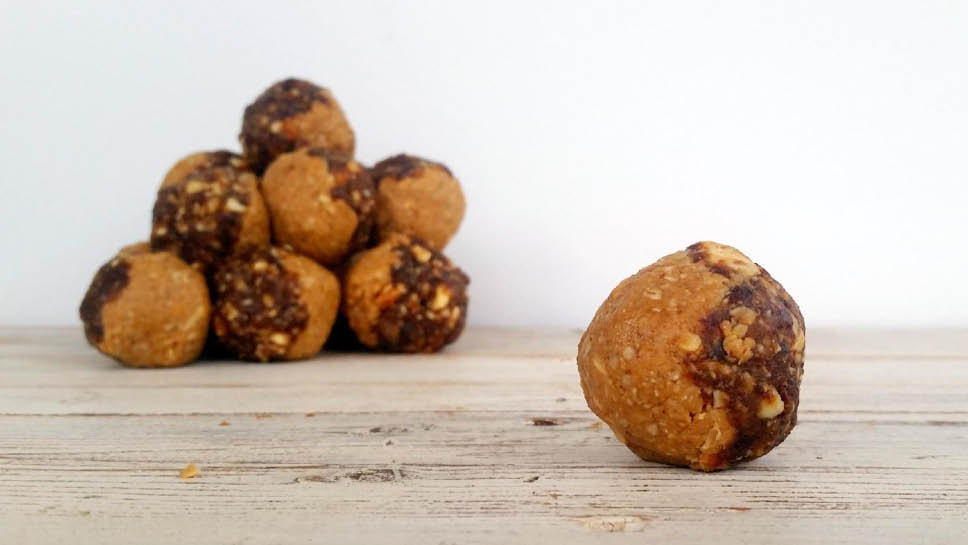
PB&J Bites
A little bit sweet and a little bit salty — these bite-size energy bites let you enjoy this classic flavor combination without the sugar rush.
Makes 16 serings • Prep time 20 minutes • Cook time 0 minutes
The jelly half:
- 2 cups raisins
- 12 Medjool dates
- 1 cup almonds
The peanut butter half:
- ½ cup peanuts (or almonds for a peanut-free version)
- 1 cup peanut butter (or nut butter of choice for a peanut-free version)
- 1 ½ cups rolled oats
Recipe by the Life Time Foundation.
- Blend the jelly half ingredients together and set aside.
- Blend the peanut butter half ingredients together and set aside.
- Form the jelly and peanut butter mixtures into hemispheres using a rounded spoon or spring-loaded scooper.
- Match a peanut butter hemisphere to a jelly hemisphere by pulling the jelly sides up to the peanut butter sides until they form one delicious bite.
Apple Chips
Turn ordinary apples into a healthy baked snack. Sweeter apples, such as Honeycrisp and Fuji, work best!
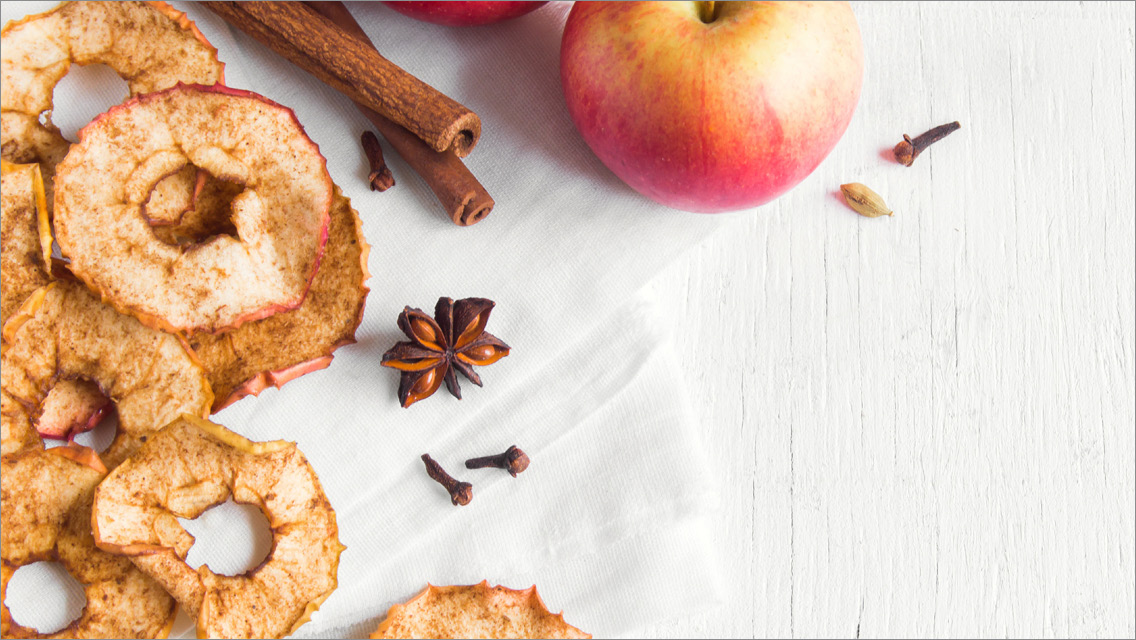
Makes 4 to 6 servings • Prep time 10 minutes • Cook time approx. 1 hour
- 2–3 sweet apples
- ¾ tsp. cinnamon
This recipe first appeared in “How to Make Apple Chips.”
- Preheat oven to 200 degrees F.
- Line two baking sheets with parchment paper (optional) and set aside.
- Wash apples and remove the core, stem, and seeds with an apple corer, small cookie cutter, or paring knife.
- Set a mandoline to slice apples into 1/8-inch-thick rounds. Arrange apples in a single layer on baking sheets, making sure slices don’t overlap.
- Sprinkle with cinnamon.
- Bake for one hour.
- Flip each apple chip over and bake an additional one to one-and-a-half hours, until apples begin to brown and start to curl at the edges. Different apple varieties will produce slightly darker colors, so test your apple chips to determine when they’re ready to eat.
- Store in an airtight container at room temperature for up to one week.
Tip: For a sweet-and-spicy version, combine 1/4 teaspoon chili powder, 1/8 teaspoon cayenne pepper, 1/2 tablespoon honey, and dash of kosher salt as a topping.
Cinnamon Applesauce
A great kid-friendly dish that small hands can easily help prepare.
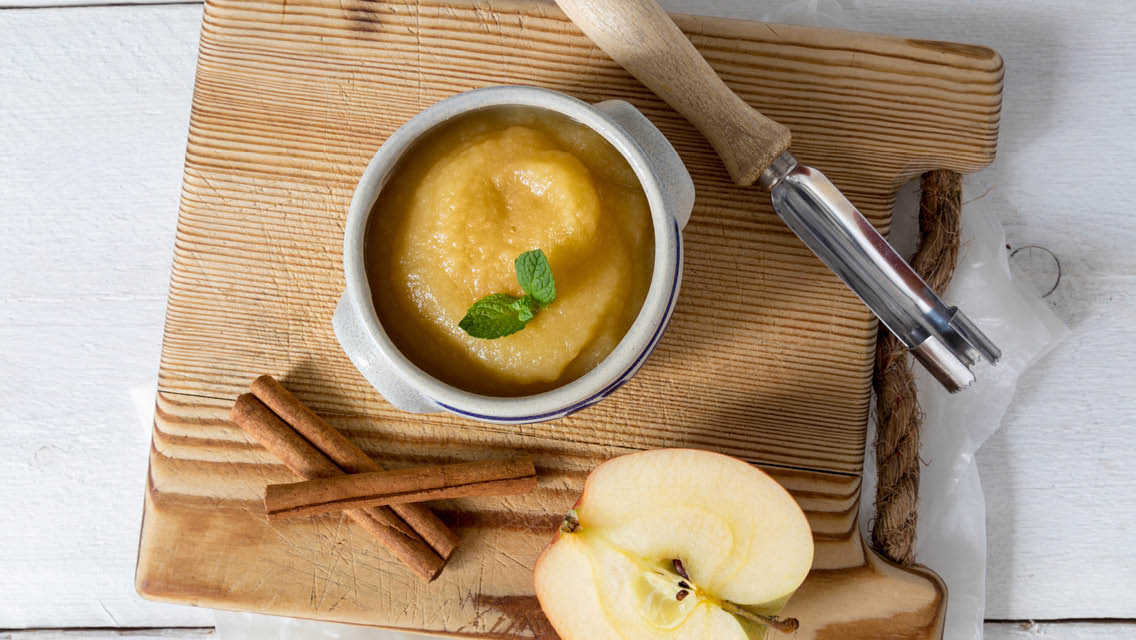
Makes 10 to 12 servings • Prep time 15 minutes • Cook time approx. 45 minutes
- 4 pounds cooking apples (try a blend of varietals for the best flavor)
- 1 lemon
- ¼ tsp. cinnamon
- ½ tsp. pure vanilla
- ½ cup sugar, honey or real maple syrup (add more for seasoning, if needed)
This recipe first appeared in “Good to the Core: Apples.” Recipe developer: Andrew Zimmern.
- Wash, core and quarter the apples, but try to leave the skin on for body and flavor.
- Zest and juice the lemon, adding both to a large saucepan with the apples and cinnamon.
- Cover and cook slowly over medium heat, mashing occasionally for 30 to 35 minutes.
- Purée through a food mill, then return apples to the pan. Add the sweetener to taste while simmering slowly.
- Cook until texture is thick enough to hold shape firmly in a large spoon. Add the vanilla. Use as a condiment for grilled pork or chicken, in apple desserts like cakes and charlottes, or for just old-fashioned spoon eating.
Plum Roll-Ups
This recipe requires just five plums — that’s it!
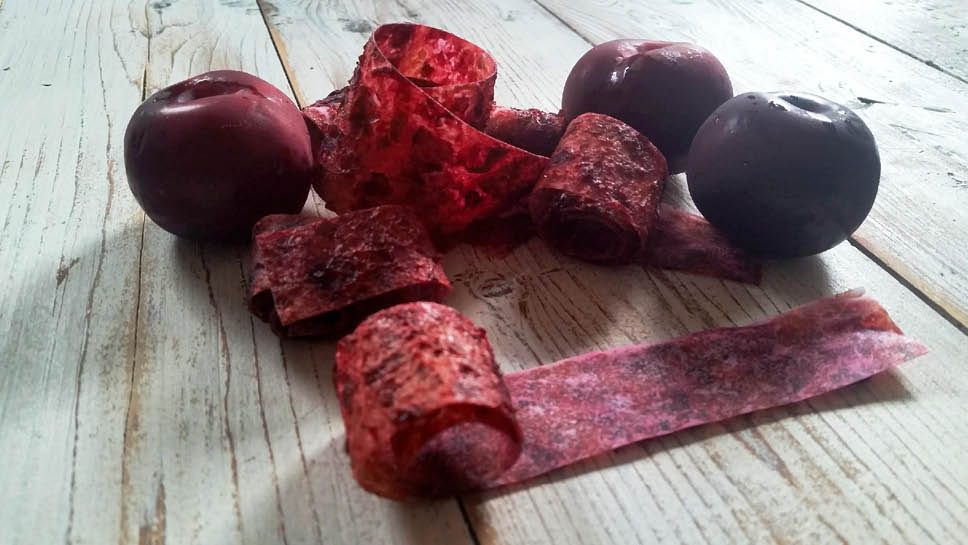
Makes 7 servings • Prep time 5 minutes • Cook time 5 hours
- 5 plums
Recipe by the Life Time Foundation.
- Preheat the oven to 175 degrees F. Pit the plums, then puree in a blender until smooth.
- Pour the plums on a baking sheet lined with parchment paper. Spread thin and evenly.
- Bake for about 5 hours, or until the roll-ups are just slightly sticky. Cut into strips (keep the roll-ups on the parchment). Store in an airtight container. When you’re ready to eat, simply peel and enjoy.
Triple Berry Roll-Ups
These three-ingredient roll-ups are the perfect snack for hungry kids.
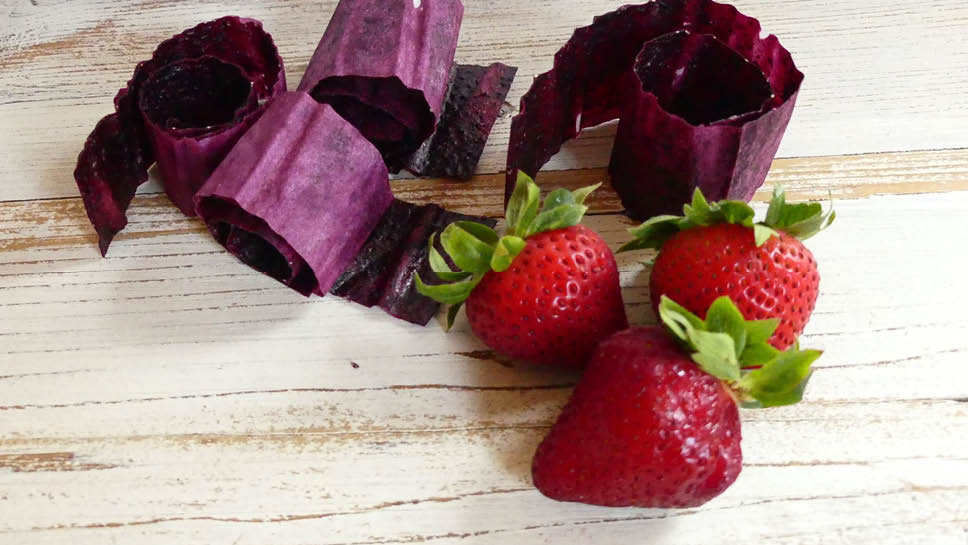
Makes 15 servings • Prep time 5 minutes • Cook time 5 hours
- 2 cups strawberries
- 2 cups blueberries
- 2 cups raspberries
Recipe by the Life Time Foundation.
- Preheat the oven to 175 degrees F. Blend all ingredients together in a blender or food processor until smooth.
- Pour onto two large baking sheets lined with parchment paper. Smooth until the puree has an even thickness of about 1/8 inch.
- Bake for about 5 hours, or until the roll-ups are just slightly sticky.
- Cut into strips (keep the roll-ups on the parchment). Store in an airtight container. When you’re ready to eat, simply peel and enjoy.
AB&J Muffins
Using almond butter instead of peanut, these AB and J muffins offer the same flavor as the classic sandwich but in a gluten-free, dairy-free snack.
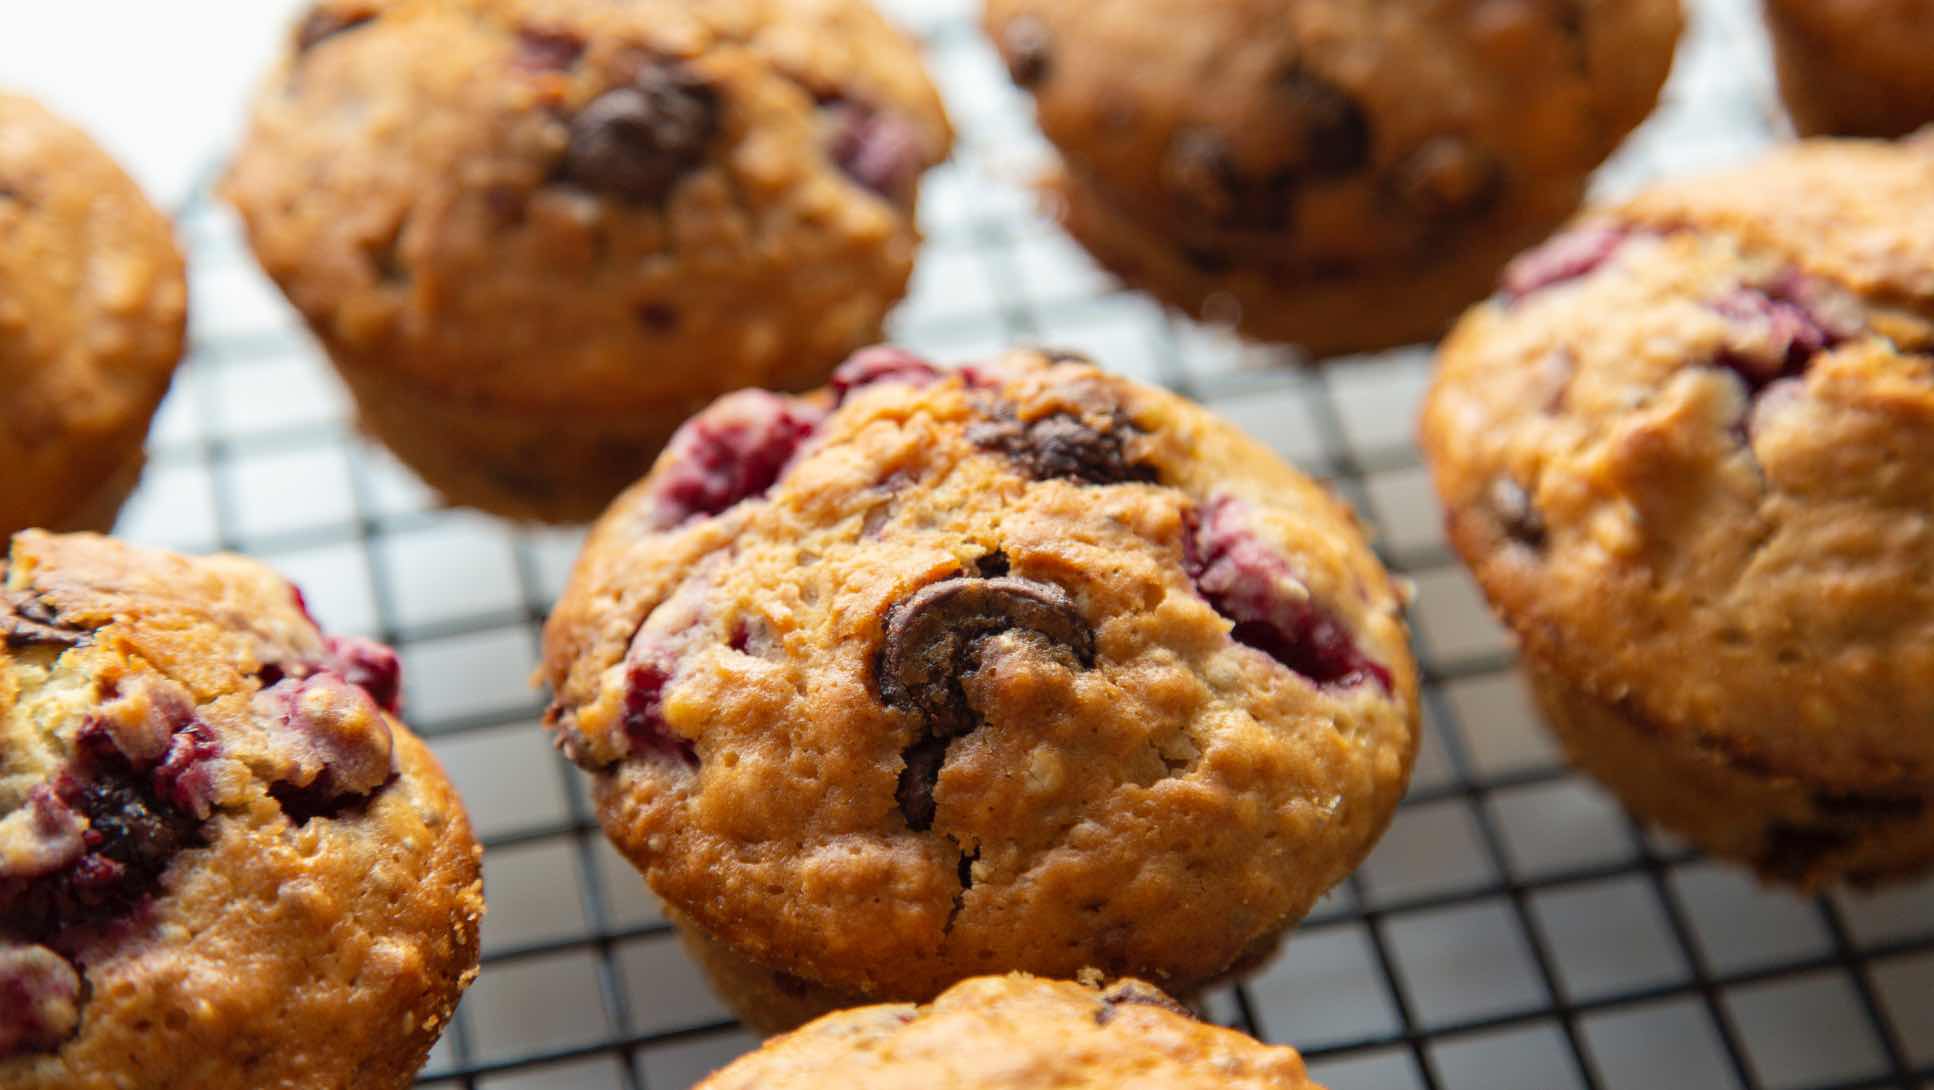
Makes 10 servings • Prep time 10 minutes • Cook time 25 minutes
- 3 tbs. flaxseed
- 6 tbs. water
- 2 overripe bananas, mashed
- 1 cup almond butter
- ½ tsp. sea salt
- 1 tsp. baking soda
- 1 tsp. vanilla extract
- 1 tbs. natural sweetener of choice (optional)
- ½ cup raspberries
Recipe by the Life Time Training Team.
- Preheat the oven to 375 degrees F. Grease a muffin tin with cooking spray.
- Combine the flaxseeds and water in small bowl and let sit for five minutes. Meanwhile, combine the bananas, almond butter, sea salt, baking soda, vanilla extract, and sweetener (if desired) in medium bowl and stir to combine. Fold in the flaxseed mixture and raspberries.
- Fill each muffin cup until it’s halfway full. Bake for about 13 to 15 minutes, until the edges are brown.
- Let cool for 10 minutes. Store in an airtight container for up to one week.
Banana Oatmeal Muffins
Protein powder gives these muffins an energy-sustaining nutritional boost.
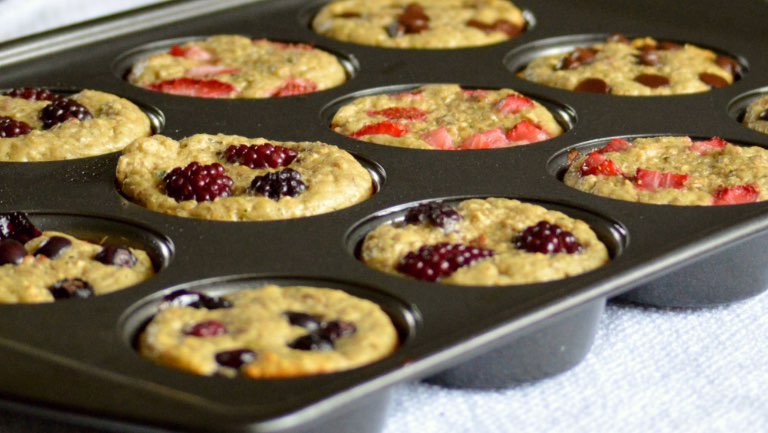
Makes 15 servings • Prep time 5 minutes • Cook time 15 minutes
- 3 medium-to-large bananas
- 1 cup unsweetened vanilla almond or coconut milk
- 2 tbs. chia seeds
- 4 scoops Life Time vanilla grass-fed whey protein powder (or vanilla protein powder of choice)
- 1 tbs. vanilla extract
- 1 tbs. cinnamon
- 1 zucchini, chopped
- ½ cup chopped pecans
- 1 cup gluten-free oats
- Optional toppings: raisins, strawberries, blueberries, or chocolate chips
Recipe by the Life Time Training Team.
- Preheat the oven to 375 degrees F.
- In a blender, combine the bananas, nut milk, chia seeds, whey protein powder, vanilla extract, cinnamon, and zucchini. Once blended, the mixture should be the consistency of cake batter.
- Hand mix the pecans and oats into the batter — do not blend.
- Line a muffin tin with muffin liners. The muffins will come out very moist, so this step is important!
- Pour the batter into each of the muffin tins until they’re about 80 percent full. Sprinkle on any optional desired toppings.
- Bake for 12 to 15 minutes, or until golden brown. Enjoy immediately, store in an airtight container in the refrigerator for three to four days, or freeze for later.
Nut Butter Banana Muffins
These homemade muffins feature better-for-you ingredients and enable you to avoid the processed, store-bought variety.
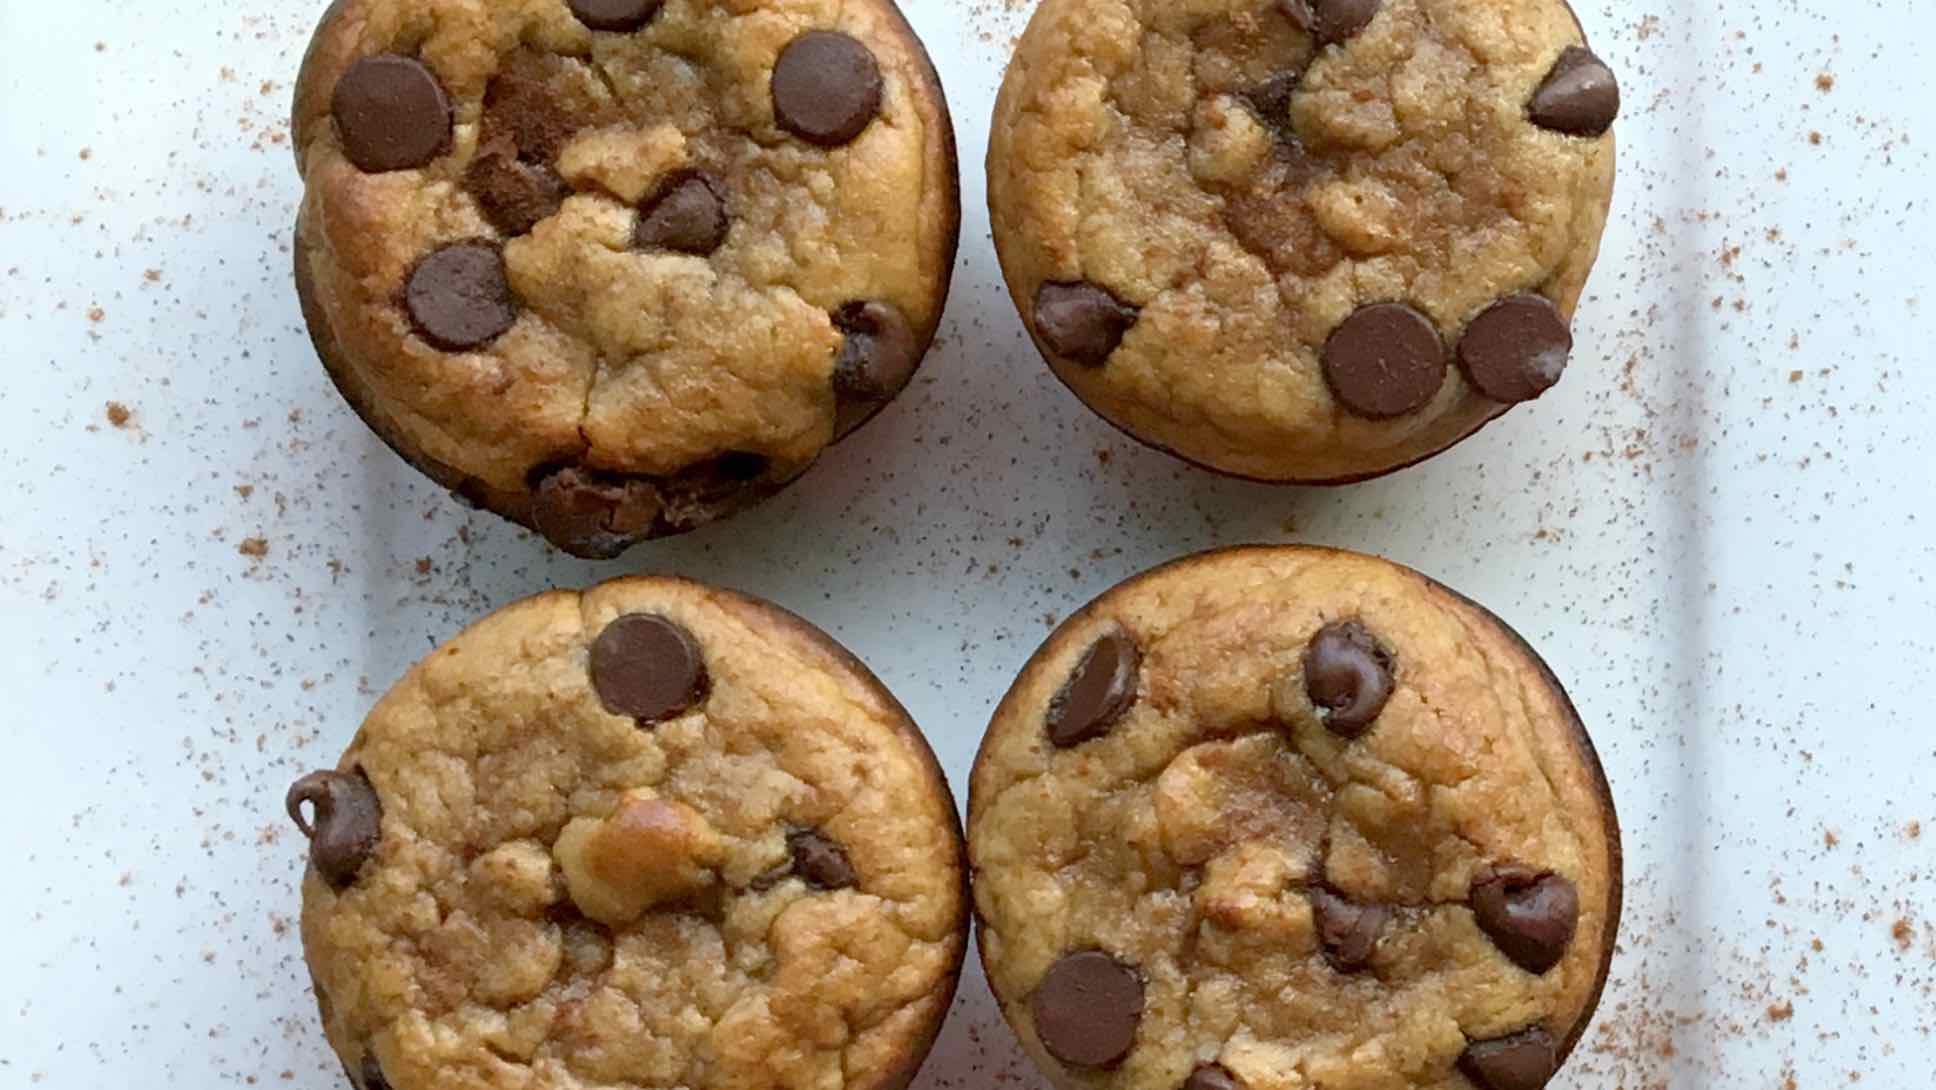
Makes 8 servings • Prep time 10 minutes • Cook time 9 to 11 minutes
- 1 cup nut butter
- 2 large eggs
- 2 medium ripe bananas
- 1 tbs. honey
- ½ tsp. baking soda
- Dark chocolate chips (optional)
Recipe by the Life Time Training Team.
- Preheat the oven to 400 degrees F. Grease a muffin pan with spray, or line with cupcake liners.
- Place all of the ingredients except for the chocolates chips in a blender and mix to combine. Pour the mixture into the muffin pan, and sprinkle each muffin with a few chocolate chips.
- Bake for nine to 11 minutes, or until the edges are brown. Let cool for 10 minutes. Store in an airtight container for up to one week.
Raspberry Lemon Muffin
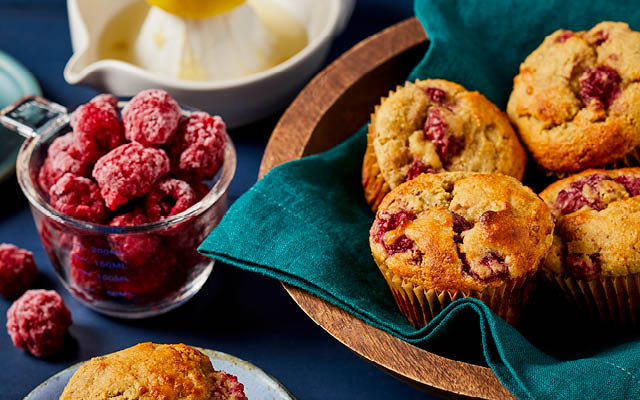
Makes 6 servings • Prep time 5 minutes • Cook time 40 minutes
- 1 cup almond flour
- ½ cup chickpea flour
- ½ tsp. baking soda
- ¼ tsp. sea salt
- ½ tsp. cream of tartar
- 1 tbs. fresh lemon zest
- ½ cup mashed banana
- 1 large egg
- ¼ cup maple syrup
- 2 tbs. coconut oil
- 1 tbs. fresh lemon juice
- 1 cup frozen raspberries
This recipe first appeared in “The New Frozen Dinner.” Recipe developer: Robin Asbell. Photo by: Andrea D’Agosto.
- Preheat the oven to 375 degrees F, and line a six-cup muffin tin with baking cups.
- In a large bowl, whisk the almond flour, chickpea flour, baking soda, salt, cream of tartar, and lemon zest.
- Place mashed banana in a medium bowl, then add the egg, maple syrup, oil, and lemon juice, and whisk to combine.
- Pour the banana mixture into the flour mixture and mix until well combined, then quickly stir in the frozen raspberries.
- Place a scant 1/3 cup of batter in each muffin cup. Bake for 30 minutes, until the tops are golden brown and a toothpick inserted in the center of a muffin comes out clean.


This Post Has 0 Comments