


We’ll admit it: Kicking up to a handstand, lowering the top of your head to the floor and pressing your bodyweight back up — even once — requires no small amount of physical chutzpah. The inverted position alone presents a challenge to the stability and mobility in your core and upper back. And once you bend your arms, look out: Your shoulders, triceps and chest have to work for all they’re worth to keep you from whacking your noggin on the gym floor.
But that’s what makes it a perfect end-of-year fitness challenge. Nail this one and you’ll have bragging rights to arguably the toughest basic body-weight exercise there is. Adam Steer, NSCA-certified personal trainer and body-weight training specialist, shares the step-by-step method he uses to turn clients from inversion-averse scaredy-cats to handstanding heroes in the space of a few short weeks.
Remember: Even superfit types find this exercise challenging. Strengthwise, it’s nearly the equivalent of doing a barbell press with your full body weight. Take your time with this program and realize that getting even a little better at the handstand pushup will translate into greater athleticism in everything you do.
Work the following exercises into your regular routine two to three times a week, advancing to the next phase when you reach the “Ready to Advance” benchmarks described in each section.
Steps to Progress to a Handstand Pushup
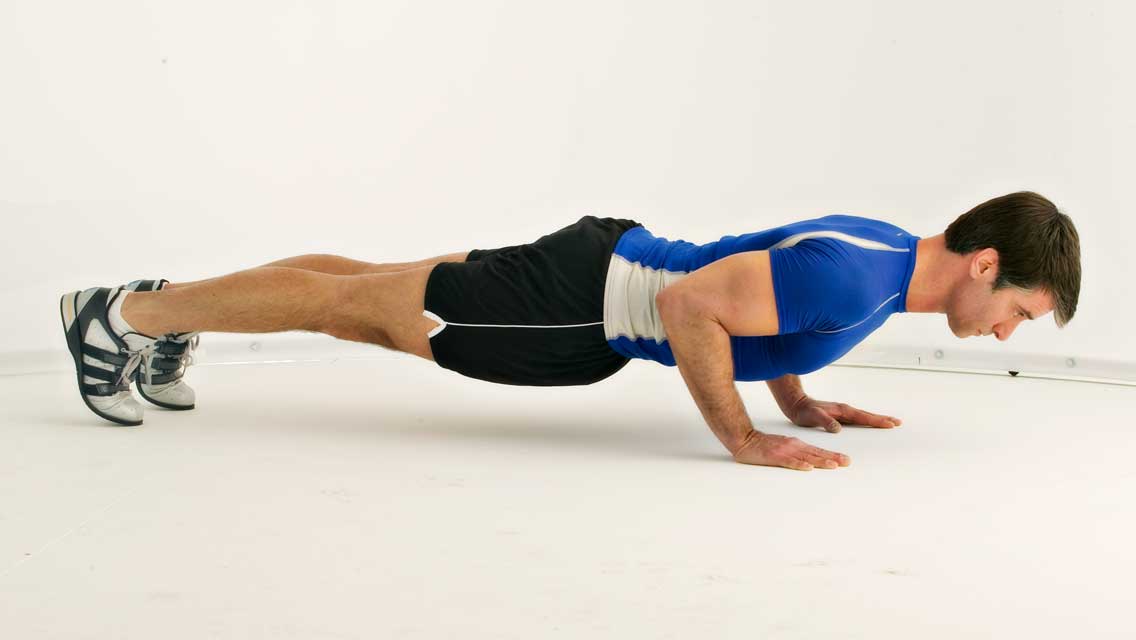
Phase 1: Pike Pushup

1. From a pushup position, walk your feet toward your hands a couple of steps, raising your hips high in the air so that your body forms a straight line from your tailbone to your hands.
2. Keeping your hips high, slowly bend your arms, lowering yourself until the top of your head lightly touches the floor.
3. Reverse the movement, pressing yourself back up to the starting position with as much explosive force as possible.
Sets and Reps: Start off with five sets of five, and work up to three sets of eight to 12.
Ready to Advance: When you can perform three sets of eight to 12 reps.
Phase 2: Pike Hold, Feet on a Box
Version 1

Hold this position isometrically.
Sets and Reps: Work up to three holds of 60 seconds each.
Ready to Advance: When you can do three sets of 60-second holds.
Version 2

Do partial pushups in which you lower your head just a few inches.
Sets and Reps: Five sets of five, working up to three sets of eight to 12.
Ready to Advance: When you can do three sets of eight to 12.
Version 3

Perform the full pushup, lightly touching the top of your head to the floor each rep.
Sets and Reps: Five sets of five, working up to three sets of eight to 12.
Ready to Advance: When you can do three sets of eight to 12.
Phase 3: Isometric Handstand Hold

1. Find a wall space at least 3 feet wide, with plenty of space around.
2. Bend at the waist and place your hands flat on the floor, shoulder-width apart, about 12 inches from the wall.
3. Keeping your arms locked and both legs straight, kick your dominant leg over your head, as if trying to touch the wall with your heel. When you do this correctly, your hips and nondominant leg will follow, and you will be in a handstand position with both heels against the wall.
4. Once inverted, squeeze your legs together, tighten your glutes and core, and push away from the floor with your hands.
5. Breathe as normally as possible and hold for as long as you comfortably can, coming down one leg at a time.
Sets and Reps: Two to three holds, each up to 60 seconds long.
Ready to Advance: When you can hold the position for three sets of 60 seconds each.
Phase 4: Wall-Support Handstand Pushup

1. Find a wall space at least 3 feet wide, with plenty of space around.
2. Bend at the waist and place your hands flat on the floor, shoulder-width apart, about 12 inches from the wall.
3. Keeping your arms locked and both legs straight, kick your dominant leg over your head, as if trying to touch the wall with your heel. When you do this correctly, your hips and nondominant leg will follow, and you will be in a handstand position with both heels against the wall.
4. Once inverted, squeeze your legs together, tighten your glutes and core, and push away from the floor with your hands.
5. Breathe as normally as possible and hold for as long as you comfortably can, coming down one leg at a time.
Sets and Reps: Two to three holds, each up to 60 seconds long.
Ready to Advance: When you can hold the position for three sets of 60 seconds each.


Comments (0)