

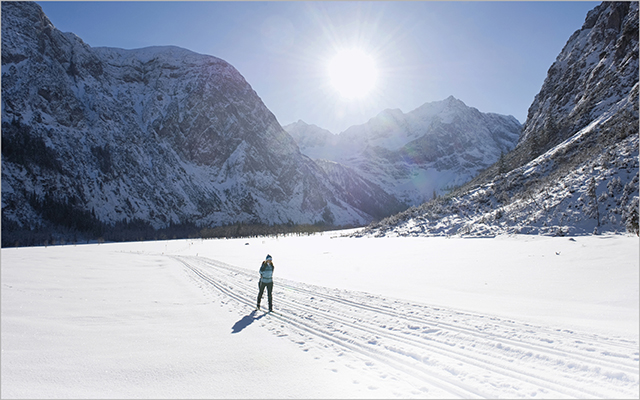
Efficiency is essential in cross-country skiing. Focusing on the fundamentals of your form will pay off in improved performance and overall enjoyment — whether you’re an amateur skier or an experienced racer.
To travel up and down hills on Nordic skis, you need endurance, strength, and coordination, say Caitlin Gregg, a four-time American Birkebeiner (“Birkie”) champion and Olympian, and her husband, Olympian Brian Gregg.
Varied workouts — including easy, long-distance bouts that accumulate time out on the snow — will go a long way toward preparing your body for harder, higher-intensity ski sessions.
But without good technique, you’ll be compromising the benefits of those outings. You can burn your hard-earned training by working too hard to keep pace with others, expending your reserves and even risking injury. Practicing the correct body positions for generating power and transferring weight will help activate the right muscles — the upper-body muscles for poling and the lower-body muscles for striding and propelling. This will ensure you get the most out of your hard work.
The Greggs designed the following drills to help you improve your form and speed with less effort. The drills will help you learn the fundamental body positions for good skiing techniques and how they produce maximum glide, efficiency, and muscle engagement. You can practice them at home or on the trail, with or without snow.
Drills for Classic and Skate-Skiing Techniques
Drill 1: Forward Lean
“This drill helps you learn how to maintain a forward lean without bending from the waist,” says Caitlin. “Having just the right amount of lean will provide free forward movement on snow.”
- Stand on the ground in your ski boots with your weight centered and your knees slightly bent. Bend at the ankles so your shins are at a 45- to 60-degree angle.
- Keeping your body straight and your hips high, lean forward from the ankles and hips onto the balls of your feet.
- Check that your hips are in line with or in front of your heels. You never want your hips behind your heels; you are not trying to sit back into a chair.
- Try to always maintain this forward lean, without bending much at the waist.
- On snow: Practice this forward lean while standing on your skis, forming a V position with the front of your skis angled outward. The skis will start moving forward and outward. Rock side to side in a short skating motion as you move forward with little effort.
Drill 2: Pole Force
This drill focuses on applying your body-weight force in poling, says Caitlin. “The more power you can apply with your poles, the faster you’ll go.”
- Assume the start position from drill 1: Stand with feet at shoulder width, knees slightly bent, and weight forward on the balls of your feet.
- Hold your poles with your hands in the straps, and raise them overhead, elbows bent at about 45 degrees.
- With your core engaged, lean forward at the ankles. Drive the poles downward forcefully as if you’re doing a crunch until the poles hit the ground and your body stops in a high plank position. You’ll feel like you’re falling forward; that is the force on your poles needed for generating power and forward movement on snow. On snow, the follow-through will engage your lower abs.
Drill 3: Weight Shift and Balance
Reinforce the proper weight shift onto each ski with this drill.
For both skating and classic skiing, says Brian, “you need to commit your weight fully to each ski, so you don’t leave your weight in between your skis. Without full weight transfer, you’ll be working harder than you need to.
“The weight transfer should come from bending your legs and moving your hips from side to side; make sure you aren’t just moving your shoulders or head, which is a common flaw,” he explains.
- Begin by standing on your skis on snow, and rock your hips and torso from side to side over each ski.
- Then take turns balancing on each ski. Alternate sides and allow your weight to shift fully.
- Finally, try gliding on one ski for a second or two. Again, allow yourself to feel the full weight shift; don’t short the transition. If you don’t transfer weight fully, you won’t glide for very long, and you’ll work harder than you need to.
Cross-Country Skiing Interval Workout
This 90-minute workout, designed by Olympians Caitlin and Brian Gregg, is best done on a set loop.
:00–:20: Start with a 20-minute warm-up of normal skate skiing.
:20–:30: Next, spend 10 minutes (five minutes on each side) skiing with just one pole continuously.
:30–1:10: 6 x 6 minutes of L3-effort skiing (75–82 percent of HR max) with two-minute recoveries (HR rate returning to L1 at 60–65 percent of HR max).
Alternate between double poling an entire interval and no poling an interval. This will give you a great idea of where your specific weaknesses may be! Make note of how far you go on each interval and try to match that every time.
1:10–1:30: Cool-down with easy skate skiing.
Gear Upgrades
Be trail ready with these gear recommendations from Matt Liebsch, American Birkie champ and co-owner of Pioneer Midwest.
BLIZ MATRIX GOGGLES

These multisport goggles offer a wide view, ventilation, and adjustable nose pads and temples for clear, comfortable vision in all weather conditions. $85 at www.bliz.com.
SWIX QUANTUM 1 POLES
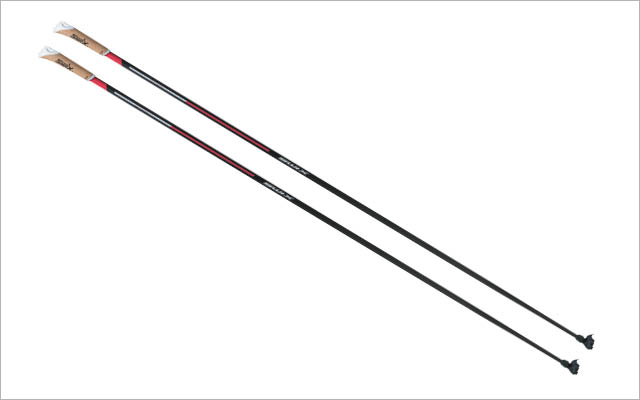
Stiff, light poles help with efficiency and prevent exhausted arms. From $235 at www.pioneermidwest.com.
FISCHER TWIN SKIN PRO SKIS
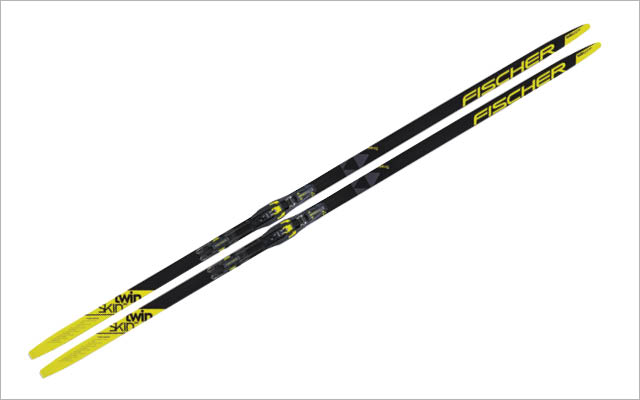
Skin skis are a waxless option that use a strip of synthetic hair to help grip the snow in hard or icy conditions. From $170; find a dealer at www.fischersports.com.
This piece has been updated. It was originally published on December 22, 2017.
This Post Has 0 Comments