As kids return to school and parents head back to the office, midday meals move from tables to lunchboxes. And even if you’re still at home, having ready-to-eat options not only makes lunchtime smoother, but also removes temptation to veer from your healthy-eating plan when what’s quickest might not be the most nutritious.
These tips from Anika Christ, RD, CPT, director of client optimization at Life Time, as well as a mom of two, will give you lunch-packing strategies you can sustain — and truly enjoy. She even shares a few of her go-to recipes for you to try, too.
1. Start With the Ingredients
When you have the right ingredients in the house, lunches can come together in minutes. Plus, once you know the foods that work best for your family, you can create a standing grocery list to make planning even easier.
Bring the brain power.
Build your meals around foods that support cognitive brain function, attention, mood, and memory, such as the following:
- Salmon and other deep coldwater fish
- Lean meats, beans, and legumes
- Colorful veggies
- Unsweetened, full-fat milk and yogurt
- Nuts and seeds
- Whole grains, such as brown rice and quinoa
- Eggs
- Berries
Don’t forget the dip.
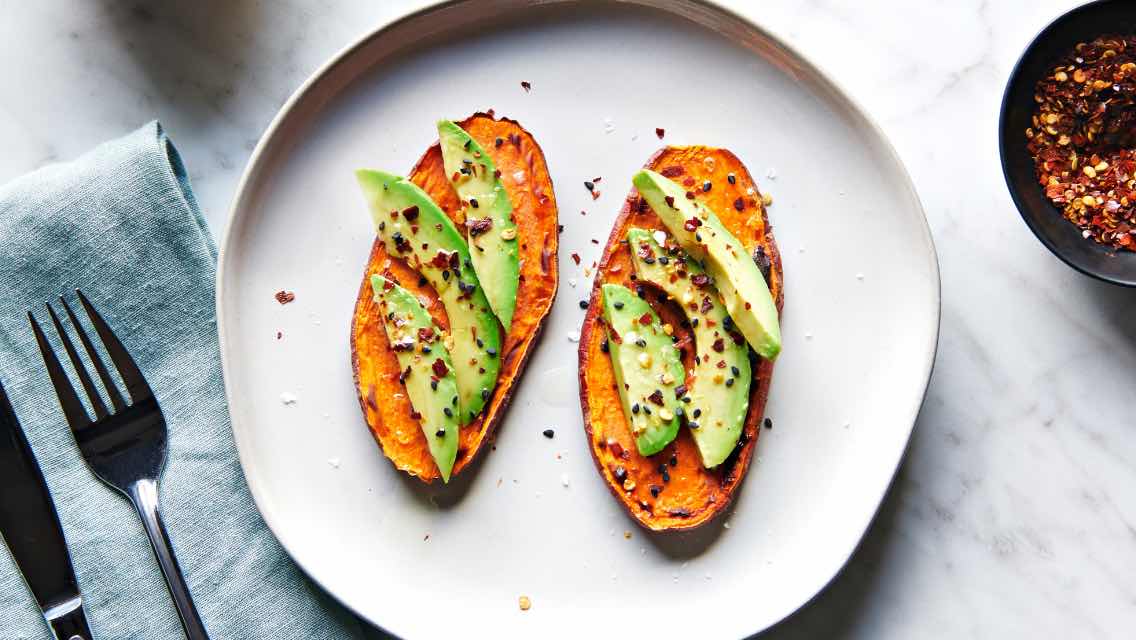
“From kids to adults, everyone loves to dip,” says Christ. Cut veggies and fruits into dippable shapes such as coins and matchsticks. Pair veggies with natural ranch dip, hummus, or Greek yogurt. Try apples, bananas, or pears with natural nut butter. When choosing dips, look for options without refined oils or added sugars.
Add in the extras.
Sometimes we want a little snack to munch on or something sweet to keep us satisfied. Consider including gluten-free pretzels, almond-flour crackers, dark chocolate chips made from 85 percent or higher cocoa, homemade granola, or yogurt-covered raisins.
2. Become an Expert Prepper
“I often batch prep a bunch of ingredients on the weekend,” says Christ. “Roasting a ton of veggies and cooking several sources of protein saves you time during the week and makes it easy to pull lunches together.”
Get your kids involved in the prep as much as you can. They’re more likely to eat meals they help prepare, plus it’s a good way to reinforce healthy-eating habits. Try keeping photos of their favorite meals in a binder or on your phone to serve as a helpful tool for kids to choose what they want for the upcoming week.
Make sure to prepare foods the way your child will eat them. Cut chicken and other proteins into small bites and keep the serving sizes manageable. Use what they eat at home as a guide to what they will eat at school — if they refuse hard-boiled eggs at home, they won’t eat them at school either.
3. Make It Look Good
First, invest in good containers. Using glass containers for batch prepping lets you see what you have ready, making it more likely that you’ll use it. It also helps you avoid the chemicals that can leach into foods from plastic-made varieties.
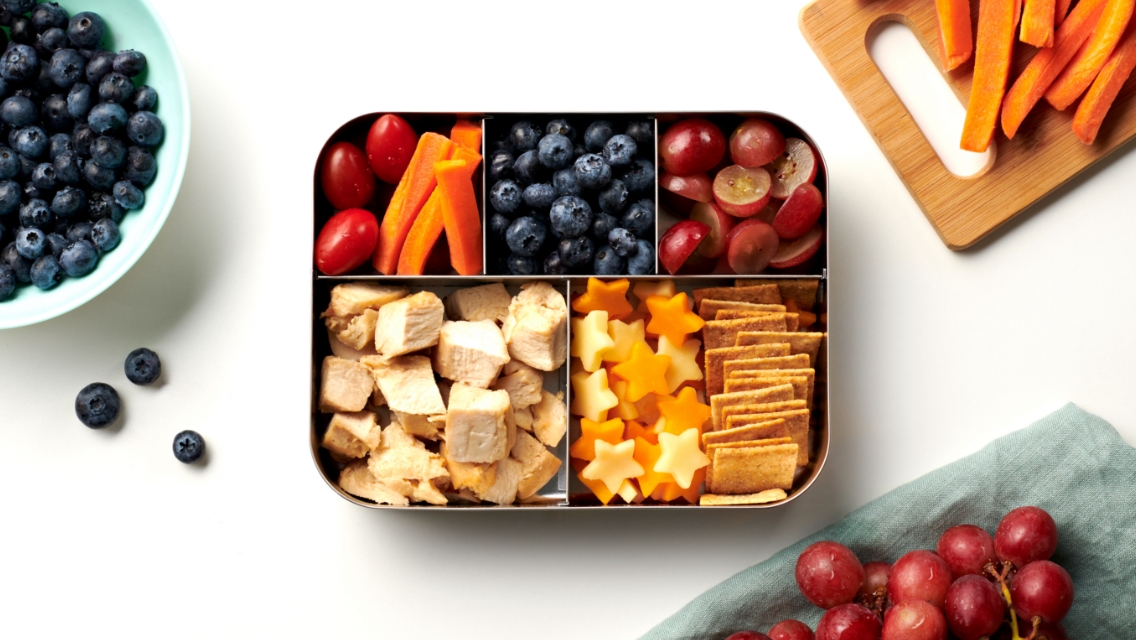
Christ recommends stainless-steel, bento-like boxes for kids. “They’re easy to store and wash, and they last forever. Plus, the sections remind you to include all the food groups — healthy fats, proteins, fruits, and vegetables.”
As they say, we eat with our eyes first. When packing veggies and fruits, choose a variety of colors for both their phytonutrient and eye-catching value. For example, pack bright orange carrots to balance a crisp green apple. Or pair golden yellow peppers with deep purple grapes. Use cookie or crinkle cutters to make sandwiches or veggies and fruits into fun shapes.
When lunches look good, kids will be excited to eat them over cafeteria offerings, and you’ll be less tempted to leave yours in the work fridge and go out to eat instead.
Coach Anika’s Go-To Lunches
These nutritionist- and mom-approved recipes can help ease your family’s transition back to school and work. Start with one or try them all.
Bento Boxes
“Bento boxes are easy to assemble and the options for variety are endless,” says Christ. “Along with protein and healthy fat, I always try to include a serving or two of veggies. This could include something fresh like bell peppers, cucumbers, carrots, or broccoli. I also add a fruit serving for additional vitamins and minerals. No-sugar applesauce pouches, blueberries, strawberries, halved grapes, and orange slices are all on my go-to list.”
Combinations to consider:
- Shredded chicken, celery sticks with nut butter, and halved grapes
- Sliced turkey and cheese, carrot sticks and sugar snap peas with hummus, and strawberries
- Tuna salad with almond crackers, sliced cucumbers, pickles, and halved grapes
- Deli ham and Swiss cheese roll-ups, apple slices with nut butter, and celery sticks
- Square-cut cheese with almond crackers, cherry tomatoes with ranch, and applesauce
Turkey or Ham Roll-Ups
“I often serve this with a side of crackers for a grown-up, healthier take on the traditional sandwich and chips combo,” says Christ.
Ingredients:
- 3–4 oz. deli turkey or ham
- 1–2 slices deli cheese
- 1 avocado, sliced
- 1 cassava-flour or gluten-free tortilla (optional)
Directions:
- Layer the deli meat, cheese, and avocado on the tortilla. Or omit the tortilla and stack the cheese and avocado on top of the meat. Roll up.
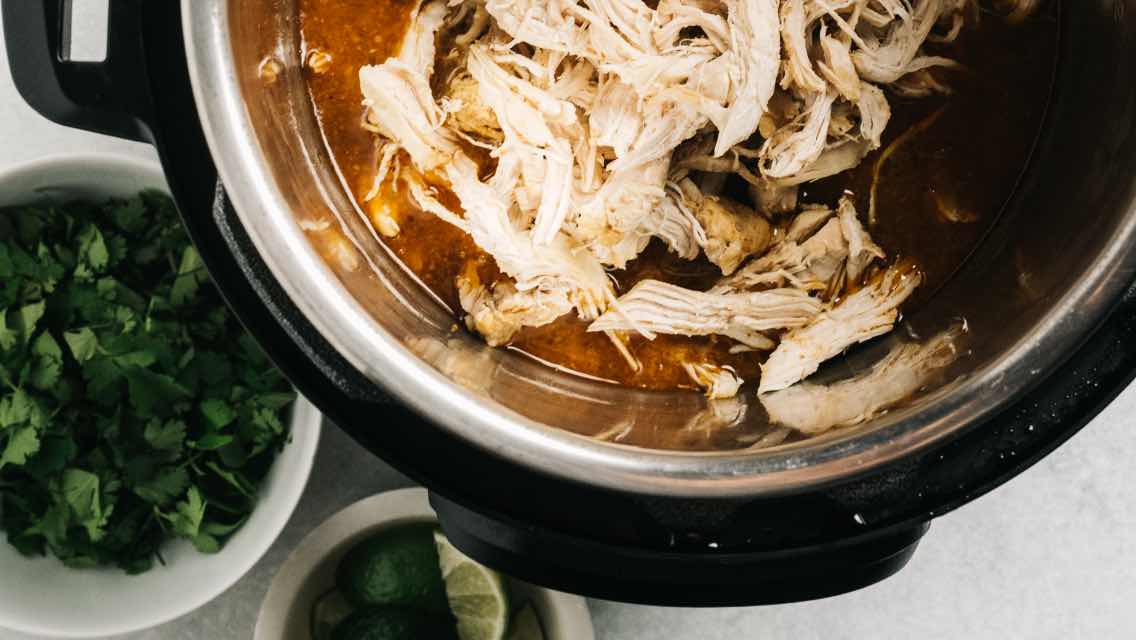
Homemade Sloppy Joes
“This recipe is a family favorite and it’s so easy to make,” says Christ. “I often batch prep it in large servings — my kids will literally eat it every day if there’s enough. I’ll pack it in a lunch with some homemade sweet potato fries or as a sandwich.”
Ingredients:
- 1 tbs. grass-fed butter or coconut oil
- 1 lb. grass-fed beef (or other preferred ground meat)
- 1/2 cup ketchup (low sugar)
- 1 tbs. mustard
- 1 tbs. 100 percent cacao powder
- 1 tsp. sea salt
- 3/4 tsp. chili powder
- 1/2 tsp. onion powder
- 1/4 tsp. garlic powder
Directions:
- Add the butter or coconut oil to a large skillet over medium to medium-high heat. Brown the beef and break it apart into crumbles as it cooks, about five to 10 minutes. Drain the liquid from the skillet.
- In a bowl, combine all other ingredients and mix into a sauce.
- Add the sauce to the skillet and combine until the beef is evenly coated and the sauce is heated through.
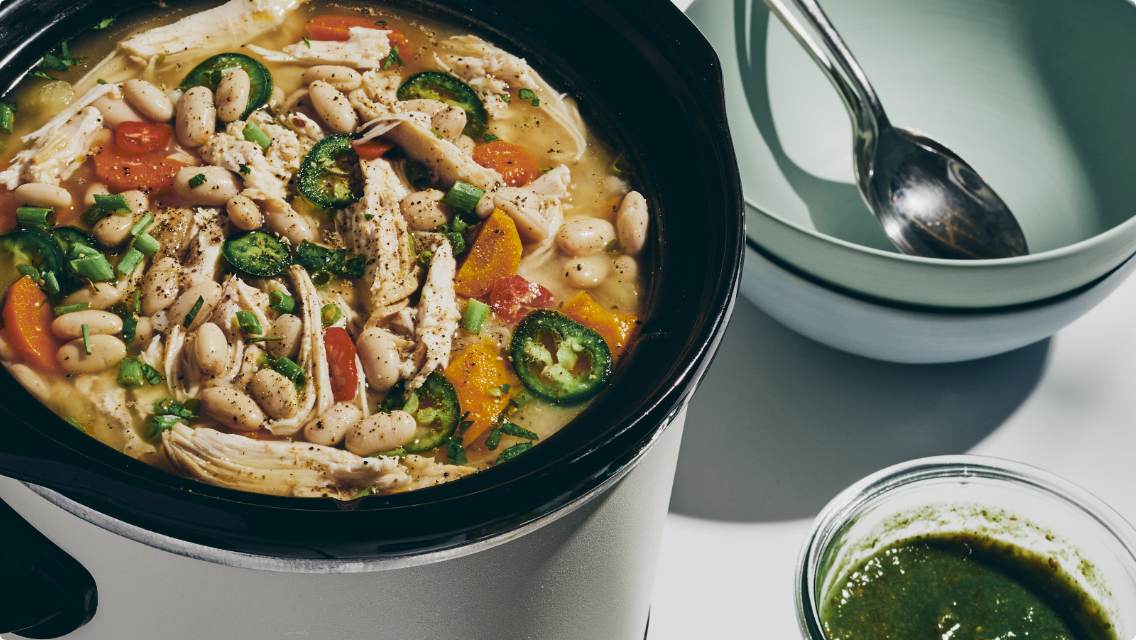
White Chicken Chili
“Chili is easy to transport hot with the right container or thermos,” says Christ. “My kids’ favorite is white chicken chili, which I make in my slow cooker and store in lunch-sized portions. It’s a great way to warm up on those crisp fall days.”
Ingredients:
- 1 tbs. coconut oil
- 1 lb. chicken breasts, cubed
- 1 medium onion, chopped
- 2 large celery stalks, chopped
- 2 large carrots, peeled and chopped
- 4 cloves garlic, minced
- 2 cups low-sodium chicken broth
- 1 16-oz. can coconut milk
- 1 15-oz. can cannellini beans, drained and rinsed
- 2 4.5-oz. cans diced green chilies
- 1 tbs. cumin
- 1 tbs. chili powder
- 2 tsp. sea salt
- 1/2 tsp. dried oregano
- 1/2 tsp. pepper
Directions:
- In a large pot, heat the coconut oil and add the chicken, onion, celery, carrots, and garlic. Stir occasionally until the chicken is cooked through.
- Add the remaining ingredients and stir until well combined.
- Simmer for 20 minutes.